
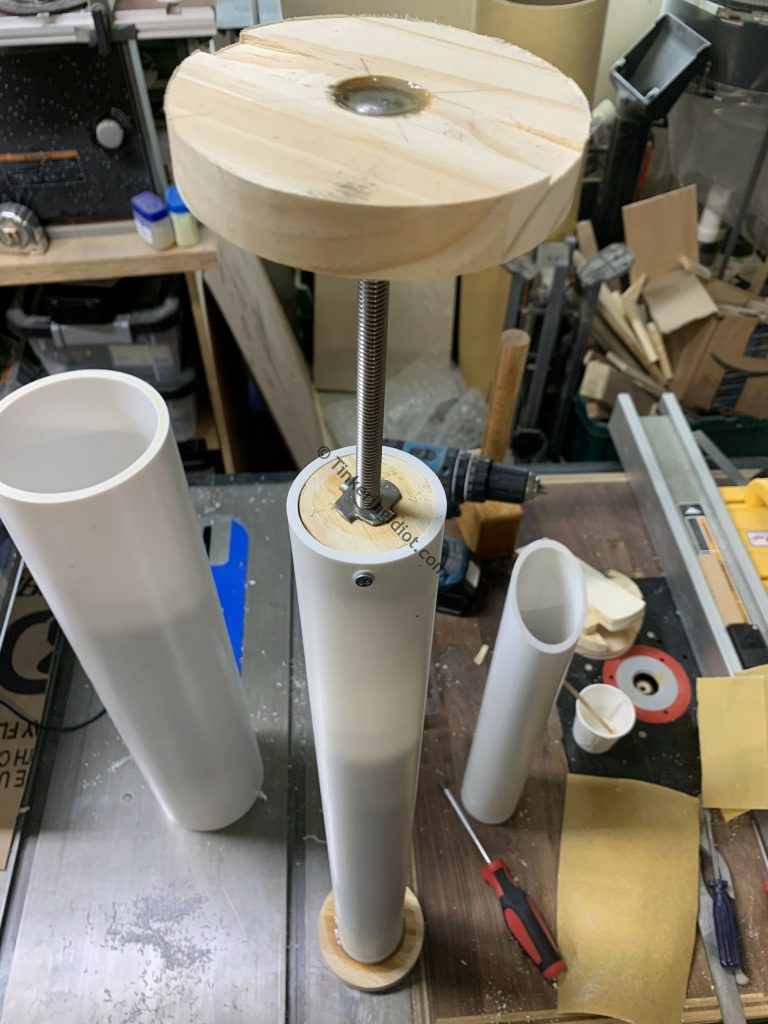
After obsessing about the lift distance of the pedal, I should probably build something for it to, you know, lift. I build a piston to sit on top of the pedal, holding the sanitizer bottle and riding up and down as the pedal is pressed. In keeping with my design criteria, I make the upper platform of the piston adjustable, so a wide variety of sanitizer bottles can fit.
I start with the adjustable platform, then, because this is where the mistakes will screw me. It’s a simple mechanism (just a 4″ circle and a 6″ long 3/8″ carriage bolt), but poor assembly will keep it from fitting properly in the PVC body, and it won’t be able to adjust.

Using a 7/8″ paddle bit, I cut a relief in the platform, then follow it up with a 3/8″ hole to make room for the carriage bolt and its head.

I drop the bolt through, and cover them with epoxy. No 5-minute epoxy this time (I ran out – I seriously need to start making shopping lists), but I’ve got gallons of bar top epoxy laying around, which cures plenty hard for this non-load-bearing application.
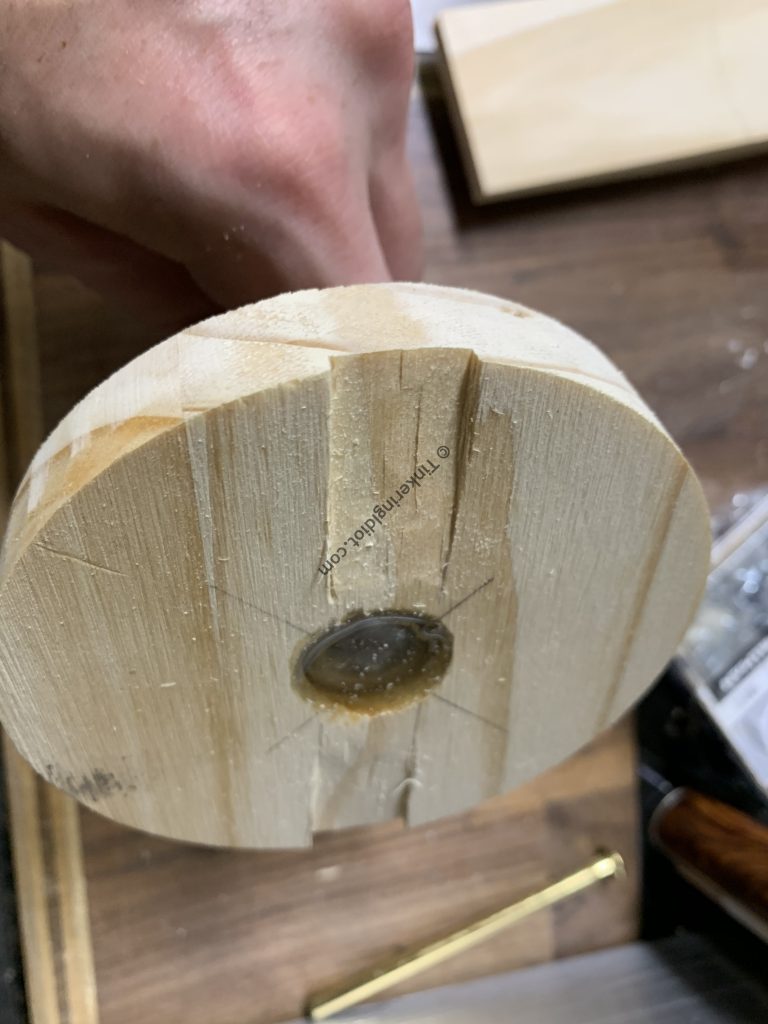
The piston adjusts by reaching down in to the 4″ PVC body and turning the platform, so I used a chisel to cut some grooves in the platform for fingers to grab on to and help spin it. A hole might have worked better, but I didn’t think of that until this was done, and in the end these grooves work pretty well.
The rest of the piston starts with 24″ of 2″ PVC. This is one of my favorite materials and I’ve got a potentially unhealthy amount of it sitting around the garage.

On the lower end, I just need a base plate to meet up with the pedal. I want a full circle for the base, since over time this piston will definitely spin around inside, and a full base plate will ensure that the pedal is hitting no matter what. I put a groove in the wooden circle using a pair of hole saws, 2 1/8″ and 2 1/2″.
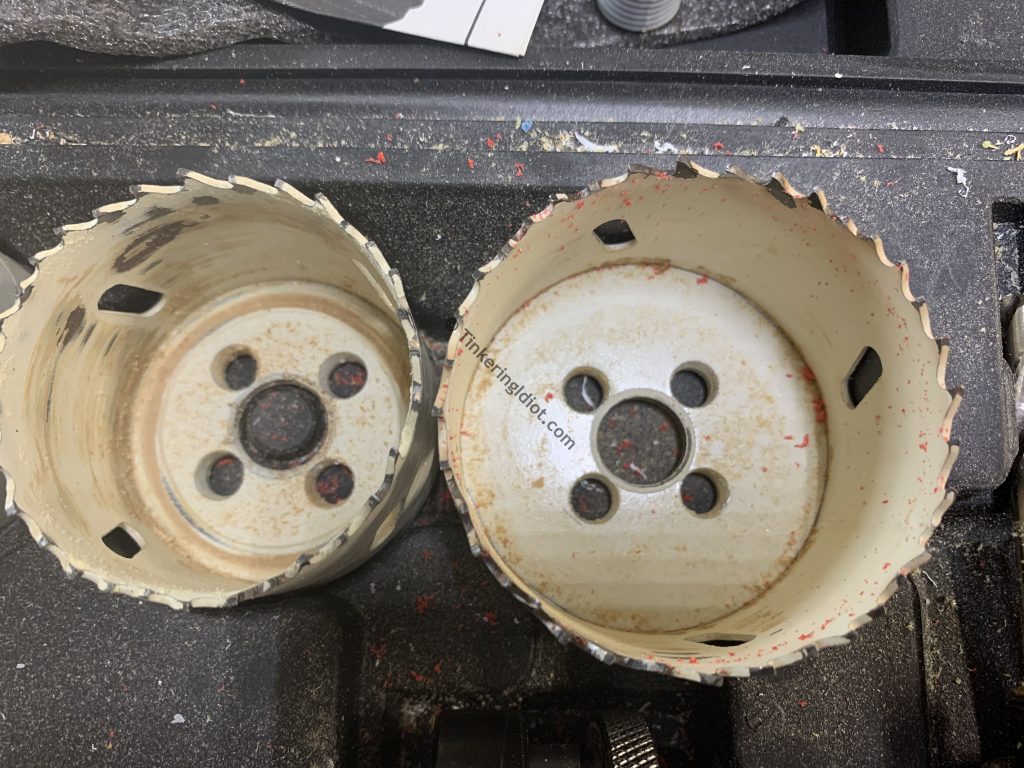
By cutting 1/8″ or so into the 4″ circle with each saw, I get most of a very nice groove for the 2″ PVC to sit in.
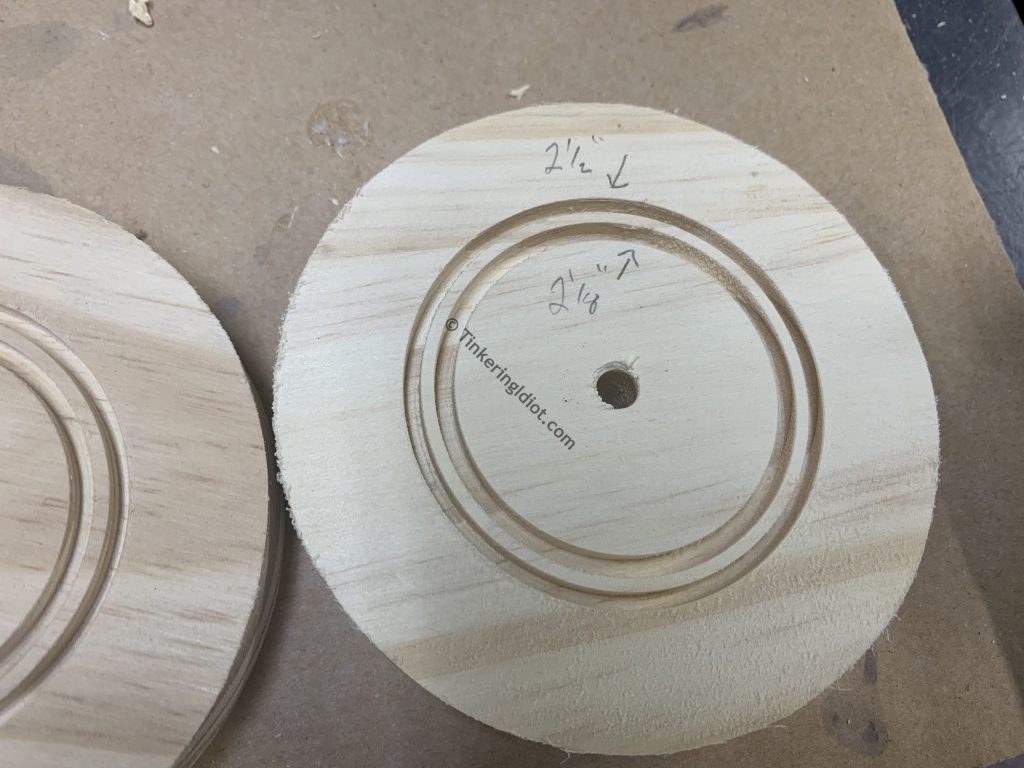
I then clean up the middle with a 1/4″ chisel.

In to that groove goes the end of the 2″ PVC, and some more bar top epoxy. I sanded the end of the PVC to give the epoxy plenty of texture to fill and grab on to.

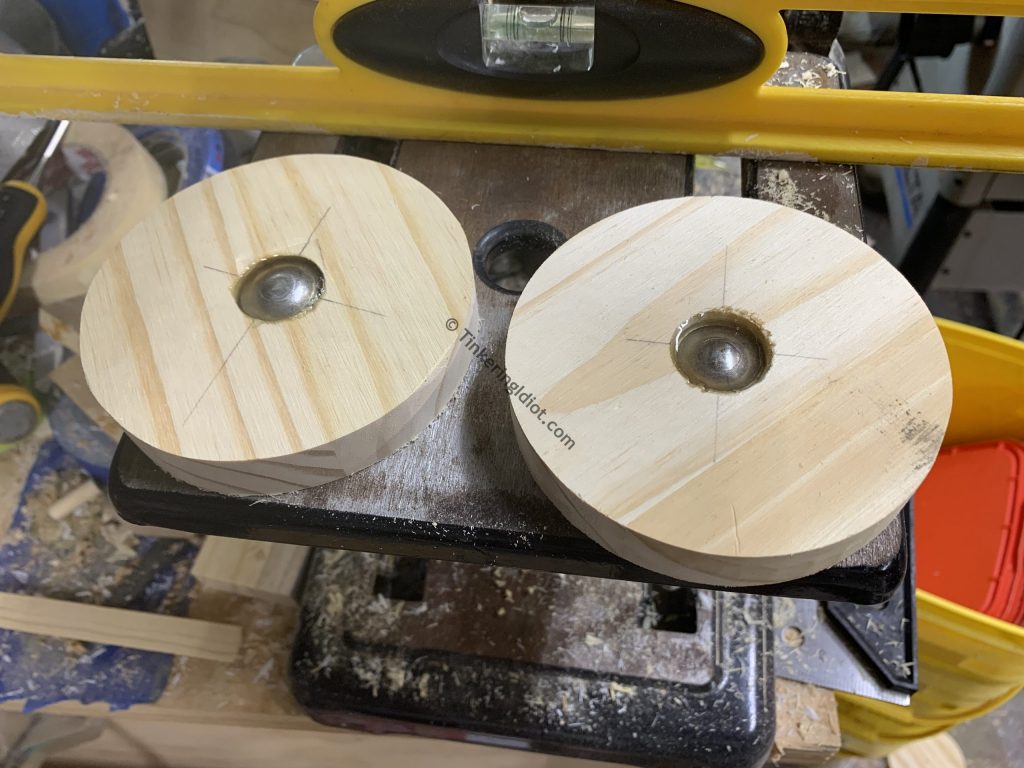
On the other end of the piston, I’ll finally use the 2″ circles I cut at the start. The other end of the platform’s 6″ bolt will go into a 3/8″ tee nut, which will provide the adjustment.
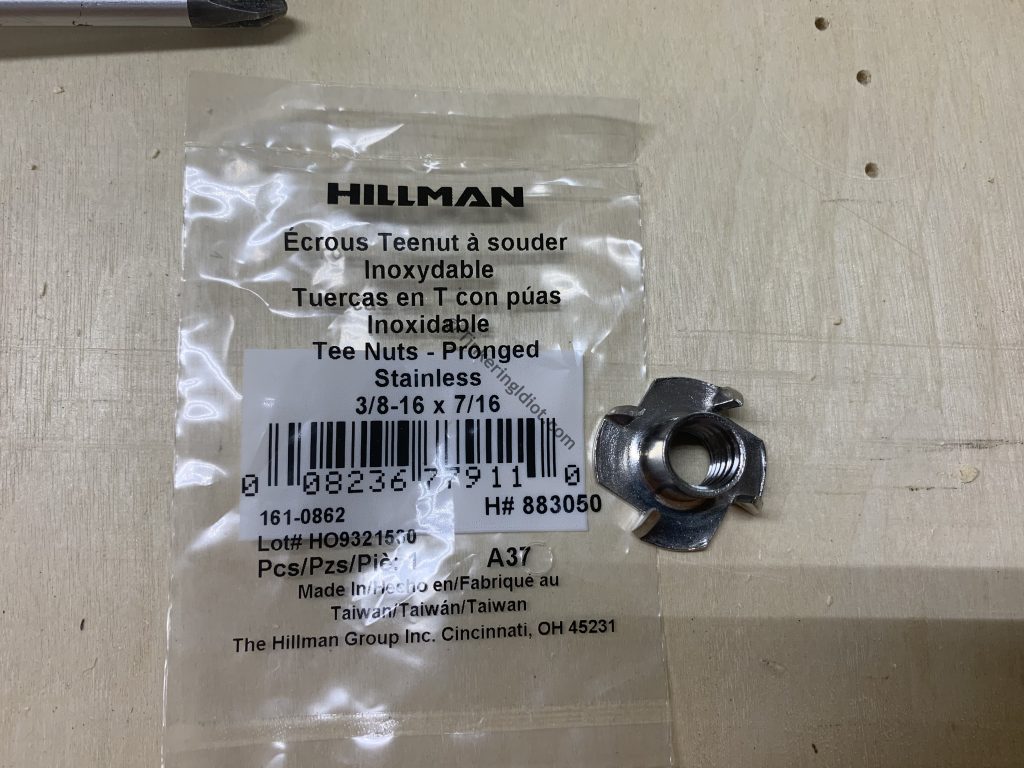
The 2″ circle gets a 7/16″ hole to accommodate the center of the tee nut, and small relief holes for the tines. Strictly speaking, tee nuts don’t always require relief holes like this, but I’m using cheap pine project board and I don’t want it to crack.

With the holes cut, I can press the tee nuts in with some scrap wood and a bench vise.

And that’s that. The 2″ circle with tee nut goes into the end of the 2″ PVC and is secured with a few 3/4″ wood screws. The platform screws down, and I’ve got an adjustable interior piston ready to go!
Navigation
- Part 0: A Thing No One Needs
- Part 1: Cutting Corners
- Part 2: Pedal Power
- Part 3: Inner Magic <– You are here
- Part 4: Body Building
- Part 5: Gettin’ Fancy


