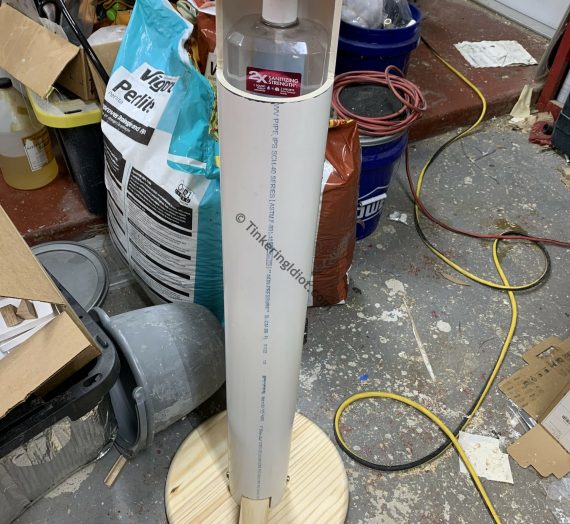
PVC is a wonderful material for tinkering with. It’s durable, it’s strong, it cuts and sands easily, and best of all it’s got an appealing roundness to it (OK, best best of all is that it’s dirt cheap, but roundness is also great). Round is an excellent shape for this project, because it means no sharp corners or edges for little knees, elbows, and eyeballs to get punctured upon. If there’s one thing I’ve learned in 7 years of parenthood, it’s that you should always do your best to avoid puncturing children, especially the ones that belong to someone else.
Roundness also presents a bit of a challenge, however, in that several of the parts this project demands will need to fit inside that nice, round pipe, and none of my favorite hardware stores sell round wood in the right dimensions. Which is a little odd, when you think about it – don’t trees generally grow in some sort of round-ish shape? I suspect there’s a shadowy right-angle conspiracy at play, here. Regardless, I need to cut some circles.
There are plenty of ways to turn wood into circles. A lathe, for example, would make short work of this part of the project. A set of sufficiently large hole saws could also be of use. Or a CNC router. Or a laser cutter. Or any number of other wonderful tools that I don’t own.
But no! I hunger for adventure, enormous medical bills, and the eternal enmity of our friends at OSHA, so I’ll be using my trusty old pal, the table saw.
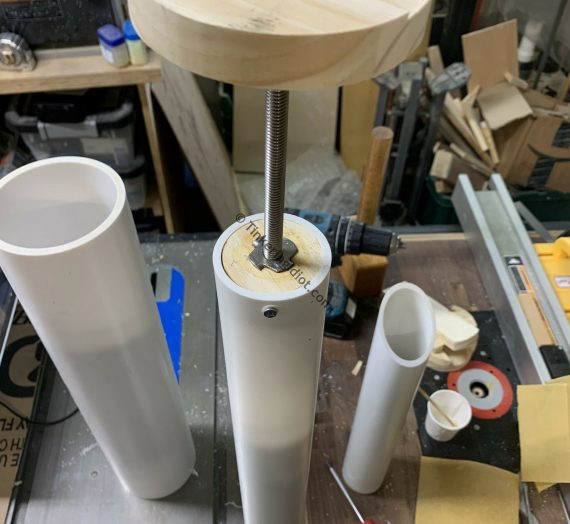
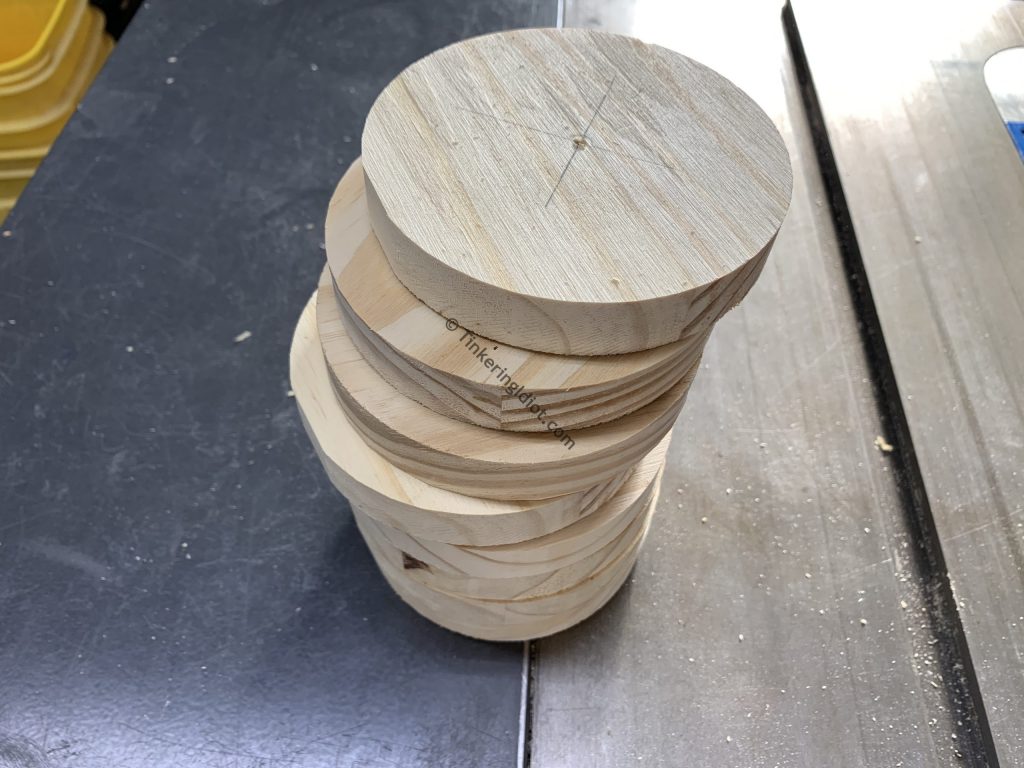
Each bollard requires several different wooden circles. I’m building two bollards at once here (because when you’re working without a defined plan or design, it’s best to waste as much material as possible with every mistake), but for each one I need:
- 1 each 2″ circle
- 1 each 4 1/2″ circle
- 4 each 4″ circle – you can save yourself some sanding later if you make these 3 15/16″. They need to fit in the pipe nicely, but a little wiggle room is helpful.
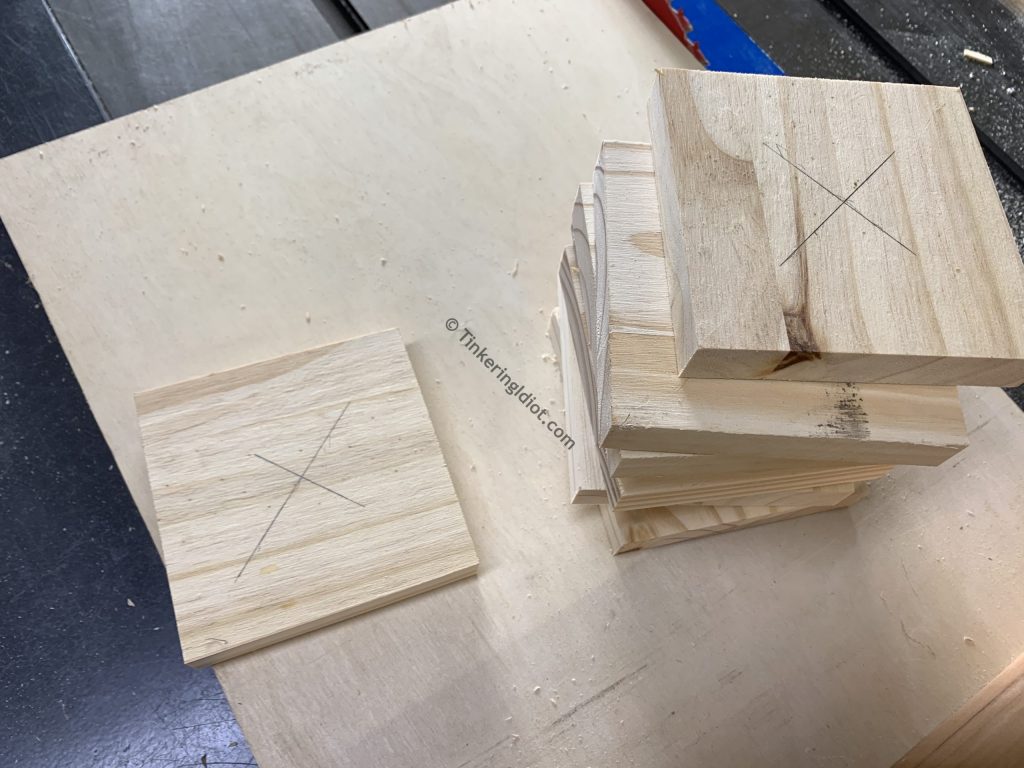
The process is fairly simple. First, cut some squares.

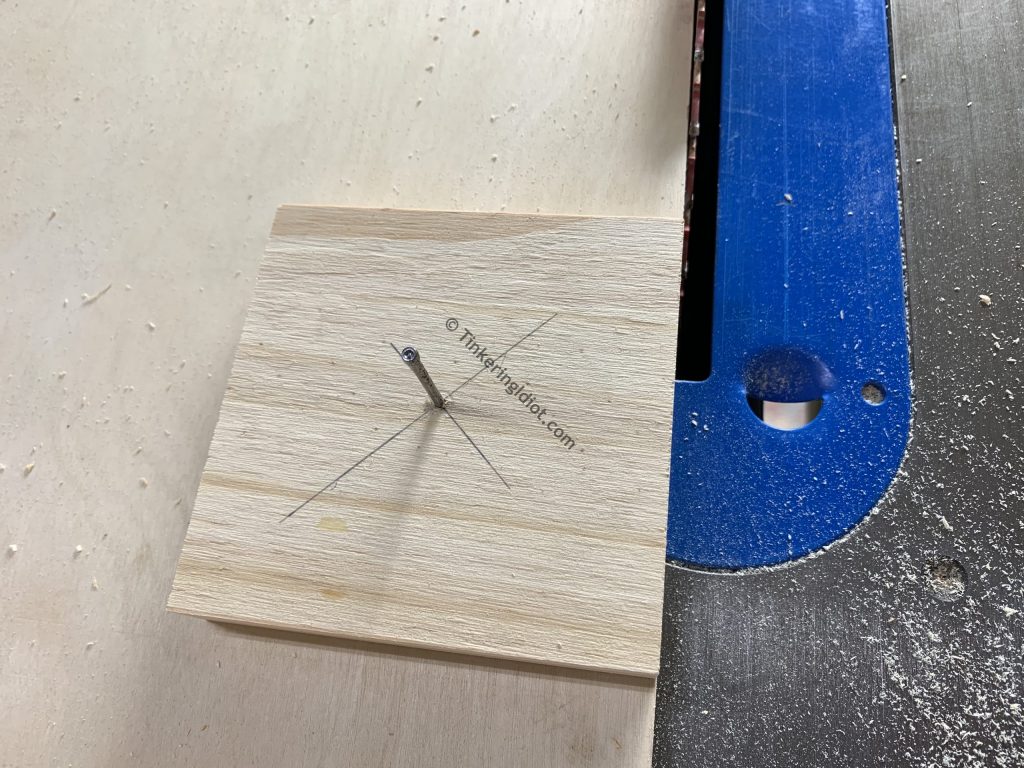
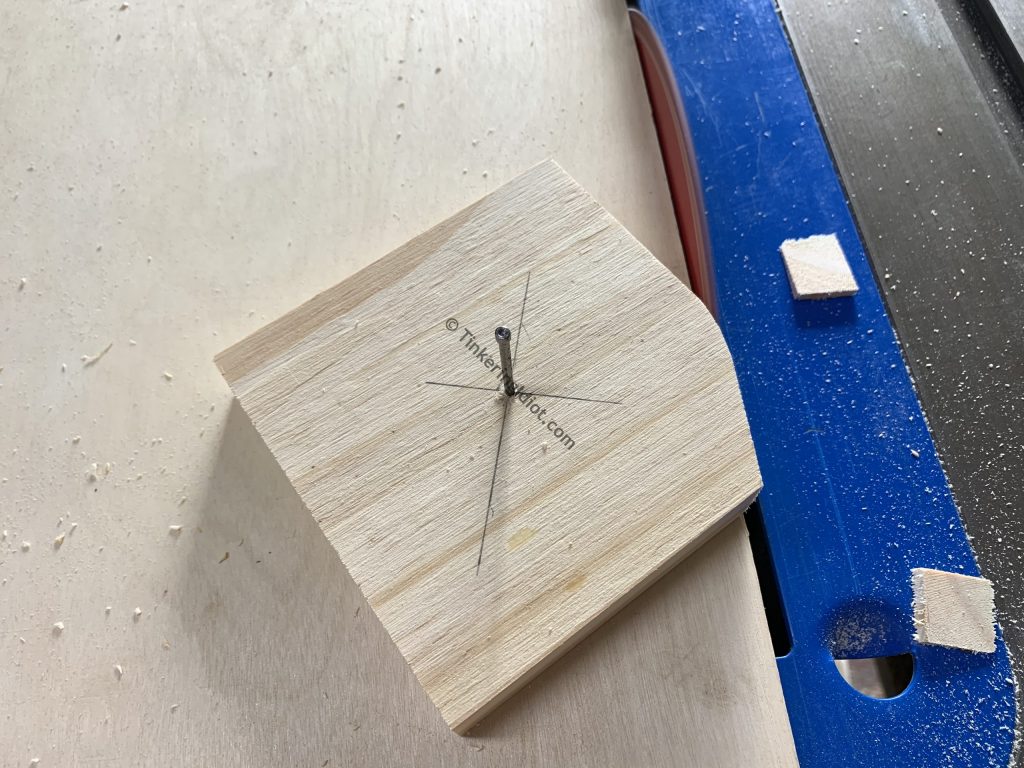
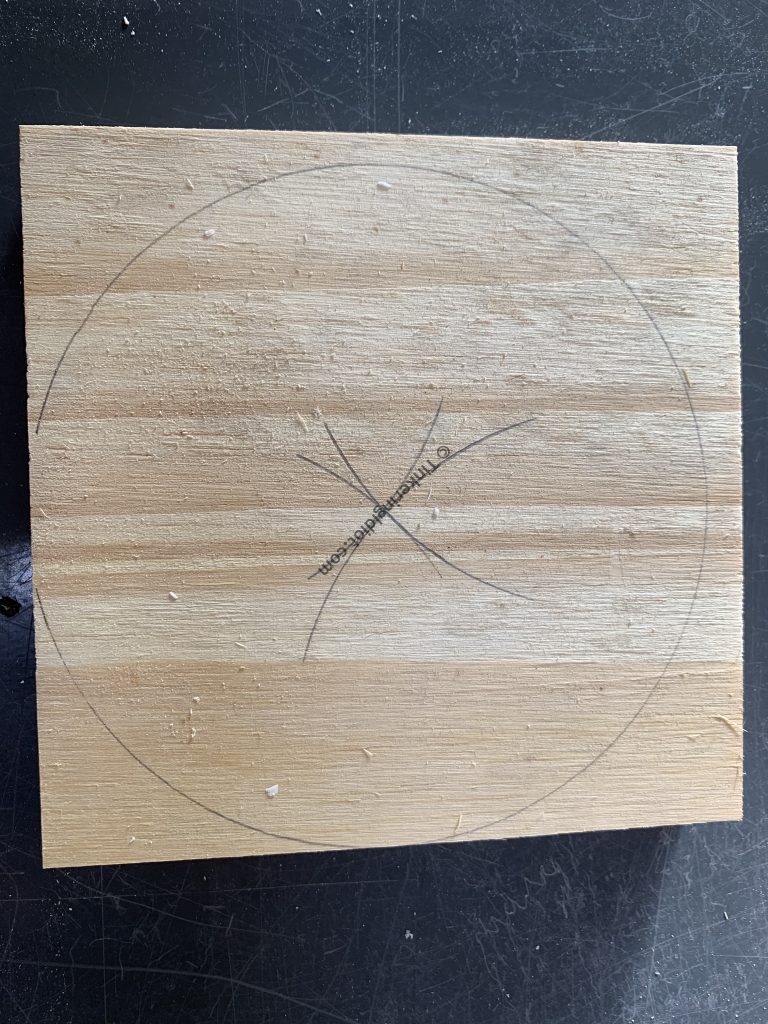
Draw lines connecting the corners. These lines intersect at the center.
Drill a hole in through the center large enough for a nail. Line up one edge of the square with the cutting edge of your favorite (least fancy) table saw sled, and tap the nail in. No need to go all the way through, you just need to keep the square in place.
Then the pucker-inducing fun part. Using the side away from the whirling death-blade, spin the square a little bit and push the sled forward to cut off the overhang. Pull the sled back, spin a little more, cut again. Keep doing this until the square is a circle.
Hooray, circles!
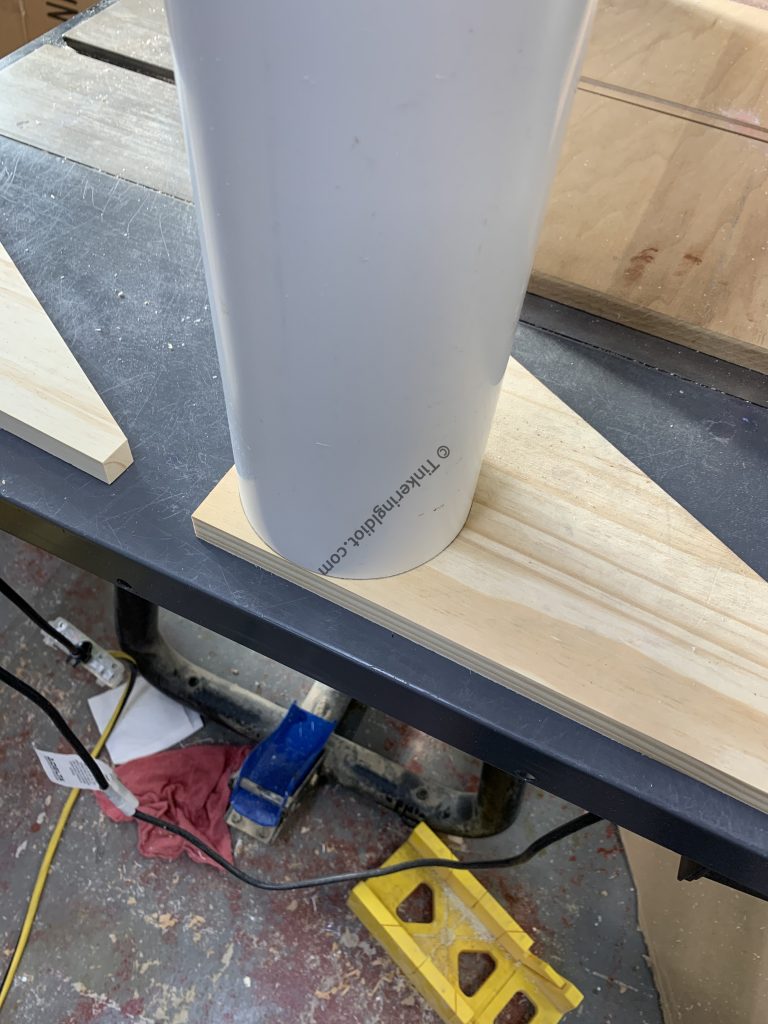
I did things a little bit differently for the 4 1/2″ circle. This one needs to match the outer diameter of the pipe body, so I started by lining up the pipe on two edges of a piece of scrap, then scribing a line around it.
This will give a circle 4 1/2″ in diameter, with a radius of 2 1/4″. I’m not starting with a nice square here, so I use the radius and my handy-dandy compass to find the center.
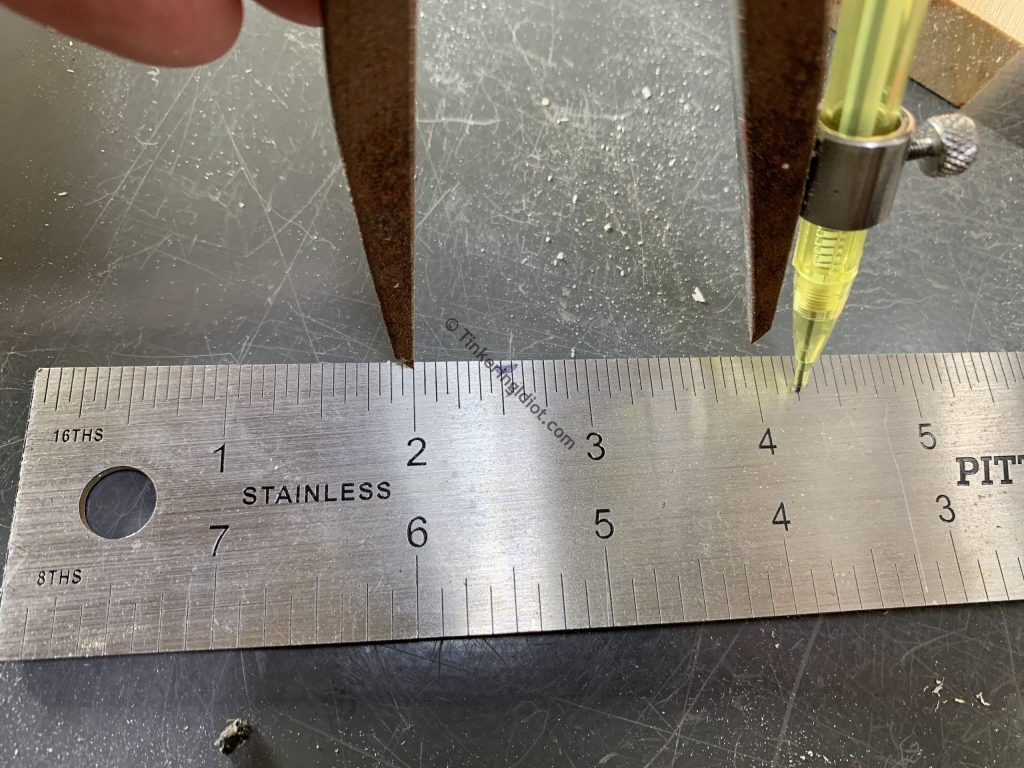
Scribing a short arc from several points on the edge of the circle reveals the center point. Math saves the day again!
From there it’s lather, rinse, repeat, and et voila, circles!

Navigation
- Part 0: A Thing No One Needs
- Part 1: Cutting Corners <– You are here
- Part 2: Pedal Power
- Part 3: Inner Magic
- Part 4: Body Building
- Part 5: Gettin’ Fancy