With all the internal mechanisms complete, I may as well build something to hold the paint. And, you know, keep the rest of it together and functioning and stuff.
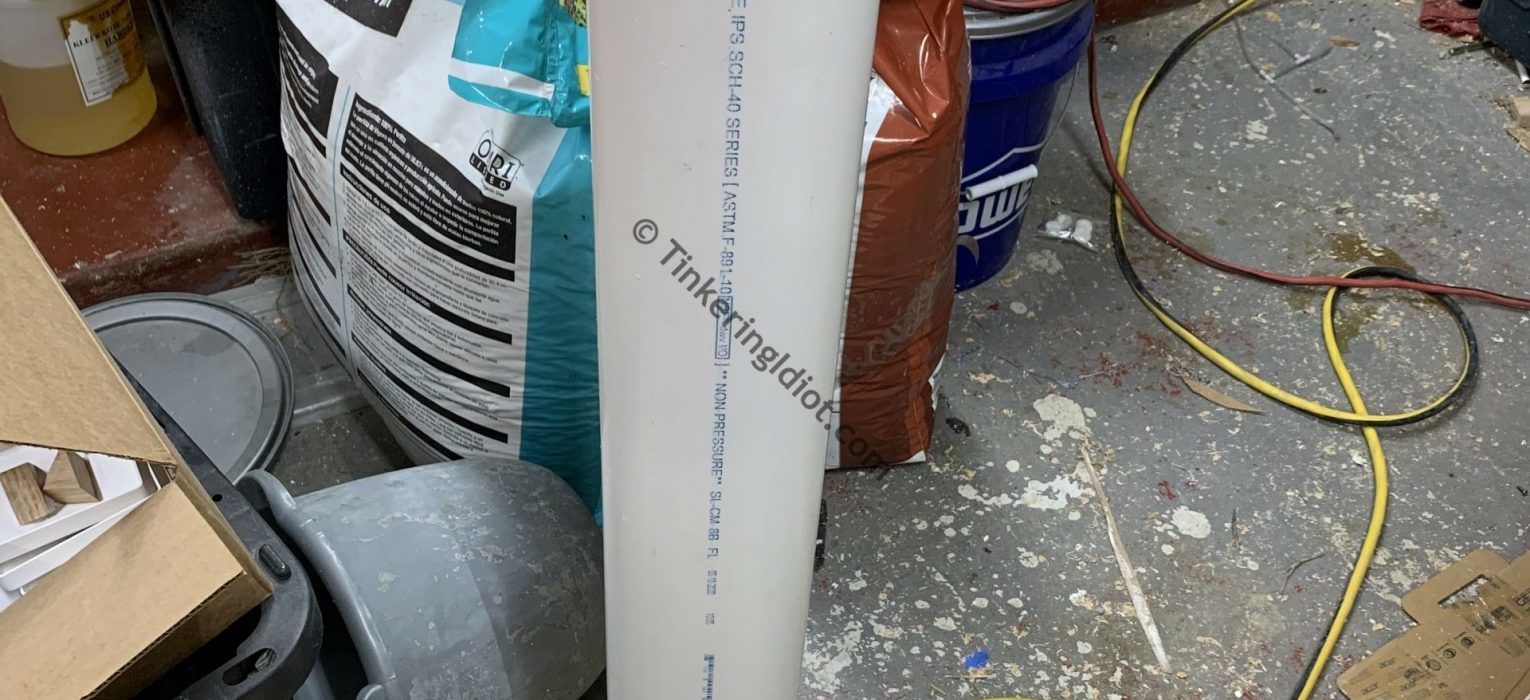
The body begins with a 5 foot section of 4″ PVC. You know that old adage about measuring things for yourself, and not trusting the shelf tag at the hardware store? Well, it turns out that’s pretty good advice.
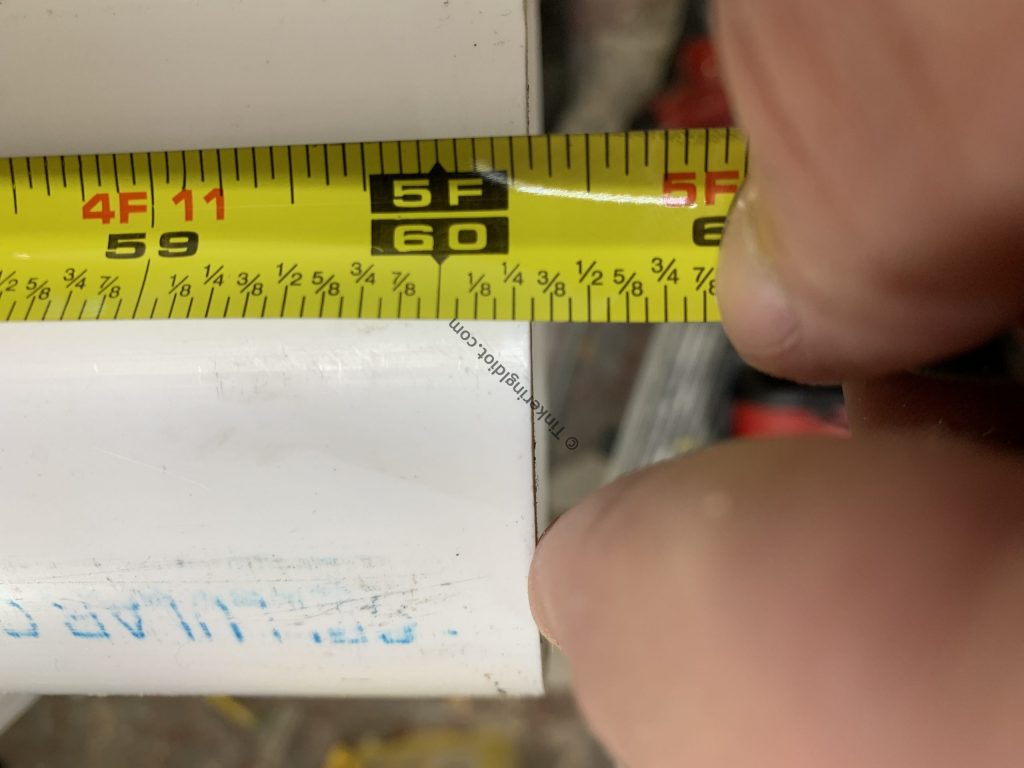
The main body of the bollard will be 40″ long, a measurement taken from my highly calibrated Child Height Estimator 5000 (i.e. standing a child next to the pipe and taking a guess). So I need to cut it down.
The best method I’ve found for getting a clean cut on pipes this large is to use the table saw with my cross-cut jig. I set the blade height just high enough to cut through the wall of the pipe, set the fence at the appropriate length, let the blade bite in, then rotate the pipe gently until it’s cut all the way around. Now, since my table saw fence doesn’t go out 40″, I’ve got to cut off the other 20″ (and 5/16″, which is why the “bonus” PVC matters).

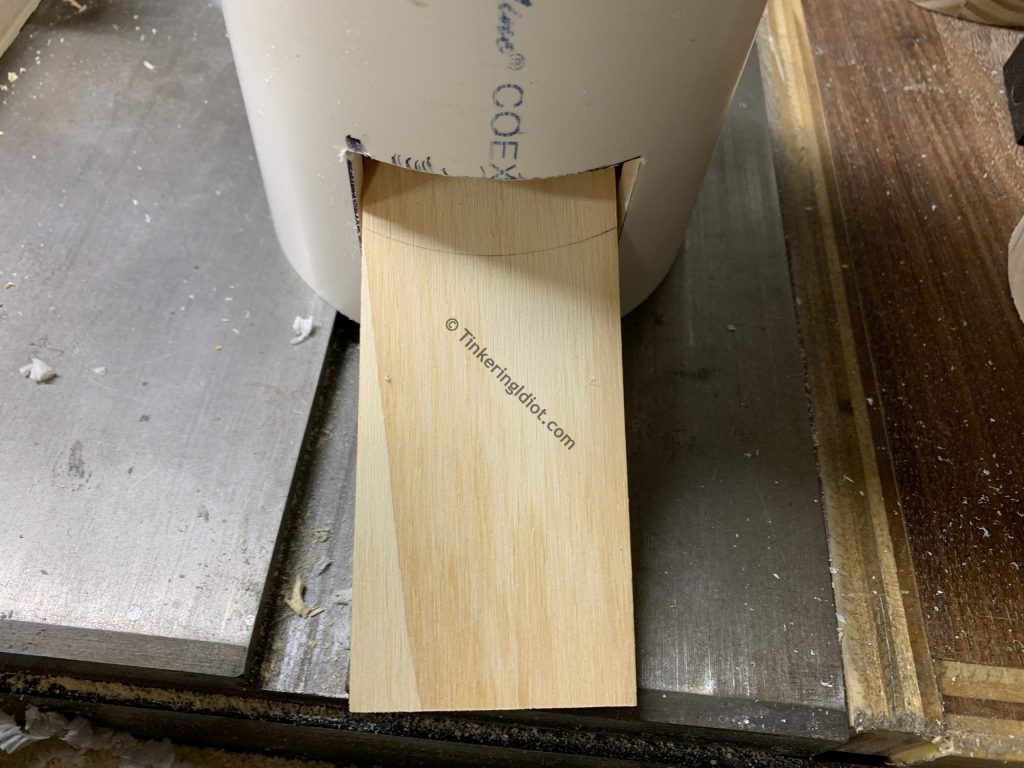
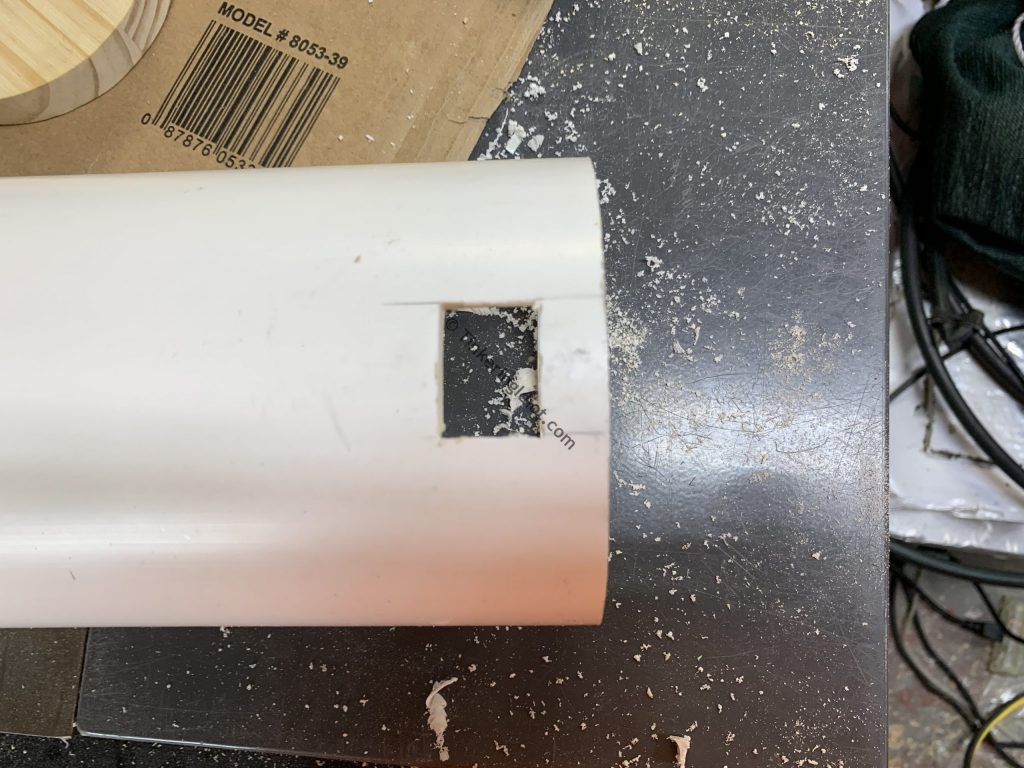
Body cut to length, I use the pedal to mark off a cutout at the bottom, roughly centered on the manufacturer’s printing on the pipe. This is wide enough for the pedal to fit in freely, and high enough to match the pedal mechanism and not to interfere with the full travel distance. Also, I understand now why wood comes in flat rectangular shapes – curves are a pain to measure.

After some quality time with the jigsaw, I’ve got a pipe that fits over the pedal base!
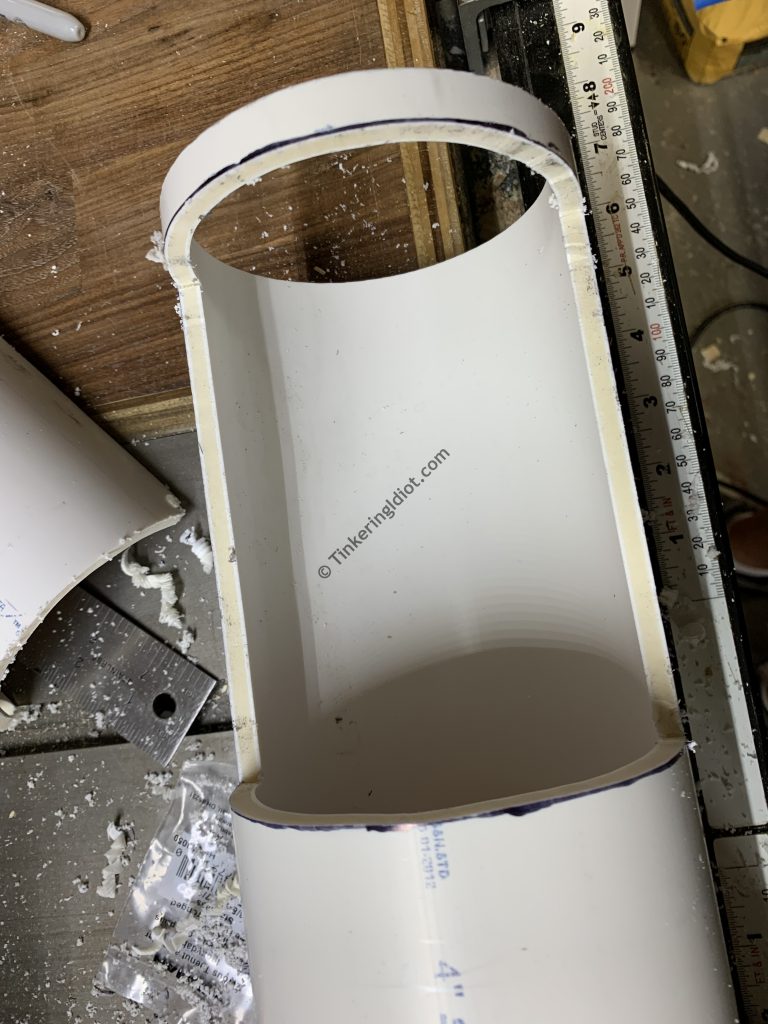
Now to the other end of the body. I need a bigger hole for the sanitizer bottle to stick out. I start that with a template. I thought about making a teardrop shape, or something otherwise fancy and cool. Then I realized that a rectangle is more in-line with my skill set. So, a 6 3/4″ by 5 1/2″ rectangle it is!

I tape the template down on the pipe 1/2″ from the top, as straight as the ol’ Laser Eyeball can get it, and trace around it with a marker. The printing on the pipe helps line this hole up with the pedal at the other end.

I drill a few nice big holes near the corners to turn the jigsaw blade, and proceed with my jigsaw butchery. I’m far from a jigsaw master, but the hole is cut nonetheless.
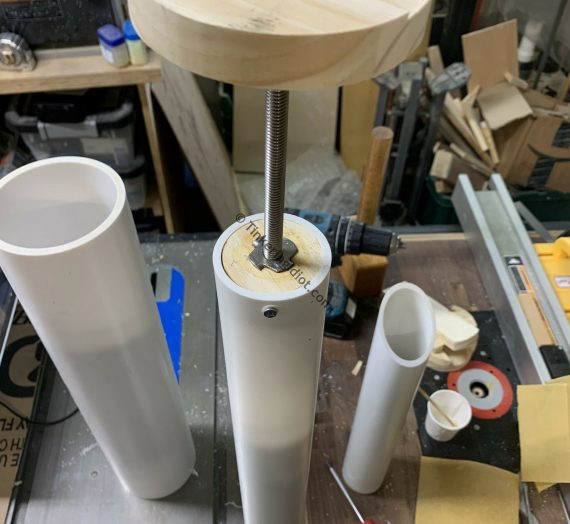
So, I’ve got a place for the pedal that does the lifting, and a place for the bottle that gets lifted. Next, I need something for the bottle to be pressed against to dispense that sweet, sweet sanitizer. The top block!
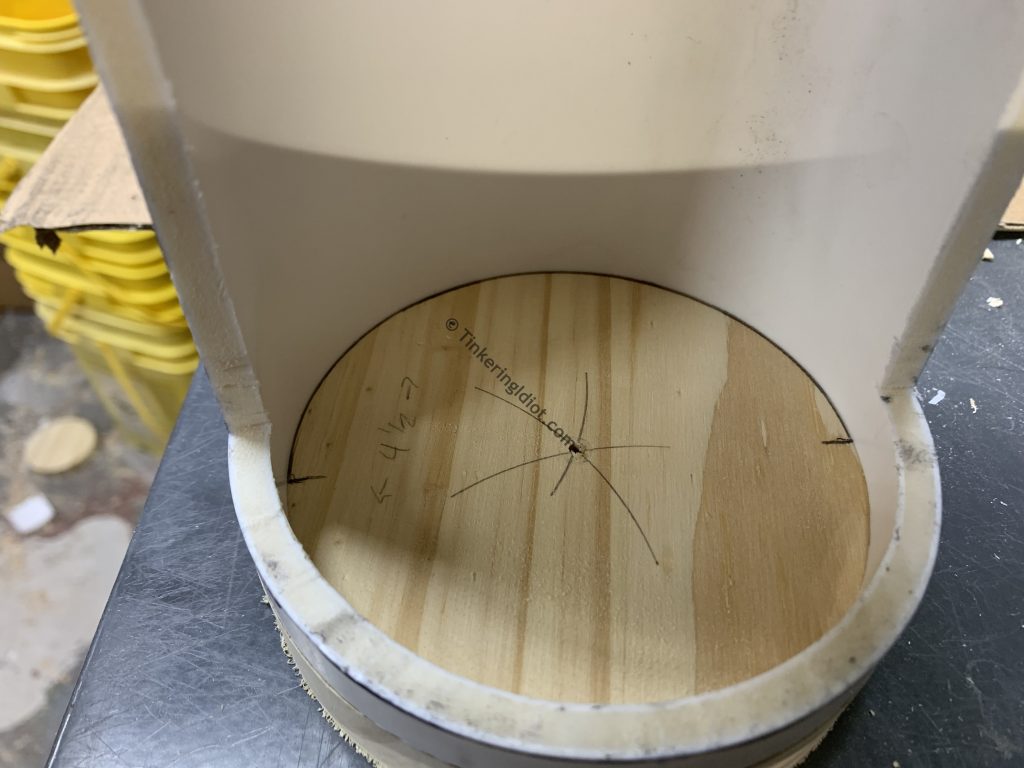
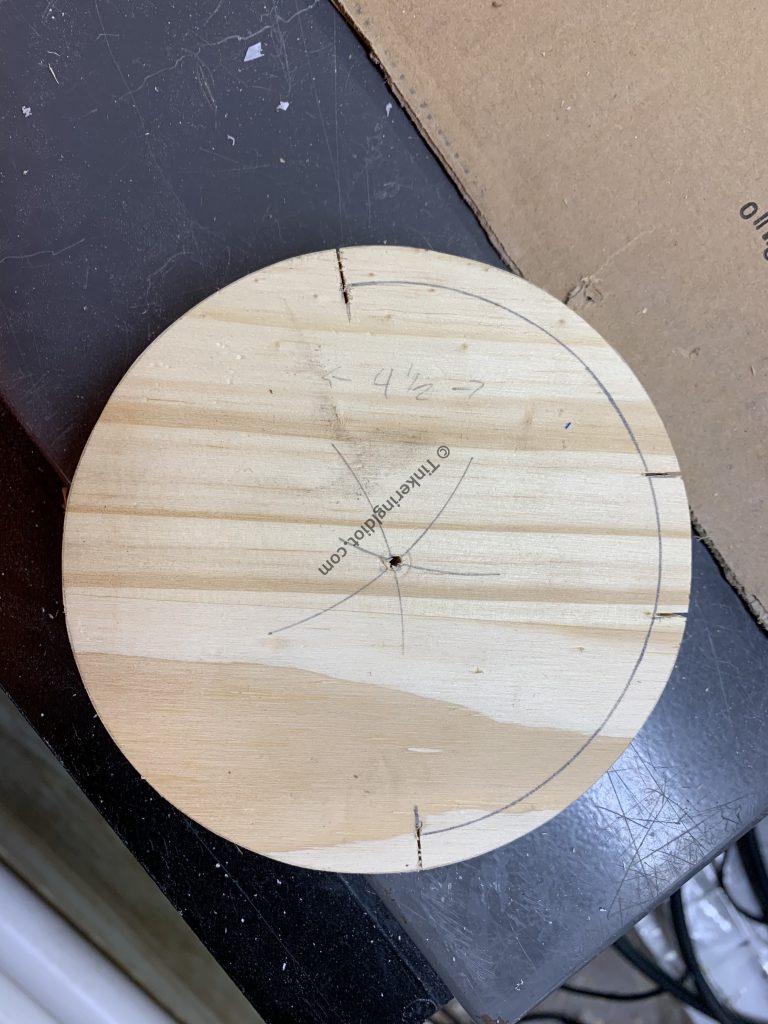
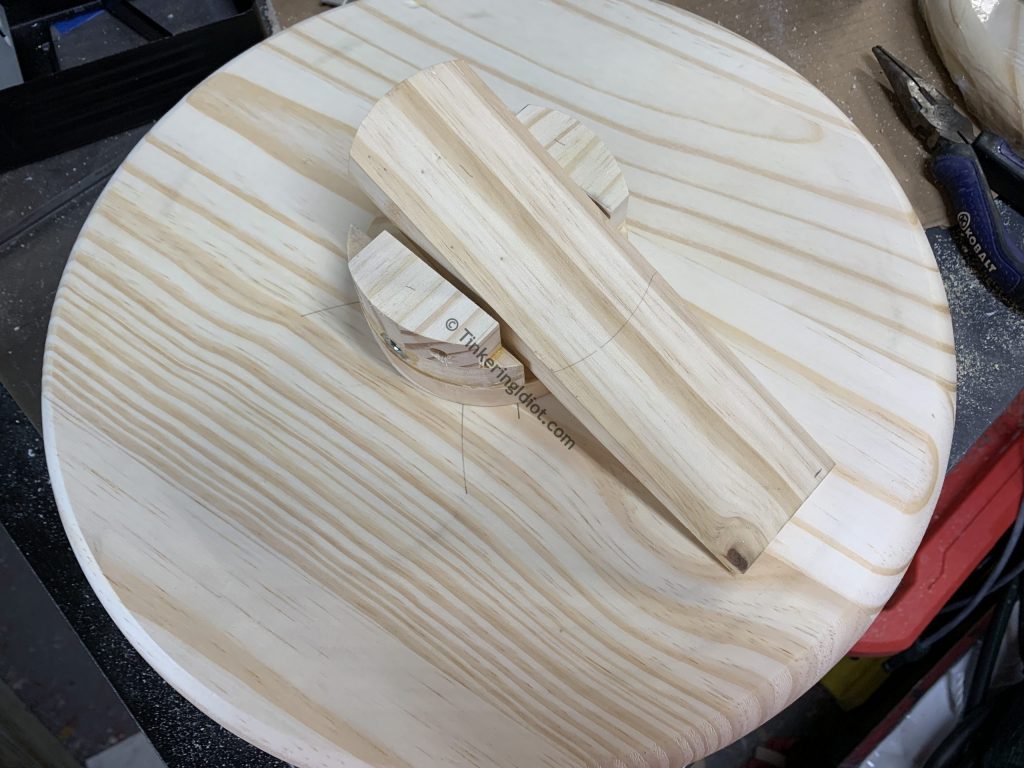
The top block begins as the 4 1/2″ circle that I cut at the start. I place the whole body tube on it upside down so I can trace out the inner diameter of the pipe, and mark off where the edges of the bottle hole are.
The idea here is that this top block will slot in under the 1/2″ PVC overhang and give the bottle something to be pressed against. To add a little more stability (because, you know, cheap plastic bottles are so powerful and all – it’s not engineered until it’s over-engineered), I add a post at the back, and cut the edges in with a pull saw.
My terrifying screeching-demon of a band saw takes care of the excess, as only a tool-found-on-the-curb can. Full disclosure, I did one of these with the jigsaw, and it did not go well.

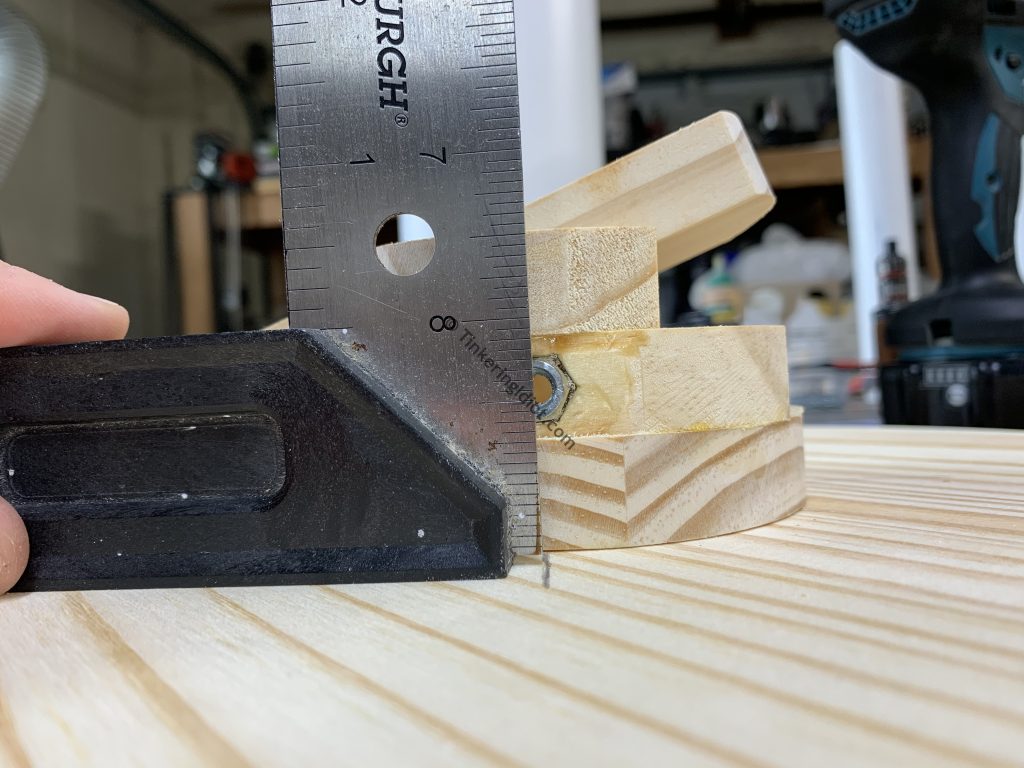
Now I’ve got to cut a hole in the body to fit that arbitrarily-sized post at the rear, so I set the top block on top of the pipe and mark off the edges.
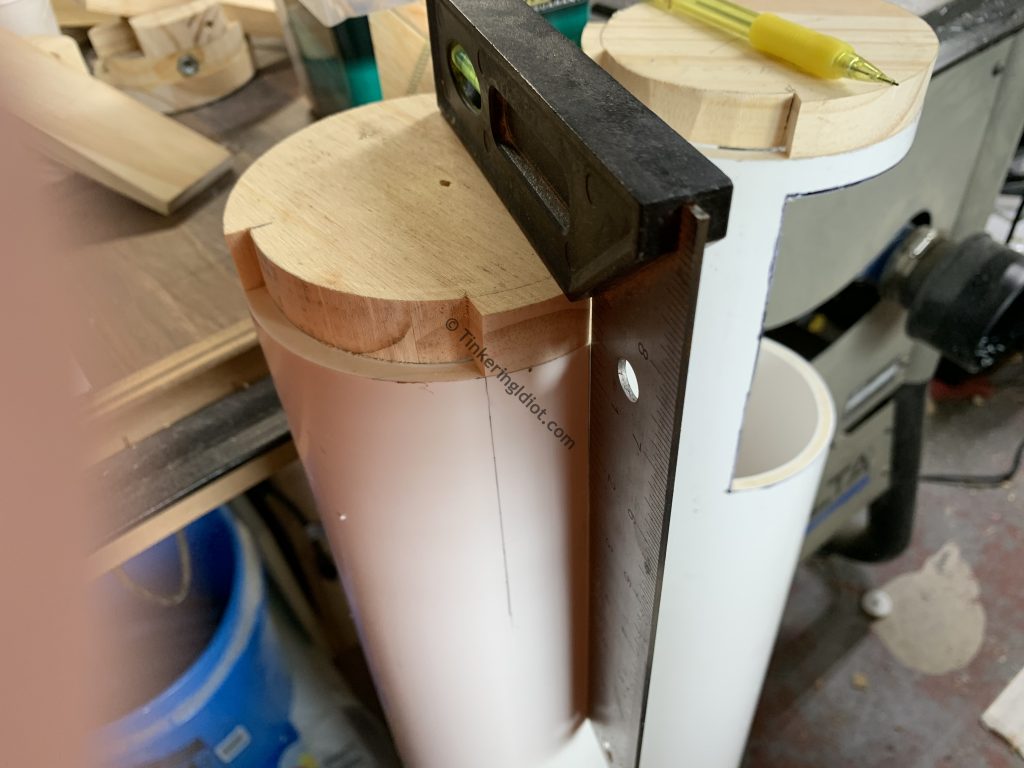
The block is 3/4″ thick, and 1/2″ from the top, so the other marks are simple enough.

A couple more holes and some masterful jigsaw-ry, and I’ve got a post hole!
And then many, many passes with a file later, I’ve got a hole that’s actually the size and shape that I wanted it to be!

There’s only one thing left to add. 4″ PVC, skookum though it may be, doesn’t stand up all that well on its own. I need a base plate. I’ve already cut circles, and I could cut another large one to use as a base plate. Or I could just buy one.

I reuse the “trick” (which is really math, but “trick” sounds more fun) to find the center of this new circle. This pushes my $1 compass about as far as it will go, and the result isn’t perfect, but it’s perfect enough.

I drill another nail hole in the base plate, because the base of the pedal mechanism has one to match, and I can line them up nicely.

So aligned, I drill some pilot holes and countersink them, then attach the pedal to the base with 1 5/8″ drywall screws.

And that’s it! I’ve got a base to hold up the bollard.
All that’s left to do is attach the bollard to the base, and I’ll have a functioning product! To start with, I mark off where the attachment holes are on the base, so I can see them with the PVC body on.

Then I measure how high they are, so I’ll know where to drill through the body.
Then drill the holes.
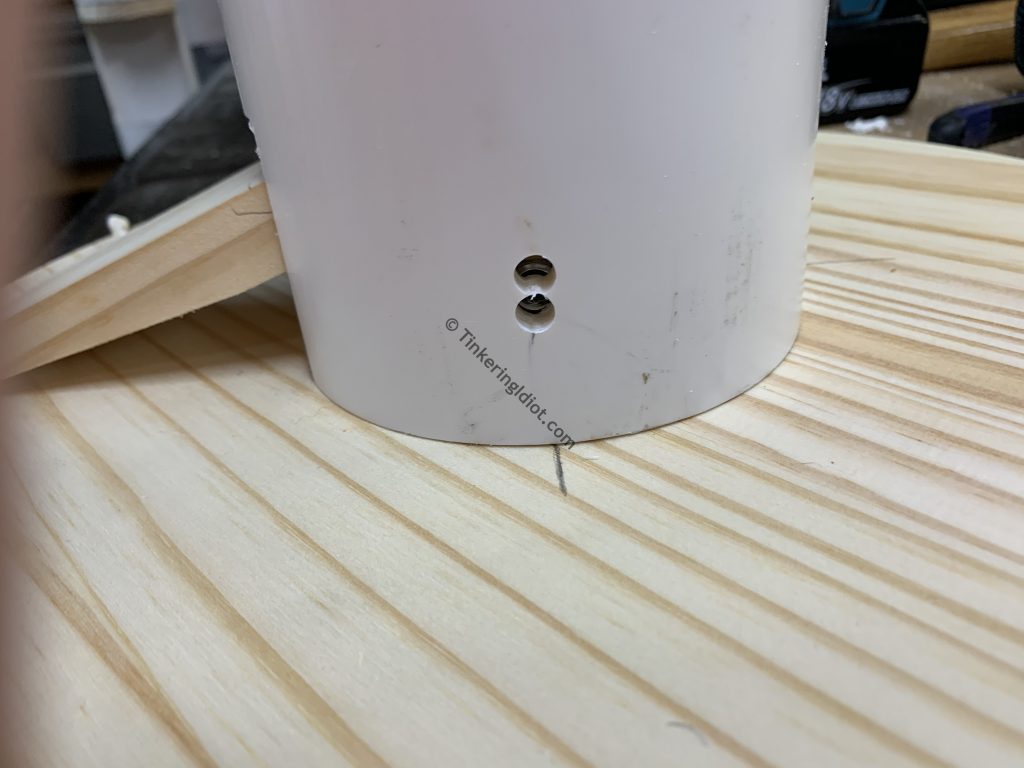
Thankfully, a good washer will both help hold the bollard in place, and cover up yet another mistake. The outer body of the pipe is curved, and in the interest of not leaving sharp little shredding surfaces (7 years of parenthood has taught me that shredding children is, in fact, bad), I bend the washers slightly with a couple pairs of pliers.

Once I drive in the screws holding the bollard to the base, it’s complete! At long last, a hands-free sanitizer dispenser!

Navigation
- Part 0: A Thing No One Needs <– You are here
- Part 1: Cutting Corners
- Part 2: Pedal Power
- Part 3: Inner Magic
- Part 4: Body Building <– You are here
- Part 5: Gettin’ Fancy