As it is with most DIY projects, simplicity is beauty here. The pedal is is just a lever, raising the bottle to dispense the sanitizer. The math around levers is, of course, well known, and we can finely tune this pedal to have a travel distance exactly matching the squeeze distance of common plastic dispenser bottles. This will guarantee that I get optimum dispensation with every pump.
Or, I can wing it and hope for the best. I like this option.
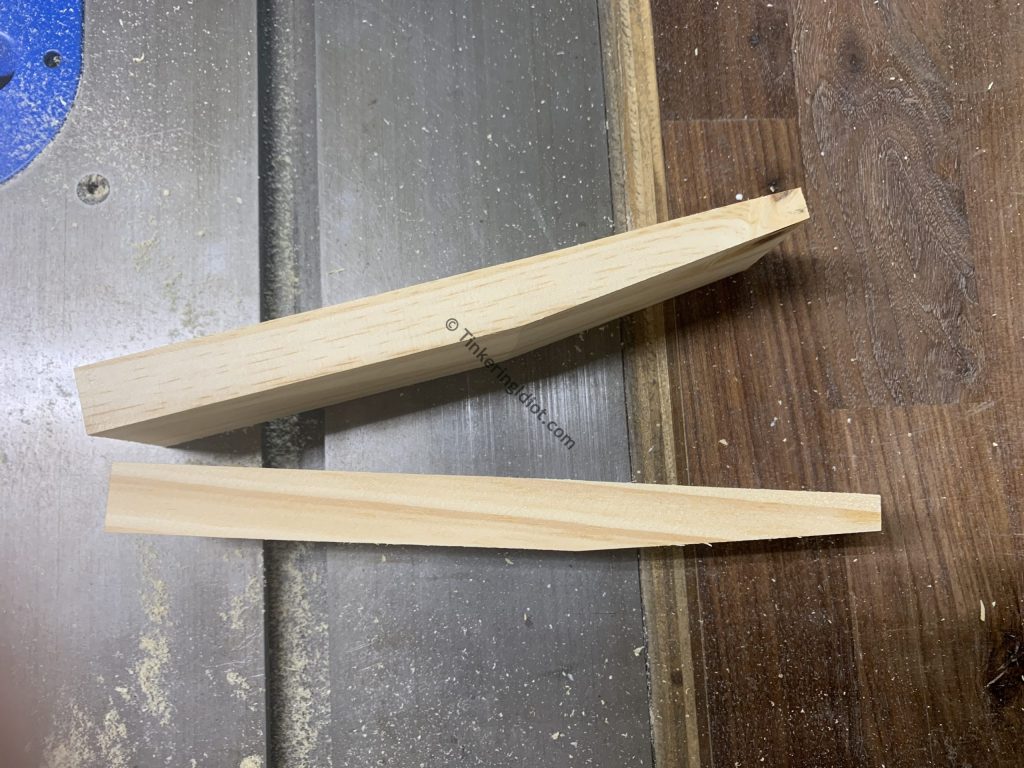
To start with, I need a pedal. Measurements with the old Mk1 Laser Eyeball show 2″ x 7 1/2″ makes for a perfect size.
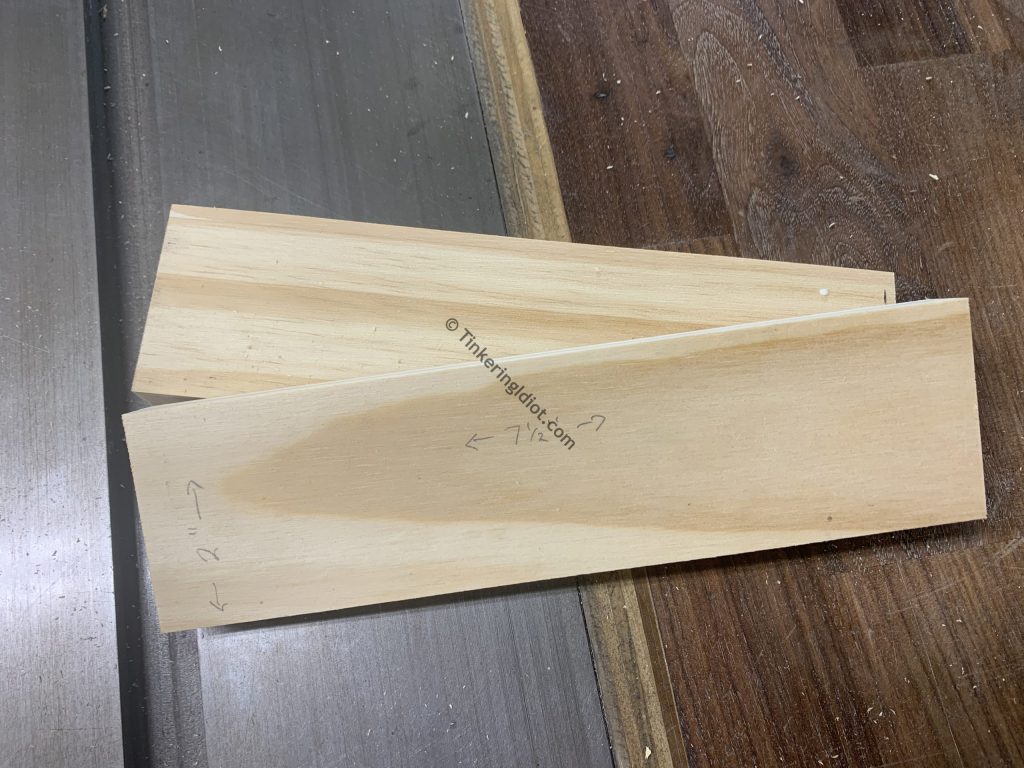
Math project aside, I am trying to maximize the travel distance of the pedal. I’ve only got 4″ of space inside the PVC body, and I’m worried that it won’t give much of a lift. So, I taper the pedal a bit using the table saw, to offer a little more.
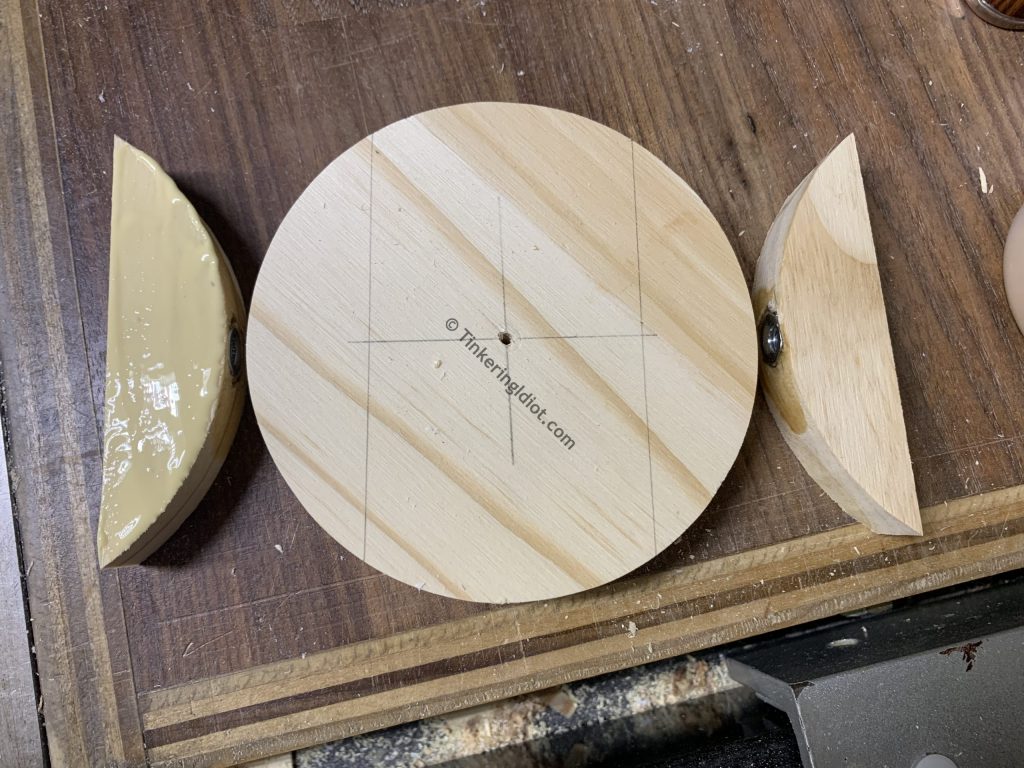
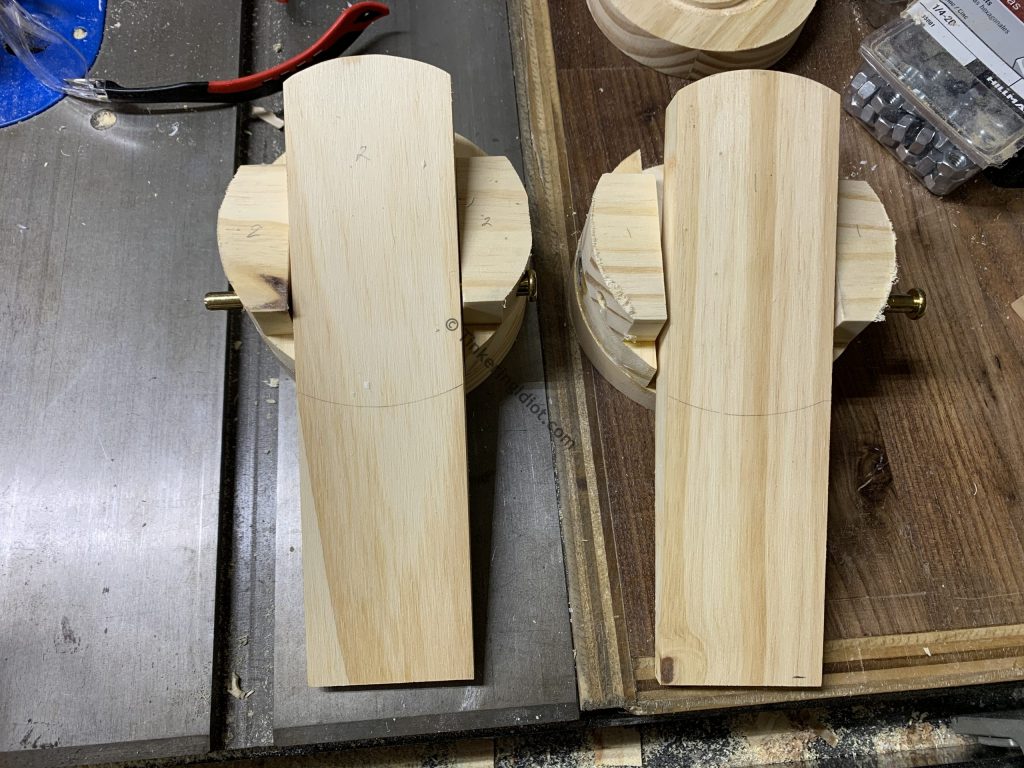
Now that I’ve got a pedal, I need somewhere to put it. I also need a base for the PVC body. Two of the 4″ circles I cut can make up the base, by using one as the base plate and the other to make risers. I start by marking off one circle using the pedal (recall that I’m building two).
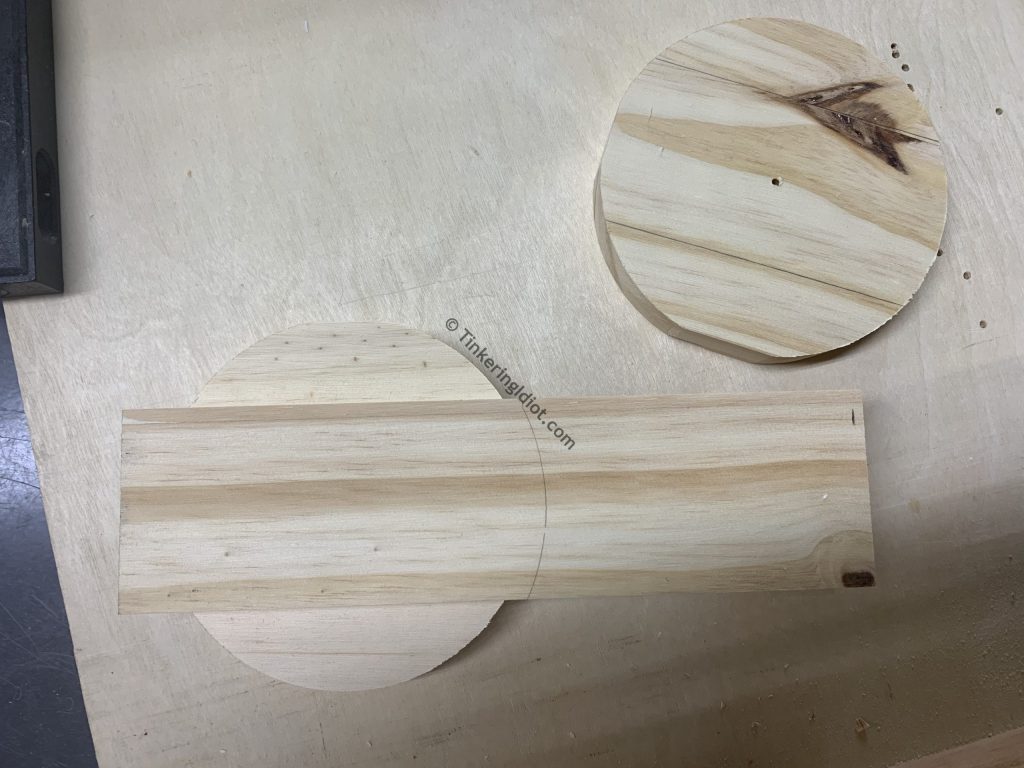
Essentially, I want all the curved portions of the circle for the risers, with enough room between them for the pedal. Using the first cuts as a guide, I cut the rest of the curve from the circle.
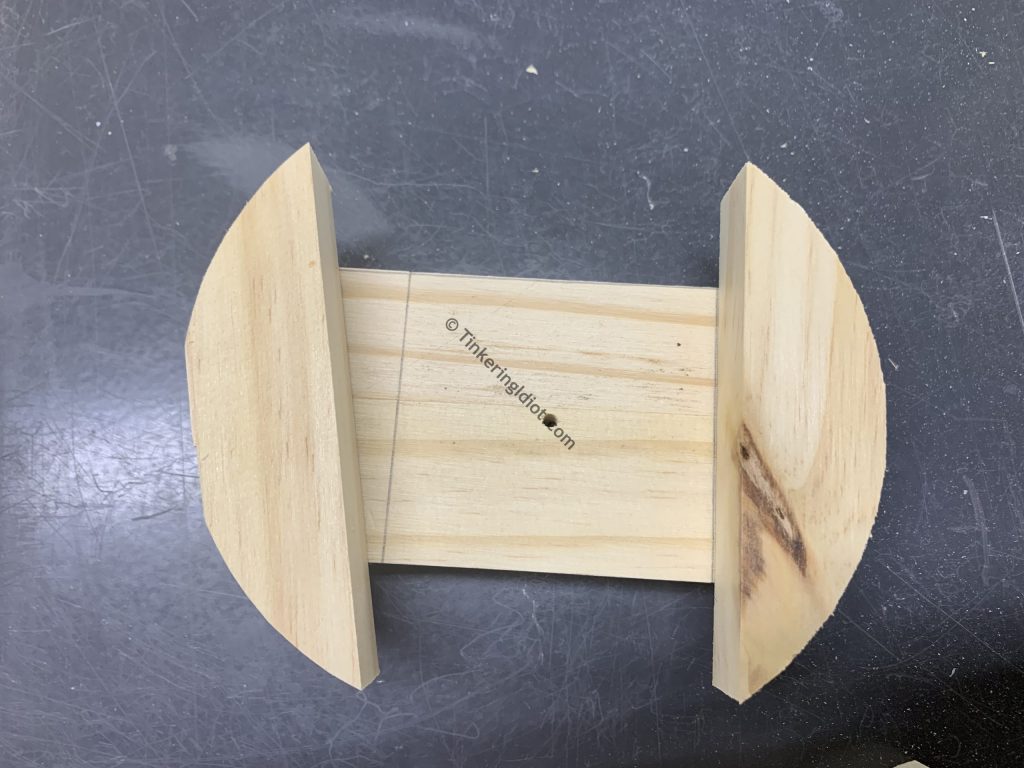
Together, these pieces will comprise the base, like so.
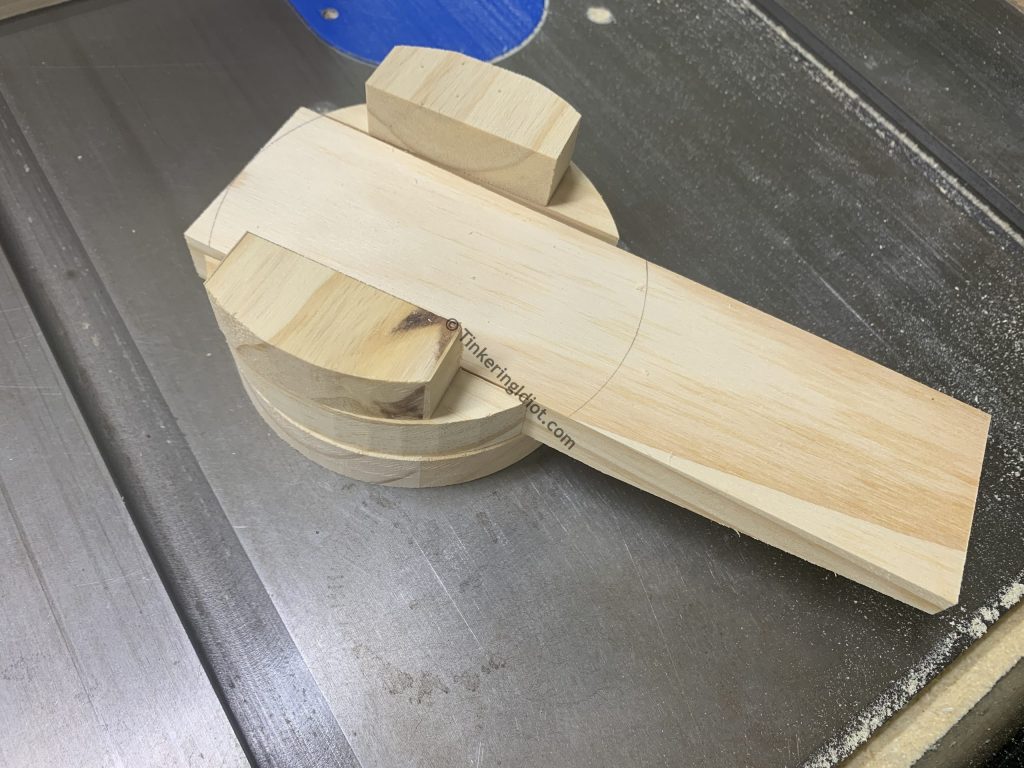
Before I assemble it, though, I need two things – a pivot point for the pedal, and an anchor point for the PVC body.
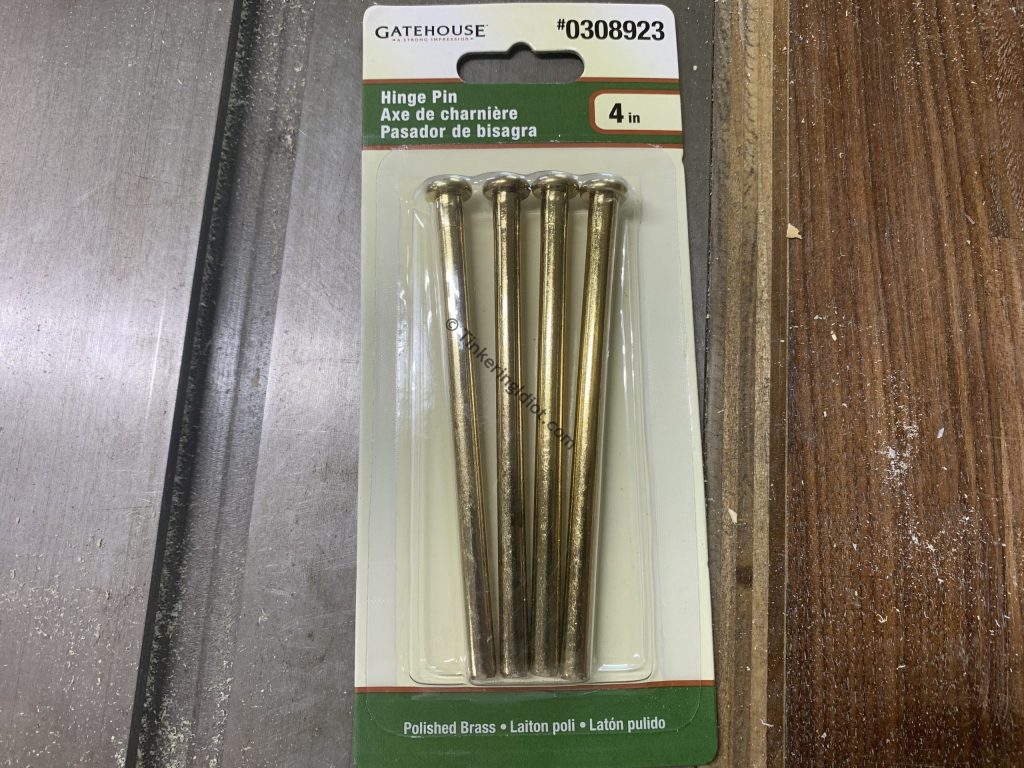
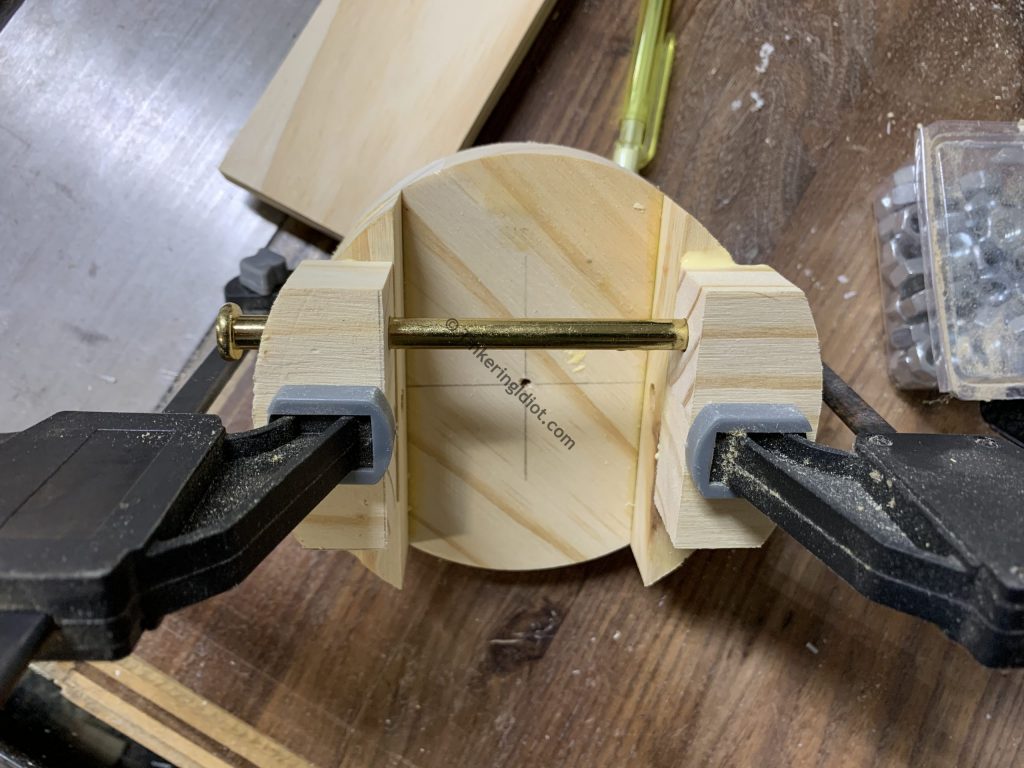
The pedal pivot point is simple enough. A door nail will make a perfect pin for the pedal to pivot on. I found these at the hardware store:
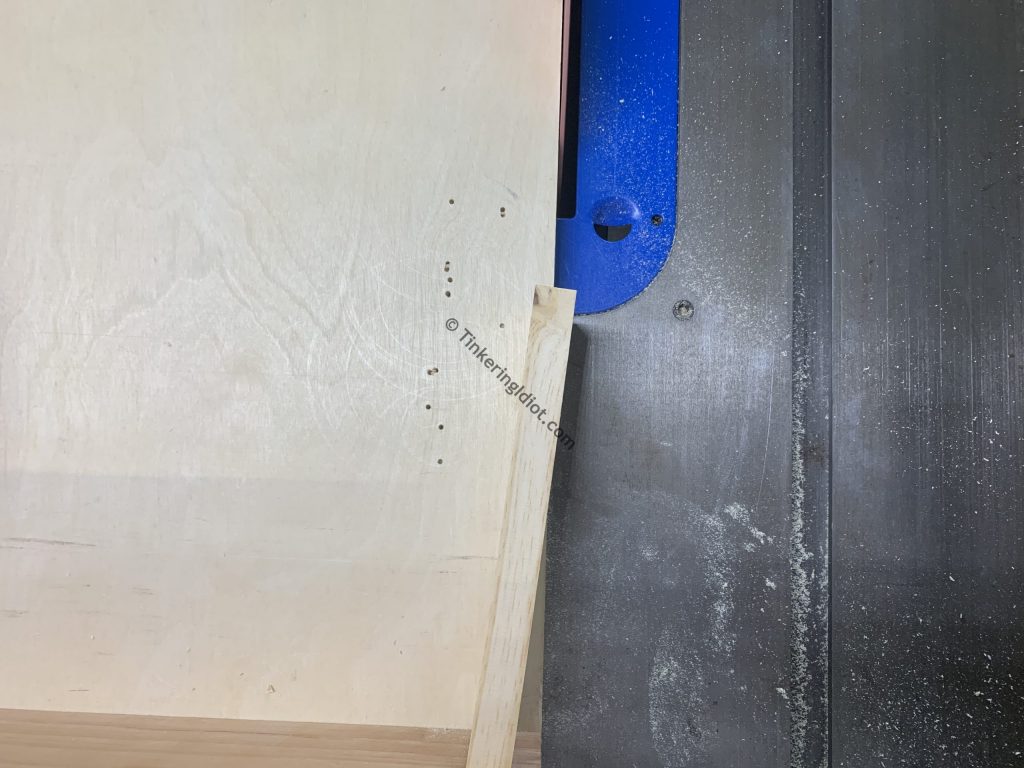
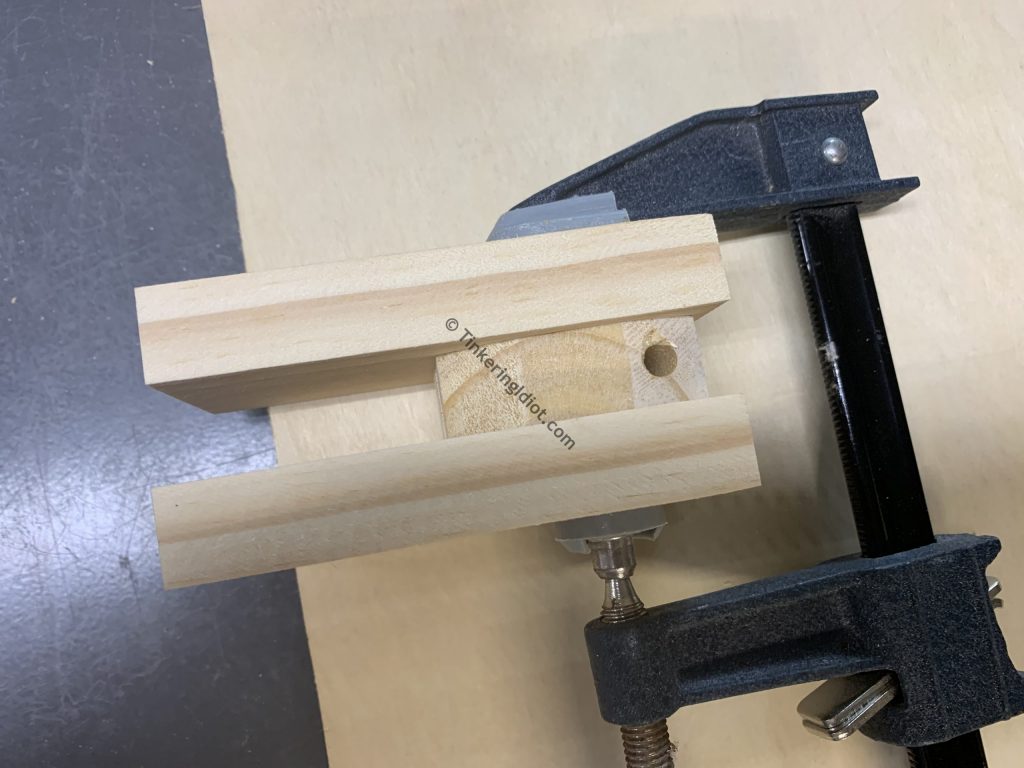
Then I just need a hole in the base and pedal to run it through. I clamp the two riser pieces together to keep the hole aligned, and drill a 1/4″ hole in them close to one side. I offset the hole as another way of increasing the travel distance of the pedal – the closer it is to one side, the further the other will move when stepped on. These pieces will be the top of the base riser.
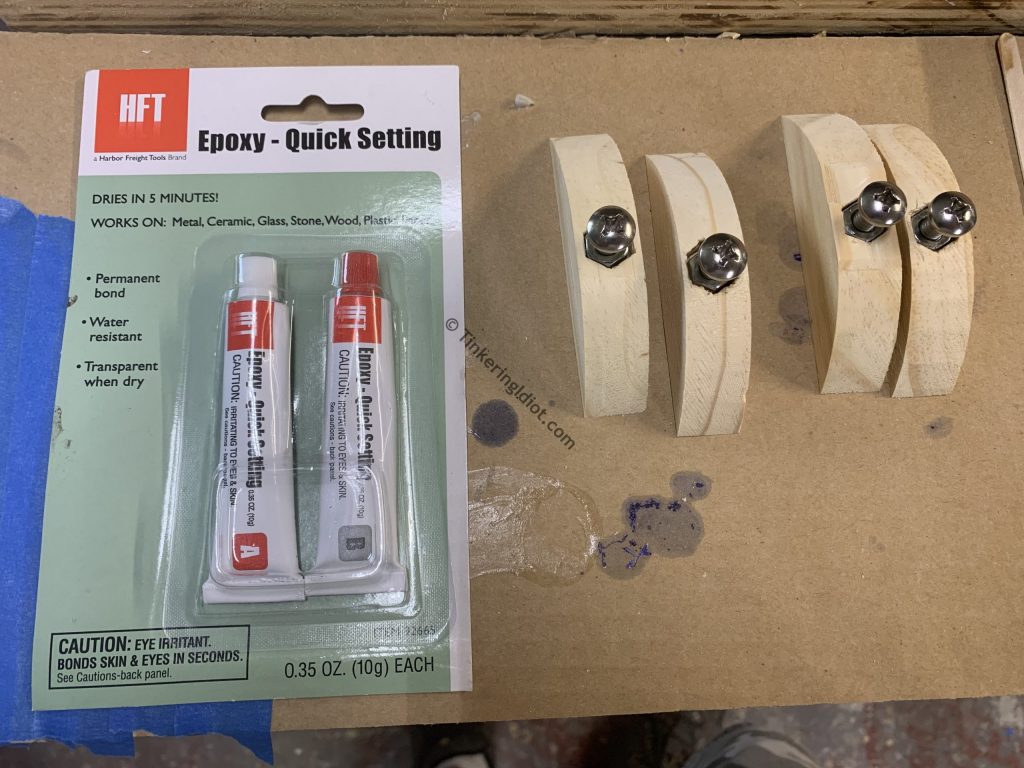
The anchor point for the body is a little more complex, and like most complexity in these projects, it’s because I screwed up. A 1/4″ threaded insert is the right way to do this. I even looked at them at the hardware store. And, like an idiot, I didn’t buy any. Then, even more like an idiot, I decided to cobble a solution together, instead of drive back to the hardware store and spend a couple of extra bucks.
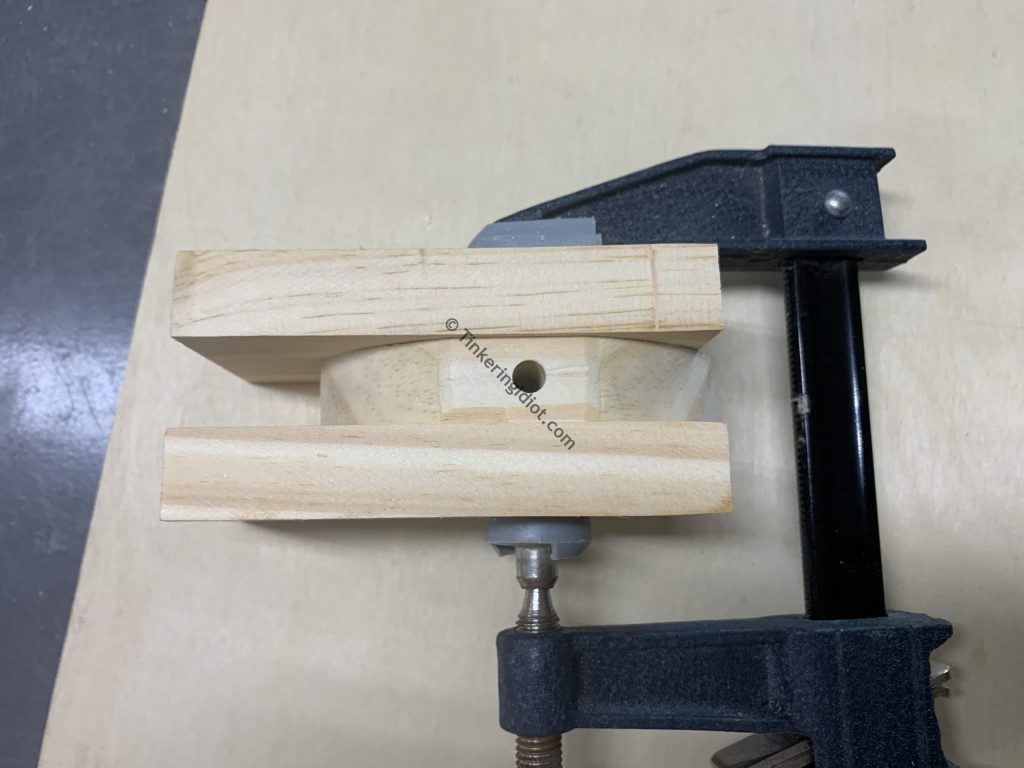
Despite its horrible wrongness, this epoxy-coated disaster started with a 1/4″ hole through the middle sections of the riser.
I’m embedding a 1/4″ nut in each side to take the bolts that hold the PVC body on. So, I start by tracing a nut around the hole.
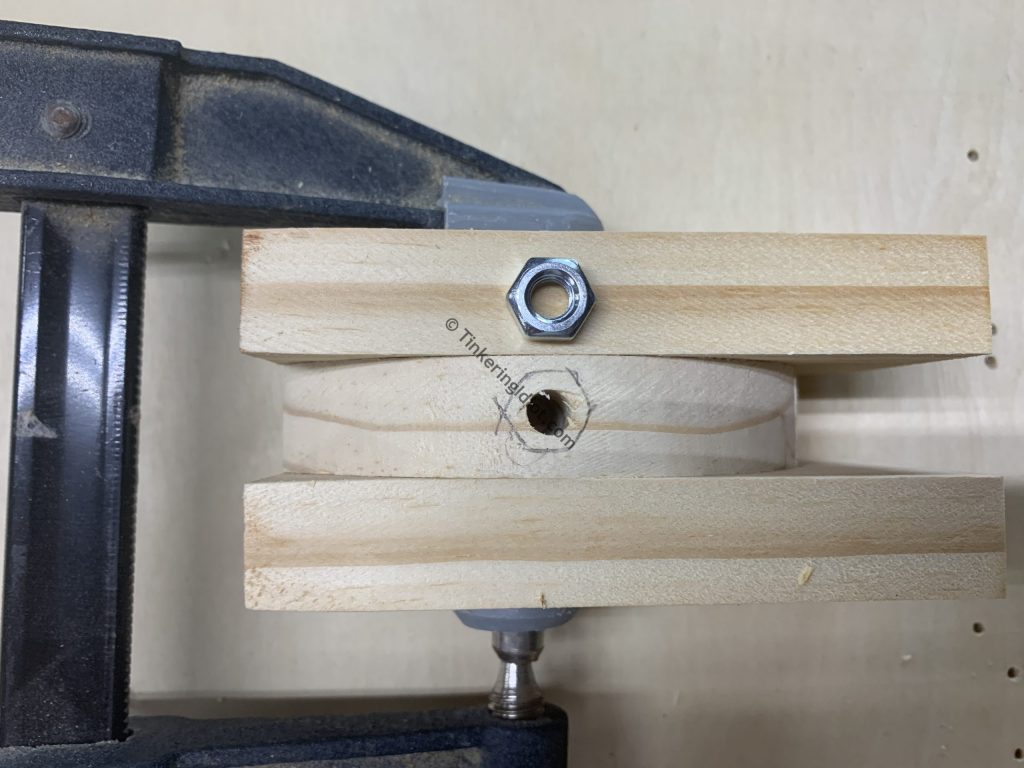
Then I (badly) chisel out the shape of the nut, deep enough for the nut to sit slightly below the surface of the curved part.

Then, the mess-making! Nothing turns hope into disaster faster than 5-minute epoxy, so of course, that’s what I’m using to embed the nuts. I threaded a screw in to each to keep the nuts lined up with the holes while the epoxy cured, and this made them very difficult to remove. If I hadn’t checked on them part-way through the curing process and removed the screws, I’d have probably had to start this whole part over.
At this point, I’m ready to assemble the risers!
Cue “there’s no such thing as too many clamps” shot!
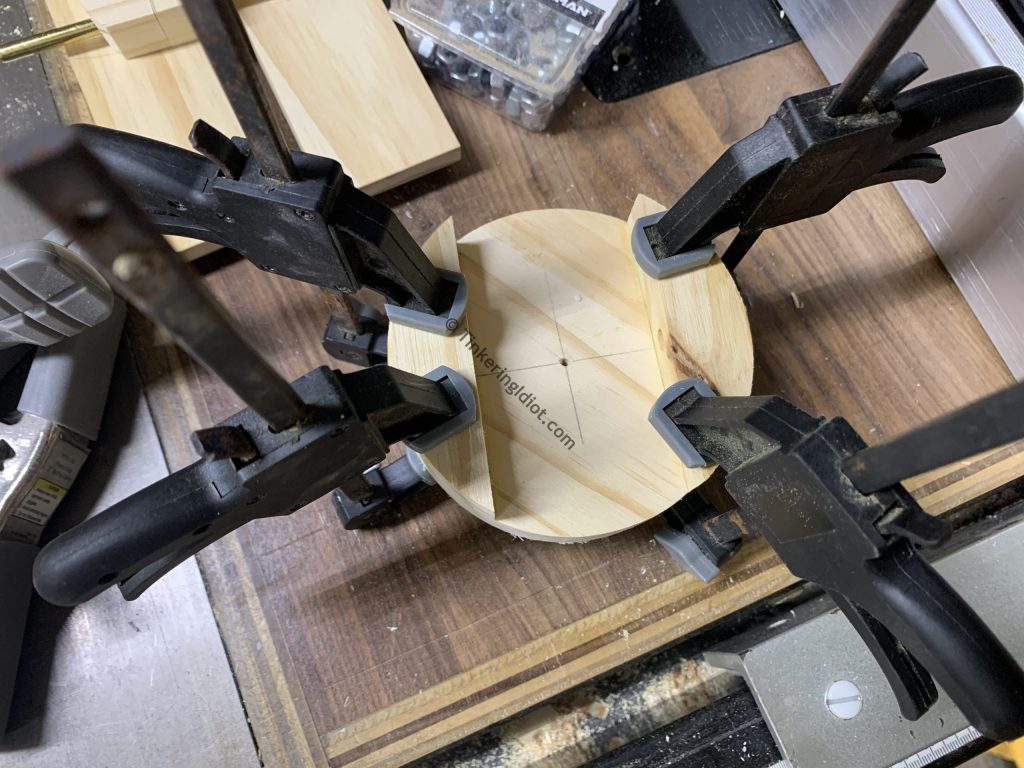
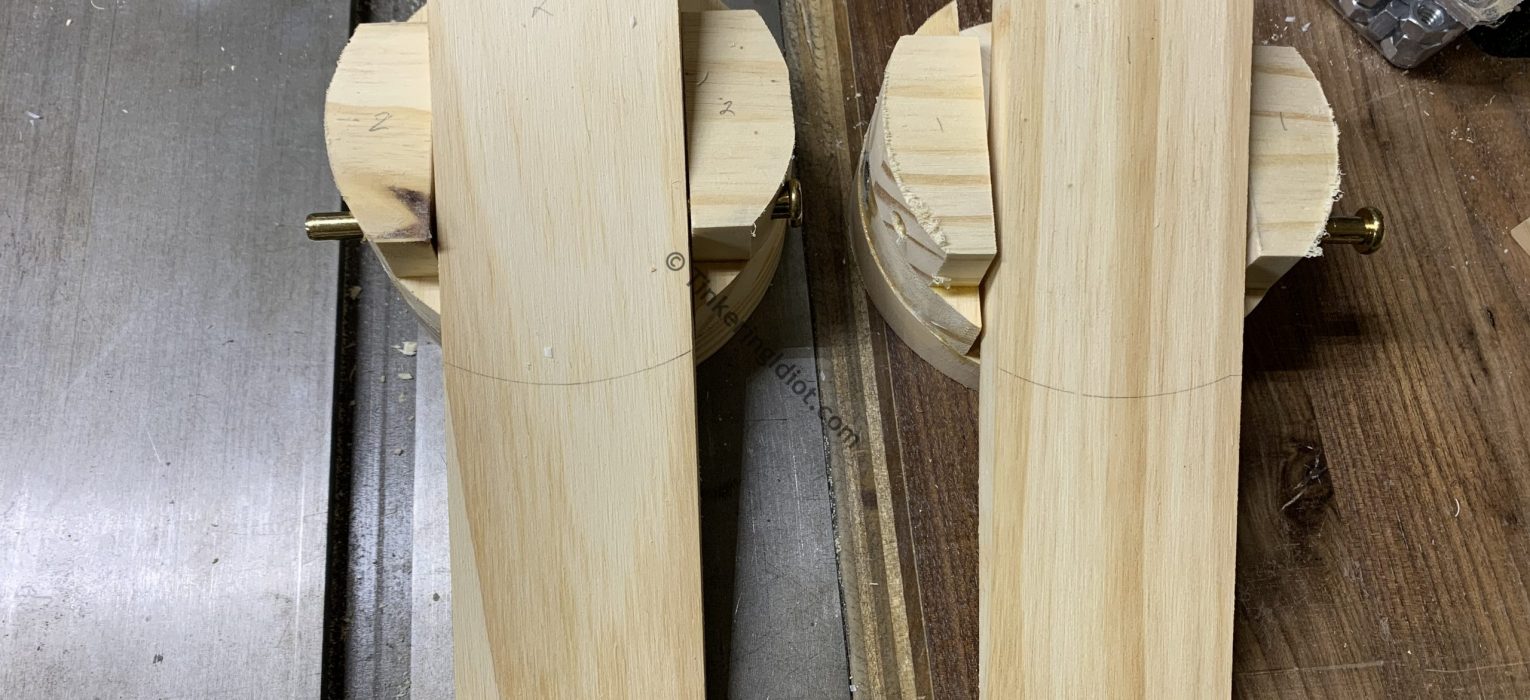
For the top piece, I glued them down with the door nails in place, to ensure that everything stays lined up. I also pushed them a little off-center toward the hole side. This will cost me some sanding before the whole base will fit in the PVC body, but again, I’ll get a little more travel distance out of the pedal.
With the top in place, I can round off the back of the pedal to match the pipe, and drill the hole for the door nail.
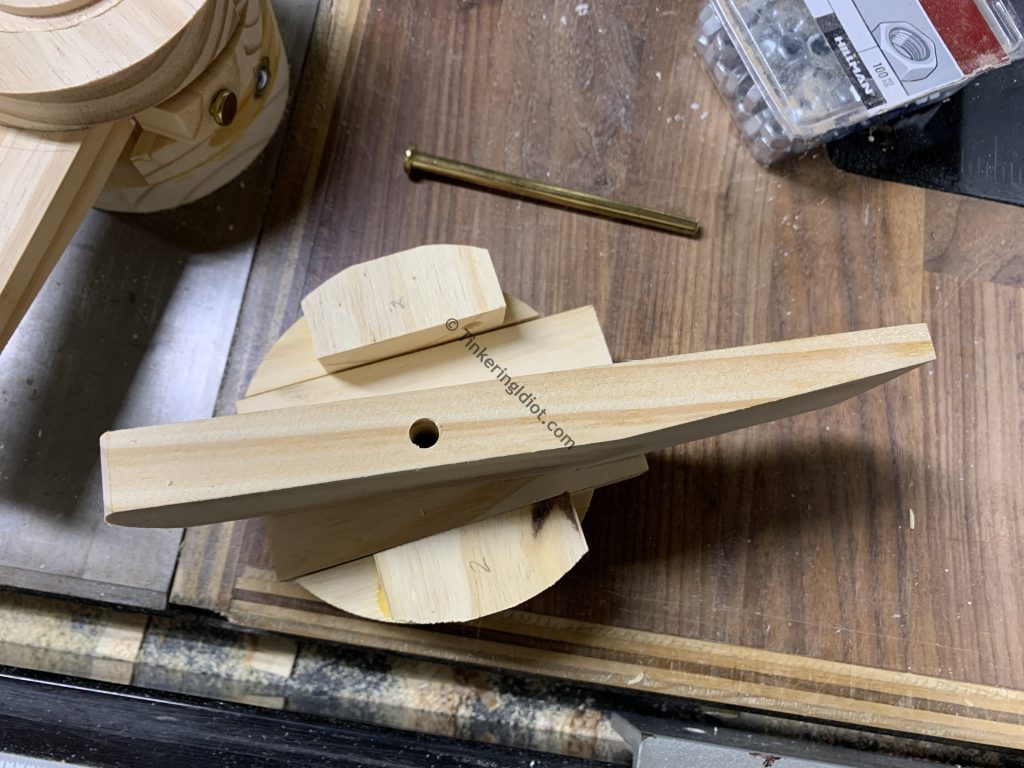
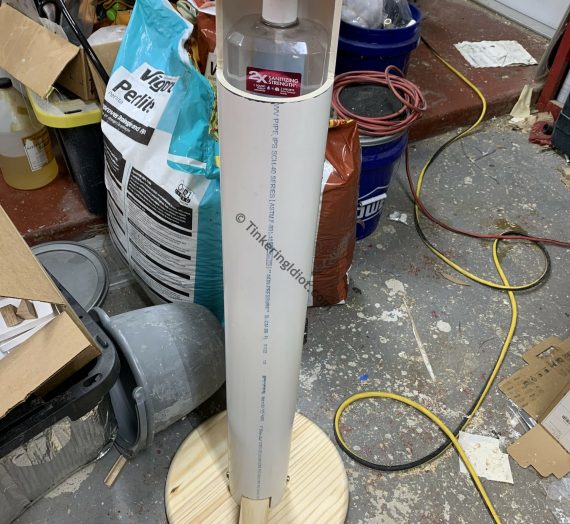
Finally, I can put it all together and see how it works!
Despite the mistakes, it works, and I’m very happy with the travel distance on the back of the pedal. I cut the door nails down below the outer curve (the pipe body will hold them in place when it’s all assembled), and it’s time to move on to the inner piston!
Navigation
- Part 0: A Thing No One Needs
- Part 1: Cutting Corners
- Part 2: Pedal Power <– You are here
- Part 3: Inner Magic
- Part 4: Body Building
- Part 5: Gettin’ Fancy