It’s amazing watching a small child play with things that, to us adults, are very simple objects. Little imaginations turn sticks in to rockets and magic wands, rocks become rockets and far-away family members, and leaves become rockets and boats (I live on the Space Coast, mere miles from Kennedy Space Canter – rockets are ever-present in our lives).
One simple object, in particular, that seems to have captured my kids’ fancy is the balloon. Those colorful latex bubbles, filled with air or water, can be literally anything in my house, and a dollar-store bag of balloons provides days worth of entertainment. The kids are still small, though, so the biggest limit to the fun of balloons is…parental lung capacity. We just can’t keep up with the demand.
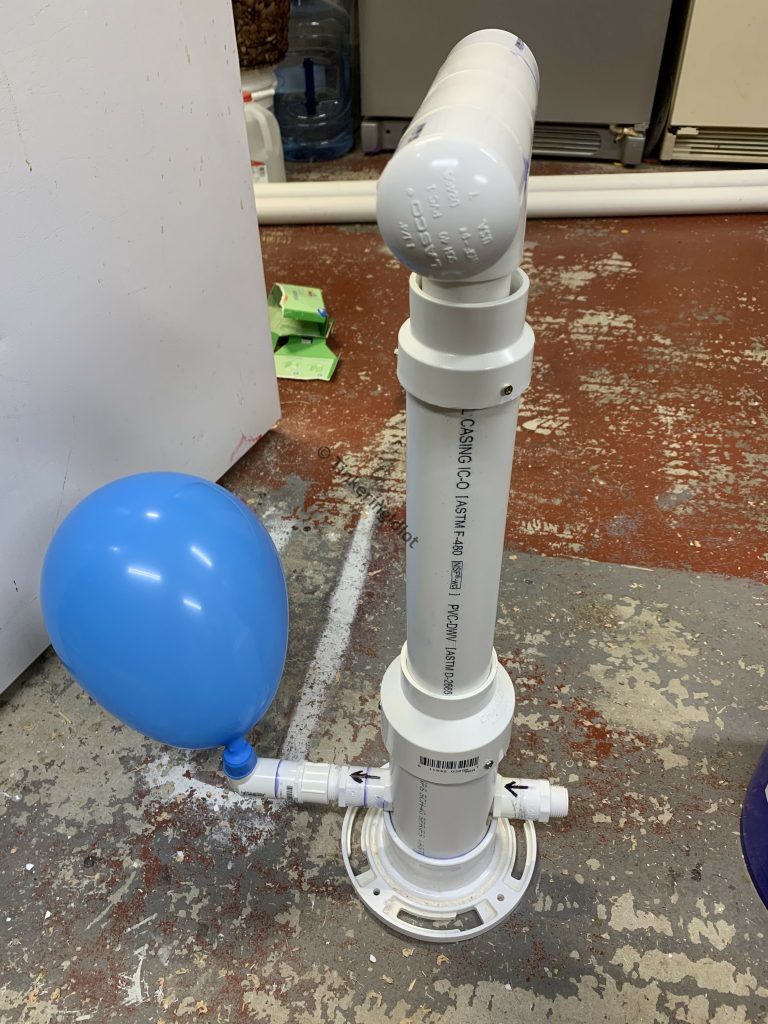
But what good is a Kingdom of Clutter if I can’t use it to pressurize a little air in a plastic bubble? So, using a couple of my one-way check valves and some PVC, I put together a simple manual pump, so the kids can inflate their own balloons.
My Cluttered Kingdom for a (small) piston
If you’re at all prone to tinkering and haven’t yet seen NighthawkInLight’s videos, stop reading now and go check them out. He’s one of the finest tinkers I’ve yet come across, and his builds are extremely well presented.
Several years ago, he posted this video detailing how he makes pistons for his projects, and I was hooked. I’ve built several of them since then, and I use another one in this build. For this project, however, I’ve modified his design slightly.
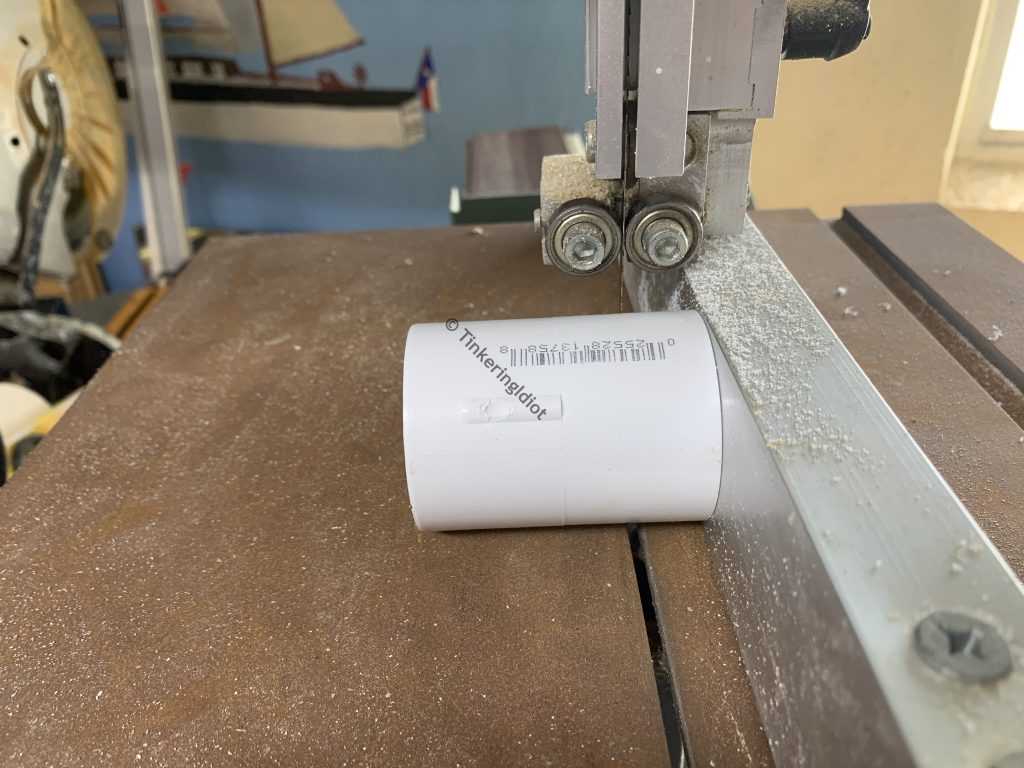
This pump is for kids, meaning it’s pretty much a regular pump, but shorter. A shorter piston doesn’t have as much of a stroke length, which means more pumping to fill a balloon. However, if I can also shorten the piston head, I can maximize the stroke length so the pump still moves a reasonable amount of material.
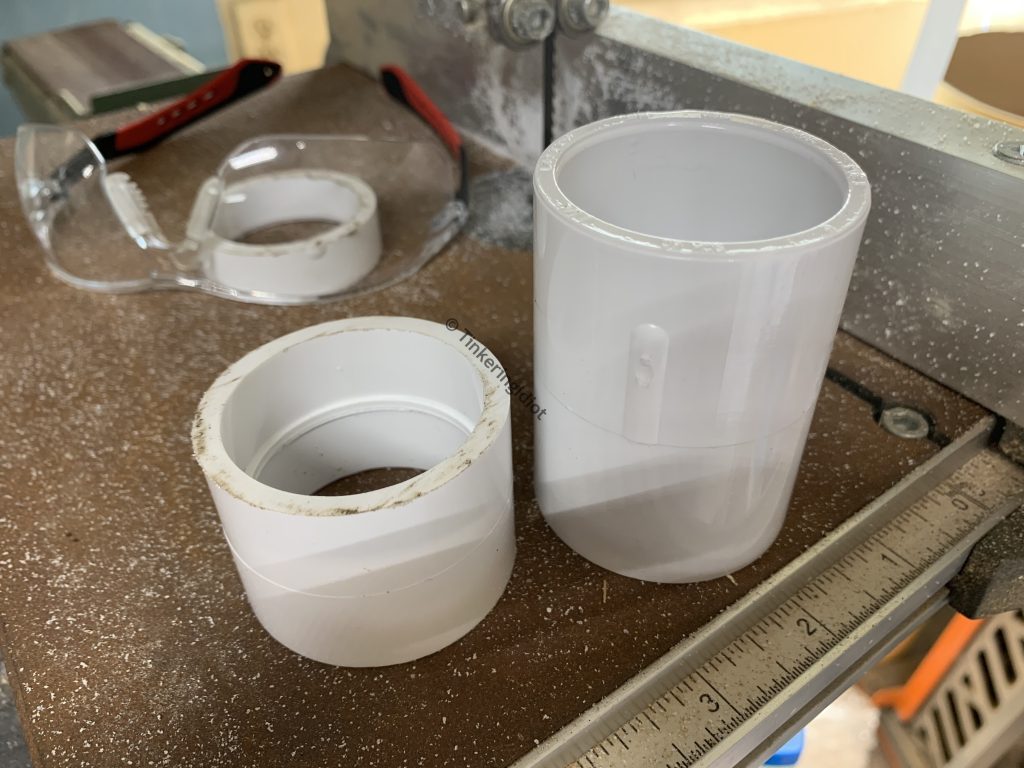
I start with the same 1 1/4″ PVC and fittings that NighthawkInLight uses – an end cap, two couplers, and two 1 1/2″ sections of pipe. To shorten the piston head, though, I cut about 3/4″ off each end of the fittings using my band saw.
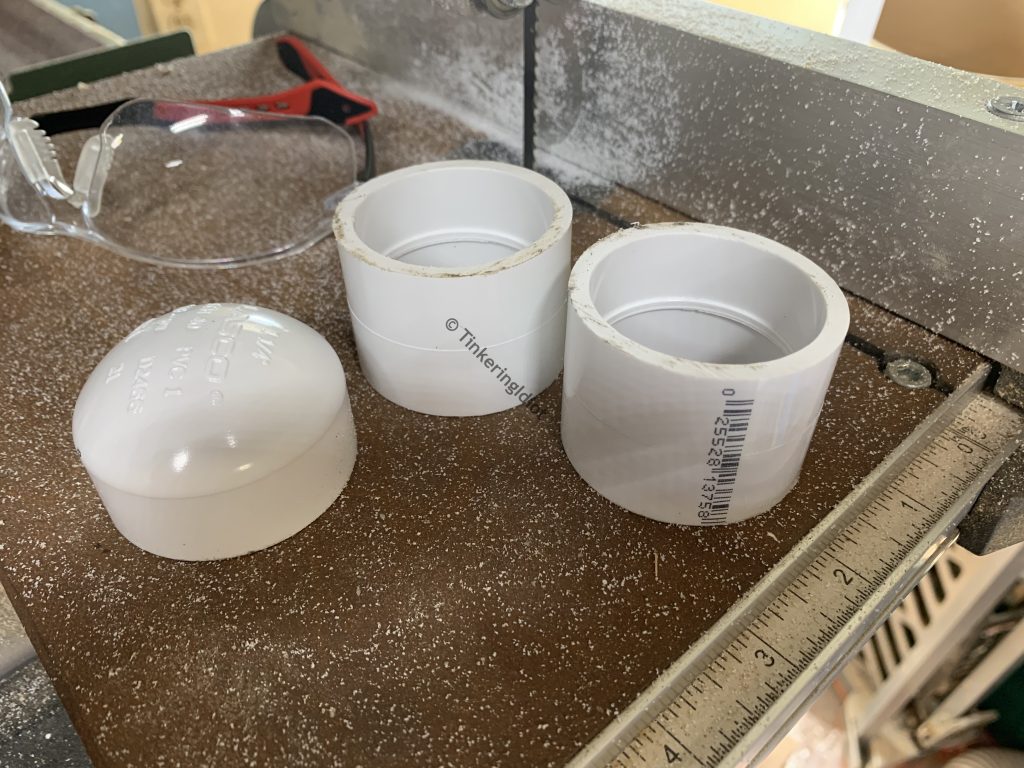
The fittings are much shorter now, roughly half their original length, but the pipe still fits them fine.
To make the piston, I’ll glue the short lengths of pipe in to these trimmed-down fittings, starting with the end cap.

Then I’ll slide on a size 326 buna-N o-ring, and glue on a coupler. I’m applying the glue inside of the fittings, instead of on the pipe, so it doesn’t squeeze out on to the o-rings too much.
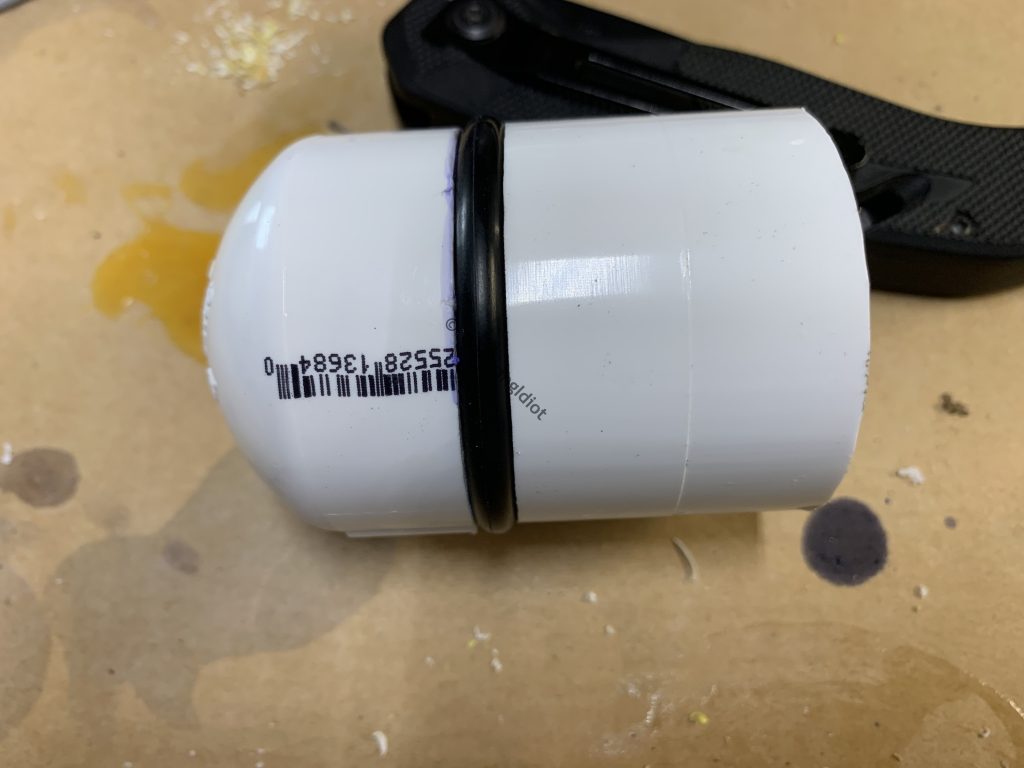
Then it’s lather, rinse, repeat for another o-ring and coupler. I can probably get away with a single o-ring for this project, but I find that two works better in general, so that’s what I typically do.
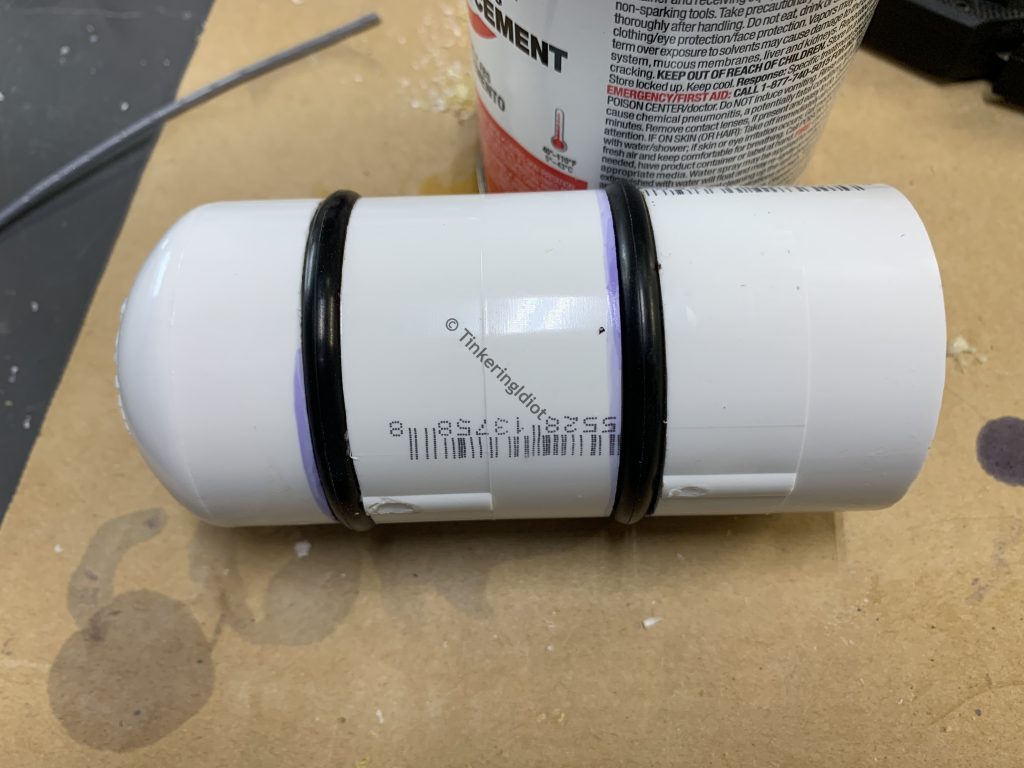
I then glue the piston head to a large length of 1 1/4″ PVC (mostly so I don’t lose it) – I’ll trim this down to length later.
And that’s the piston, nicely shortened to accommodate the smaller size of this pump.
Adding a little body
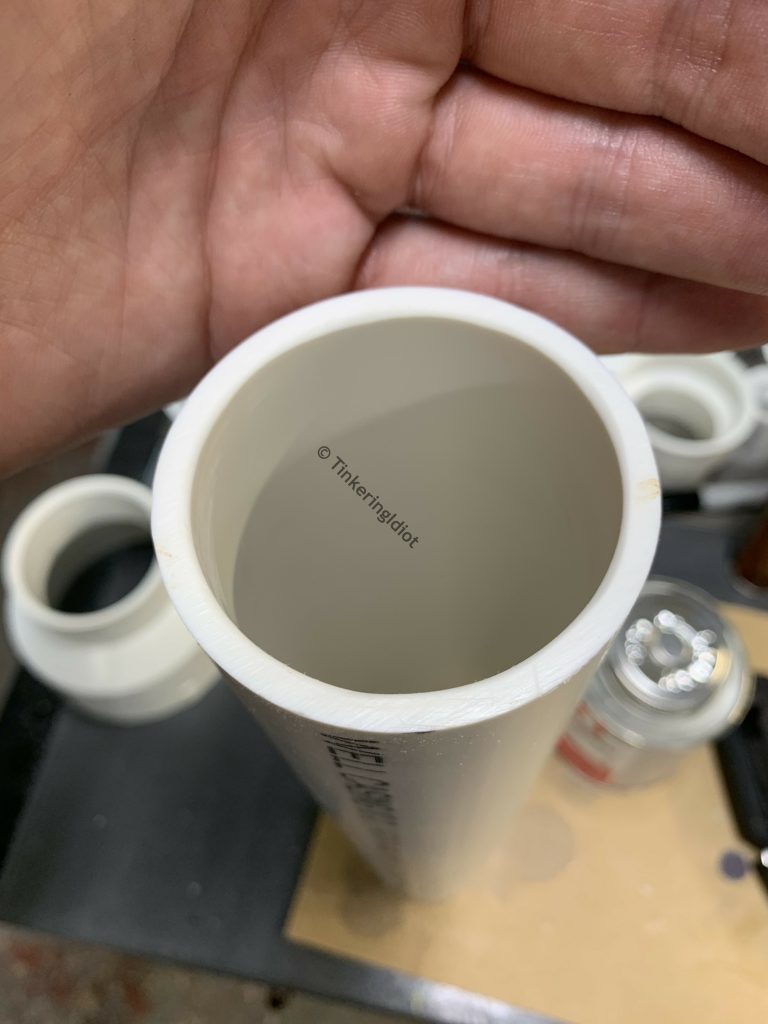
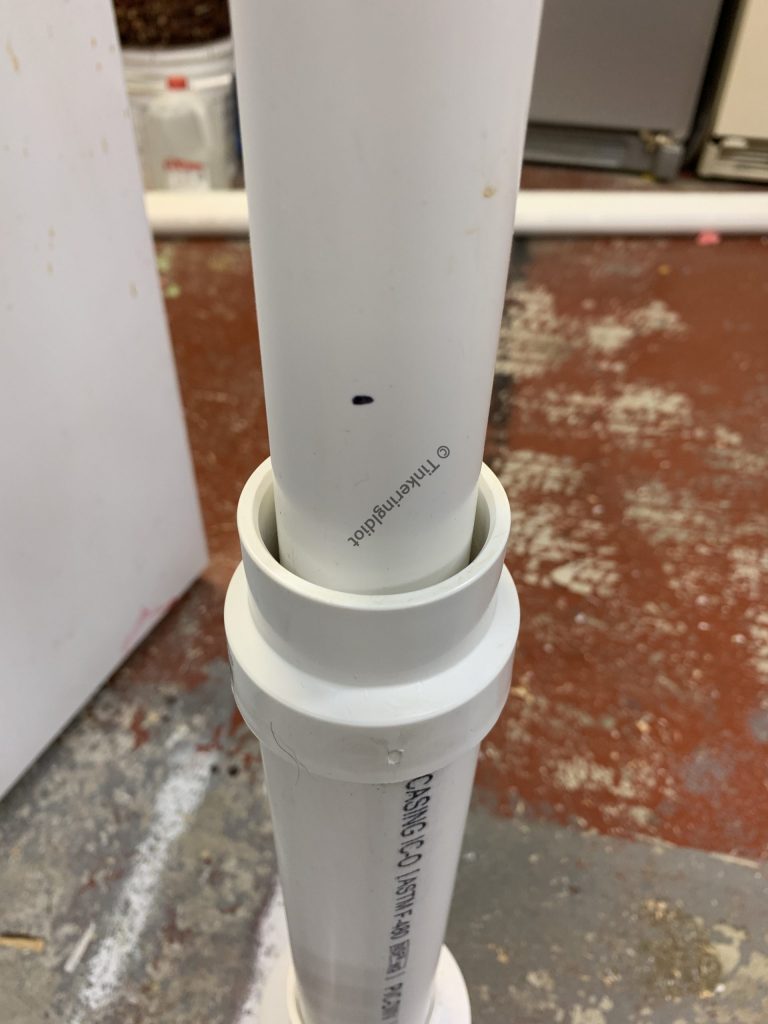
The piston is done, but it’s not much good on its own. It’s not a pump without a body! Because I’m using 1 1/4″ fittings for the piston head, the body starts with 12″ of 2″ PVC pipe.
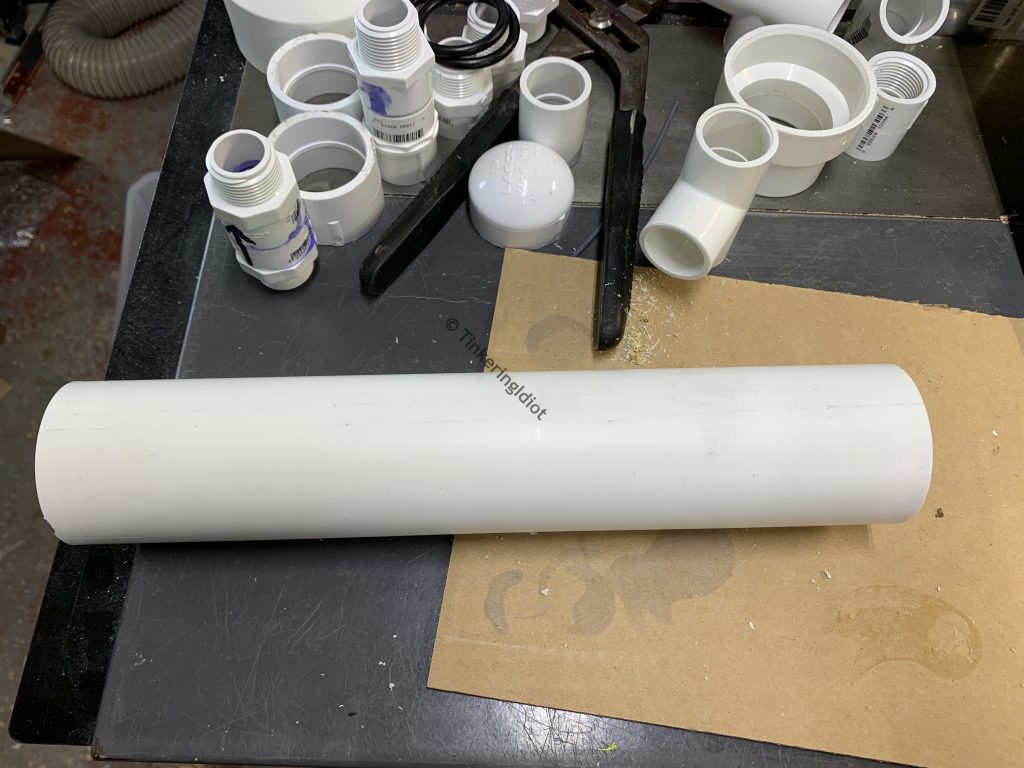
At one end, I use a knife to bevel the inner edge of the pipe. This will make inserting the piston easier when the time comes. It’s pretty snug, especially at first.
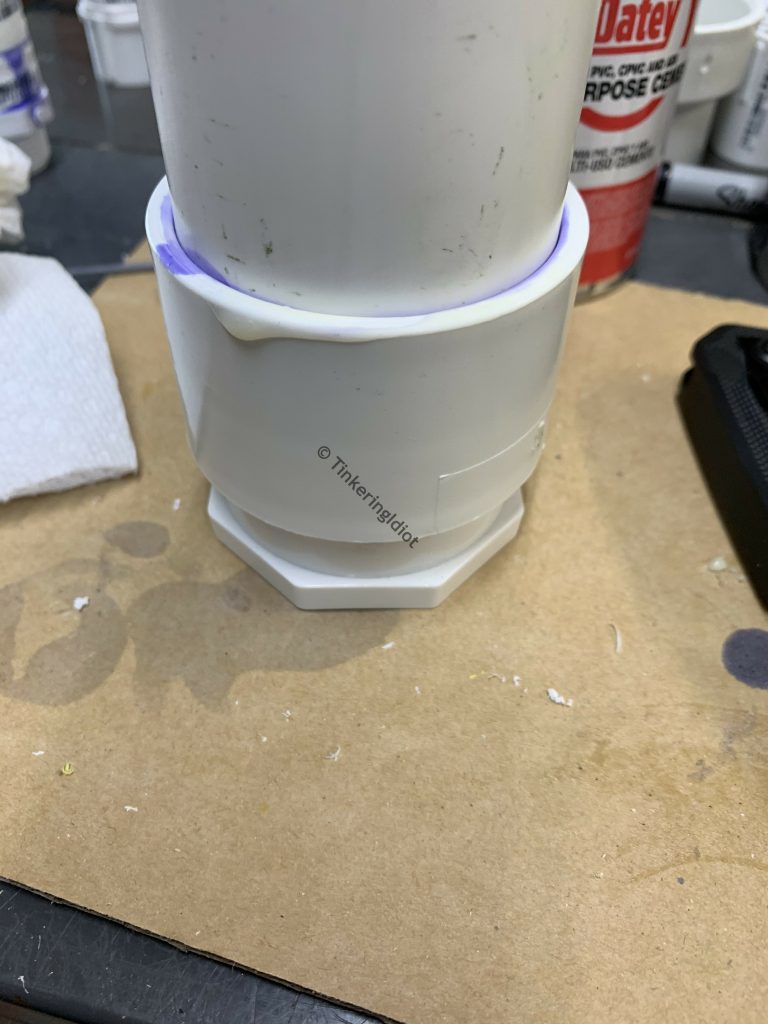
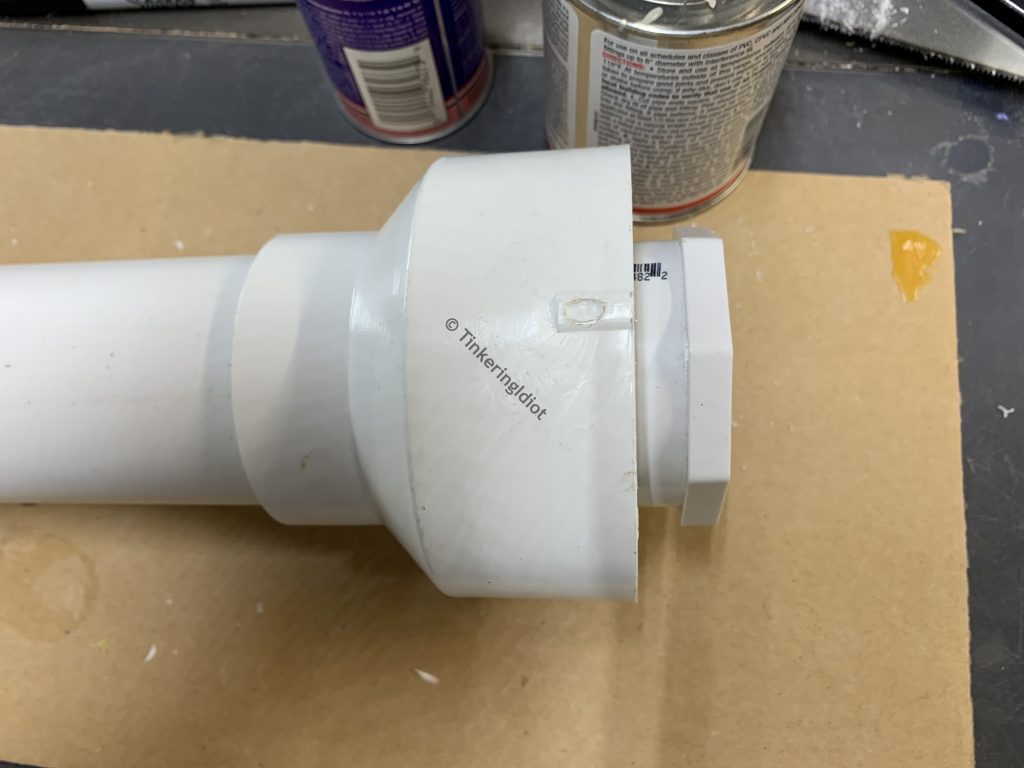
Then I glue together a 2″ coupler and a 2″ to 3/4″ female threaded reducer.

And glue that to the other end of the 2″ pipe body.
The wrong tool for the job
At this point, the pump body is almost done. There’s a little plumbing left on the bottom of the 2″ pipe, but I’ll get to that in a moment. The pump is for kids, so I want it to be free standing, and have a bit of a ledge or platform at the bottom, so they can use their weight to hold it in place while they pump. Ergo, the pump body needs a stand.
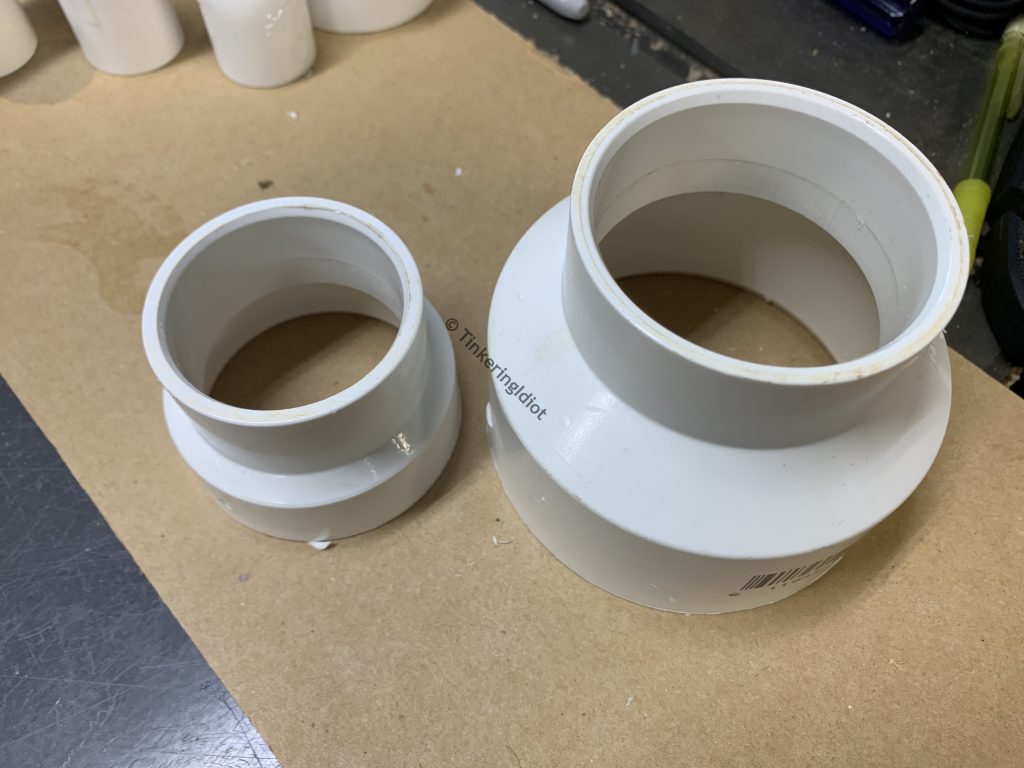
A 3″ toilet flange will make an excellent standing platform (and if it doesn’t, I can screw it down to a board later), so I use a 3″ to 2″ reducer and some 3″ PVC pipe to attach the toilet flange. Conveniently, this will also mostly hide the plumbing from curious little fingers. On the other end of the pump, I can use a 2″ to 1 1/2″ reducer as a retaining ring, so they don’t pull the whole piston out every time they use it.
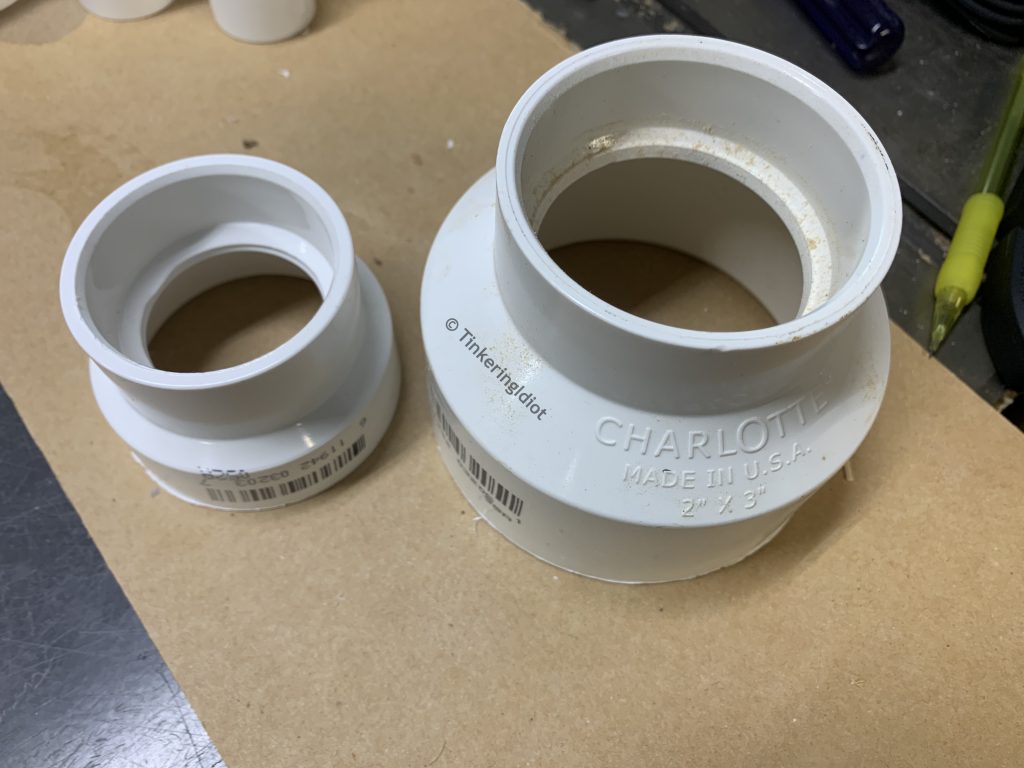
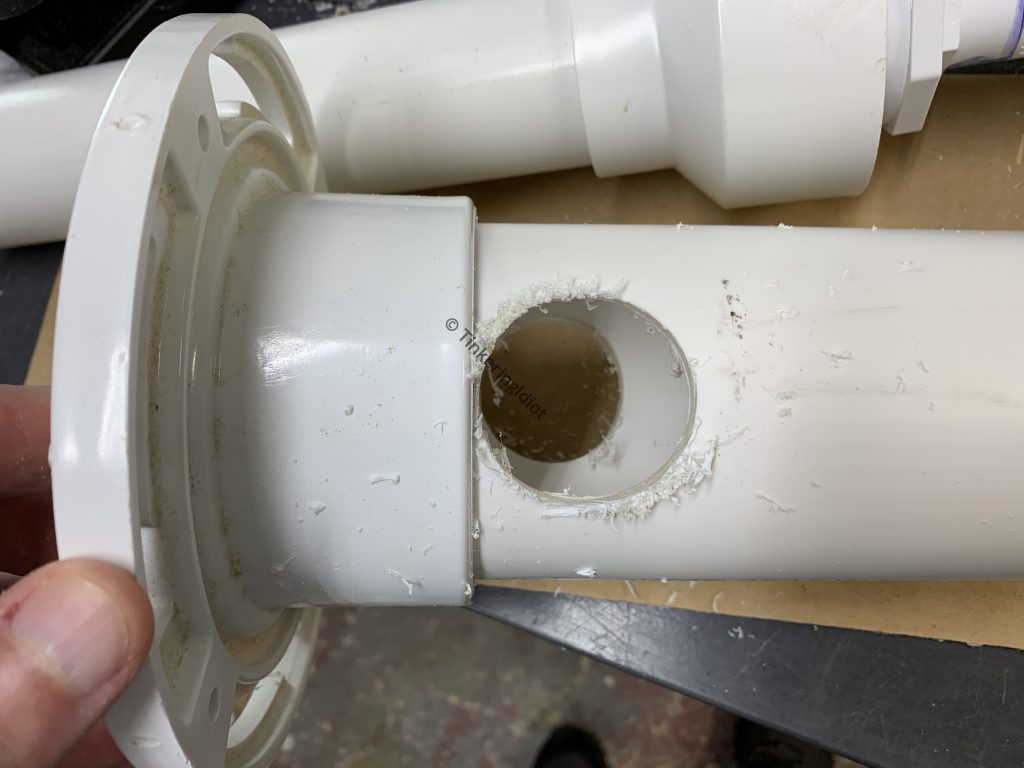
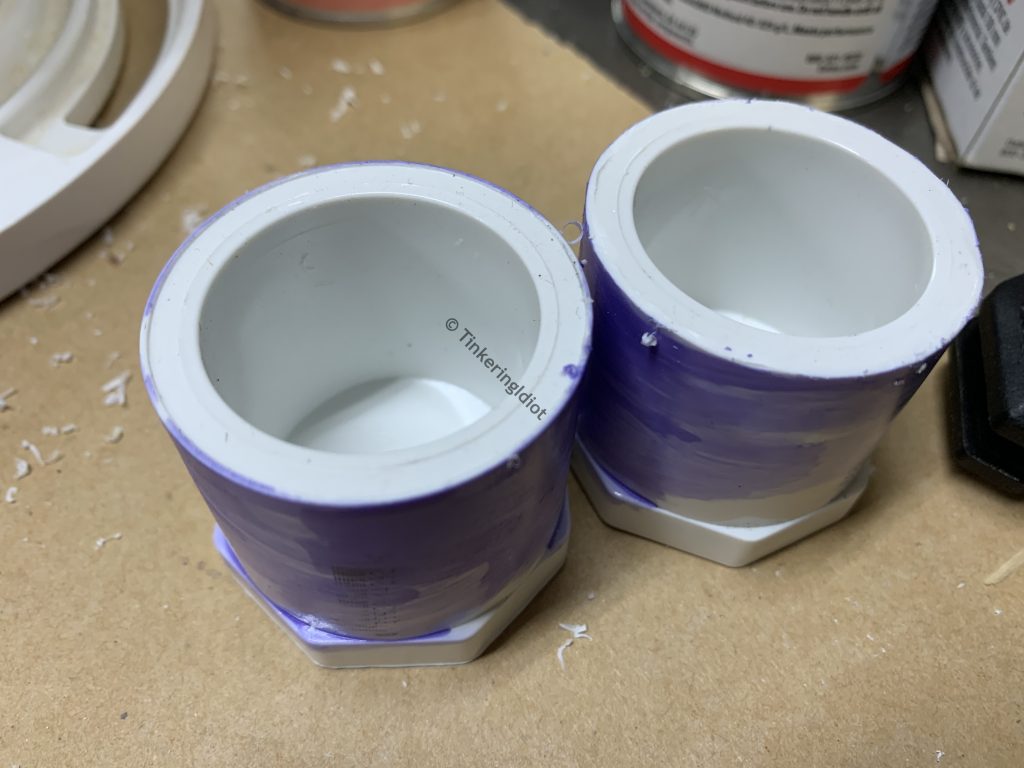
There’s a problem with these reducers, however. Each has a ridge to keep the smaller pipe from sliding all the way through. Which is exactly what I want to happen. So I need to mill that ridge off of both reducers.
NighthawkInLight tackles this problem with a large drill bit in his drill press, pressing the ridge up against the bit as it spins to shave it off. Since he’s smarter than I am, obviously this is the first thing I tried.
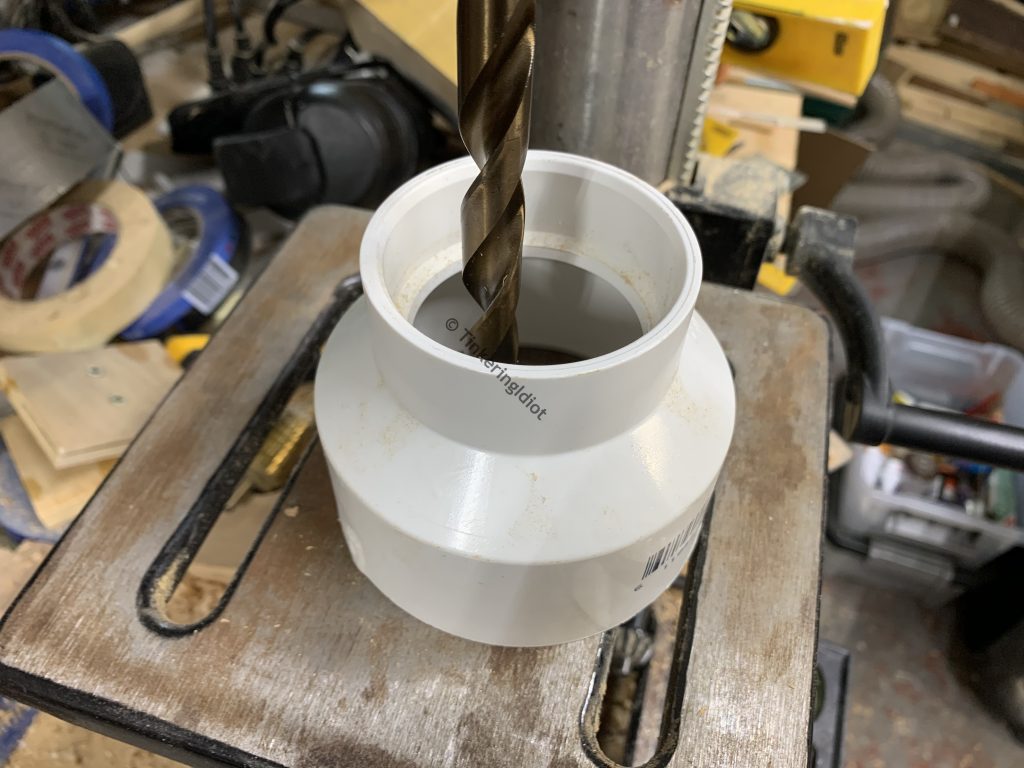
He must have better drill bits or a fancier press than I’ve got, though, because my poor little press just isn’t having it. What I do have, though, is a flush-trim router bit. If I invert the reducer, the bearing on the bit should be able to ride the smaller side and take the ridge right off.
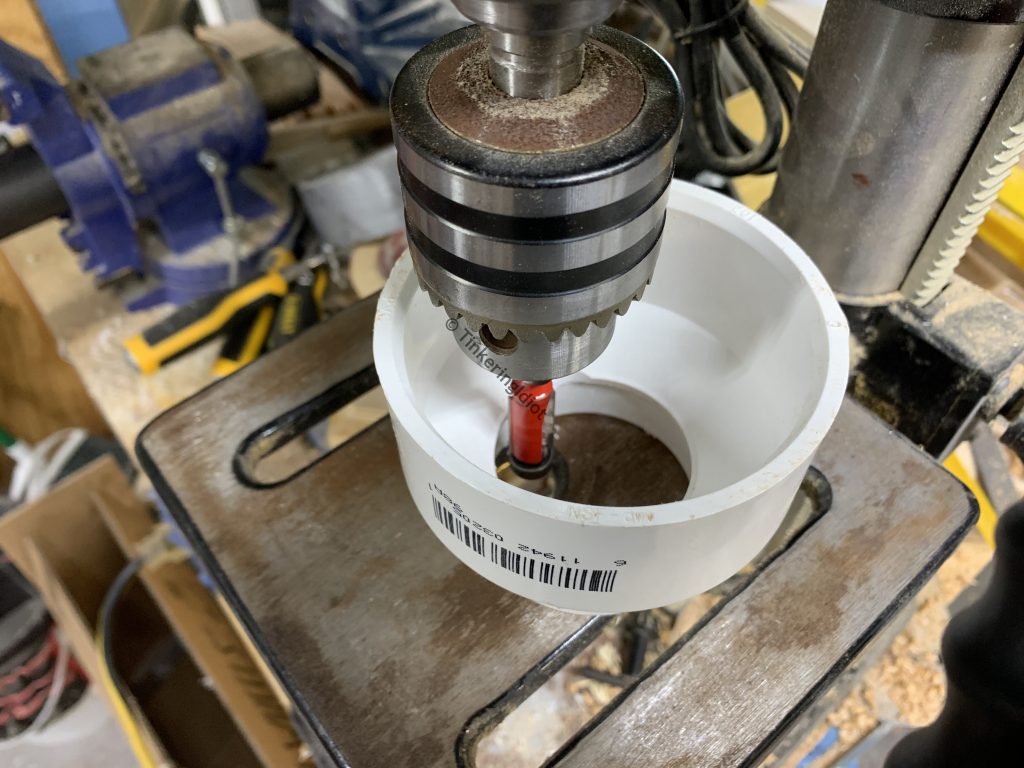
This makes an astounding amount of noise, a rather epic mess, and OSHA-wise falls somewhere between “don’t ever do this” and “I am currently on fire”, but the job gets done.
Plumbing in
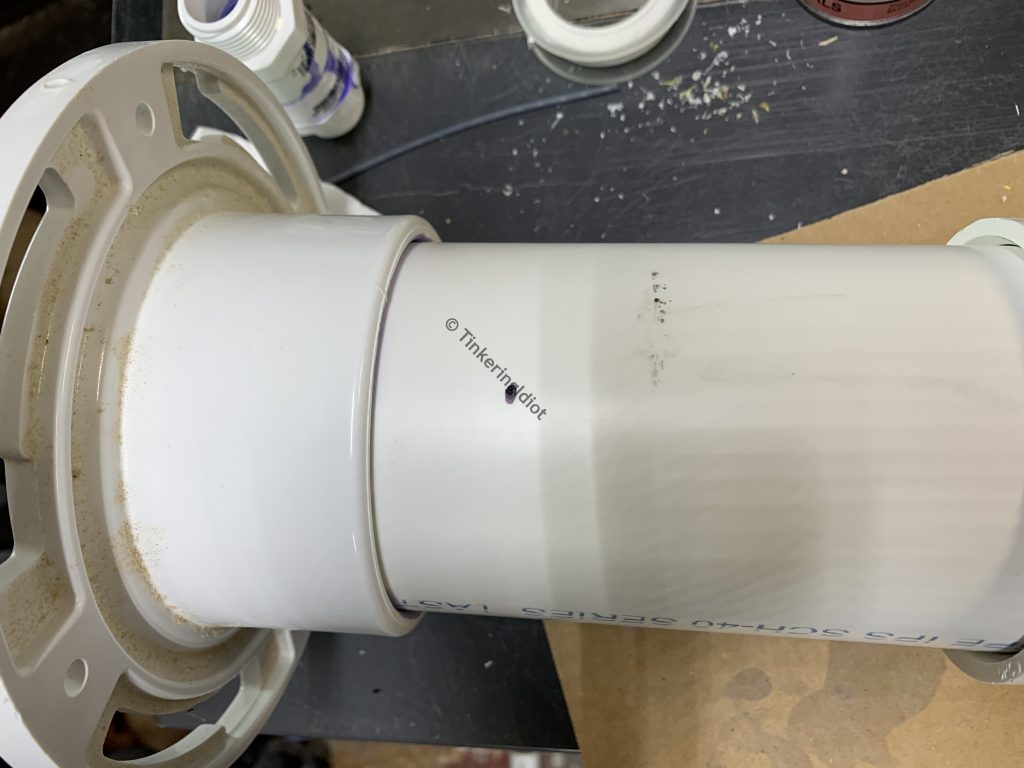
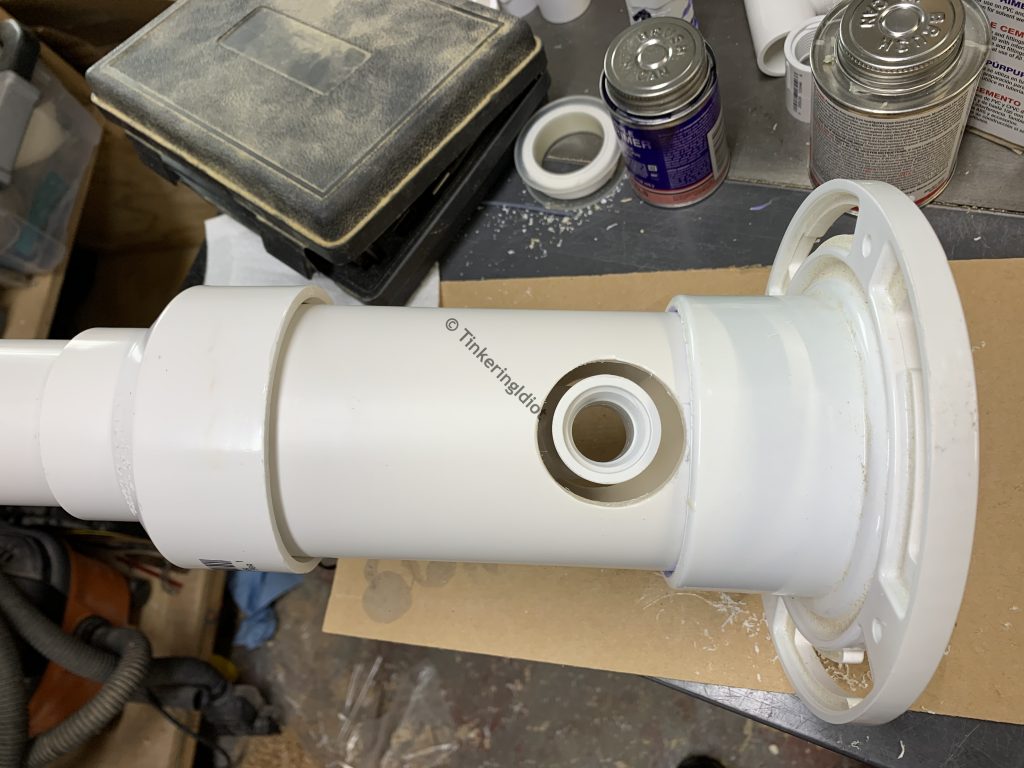
The milled 3″ to 2″ reducer can now slide over the pump body, and will form the attachment point for the stand.
With a little primer and glue just above the coupler, I can slide it in place.
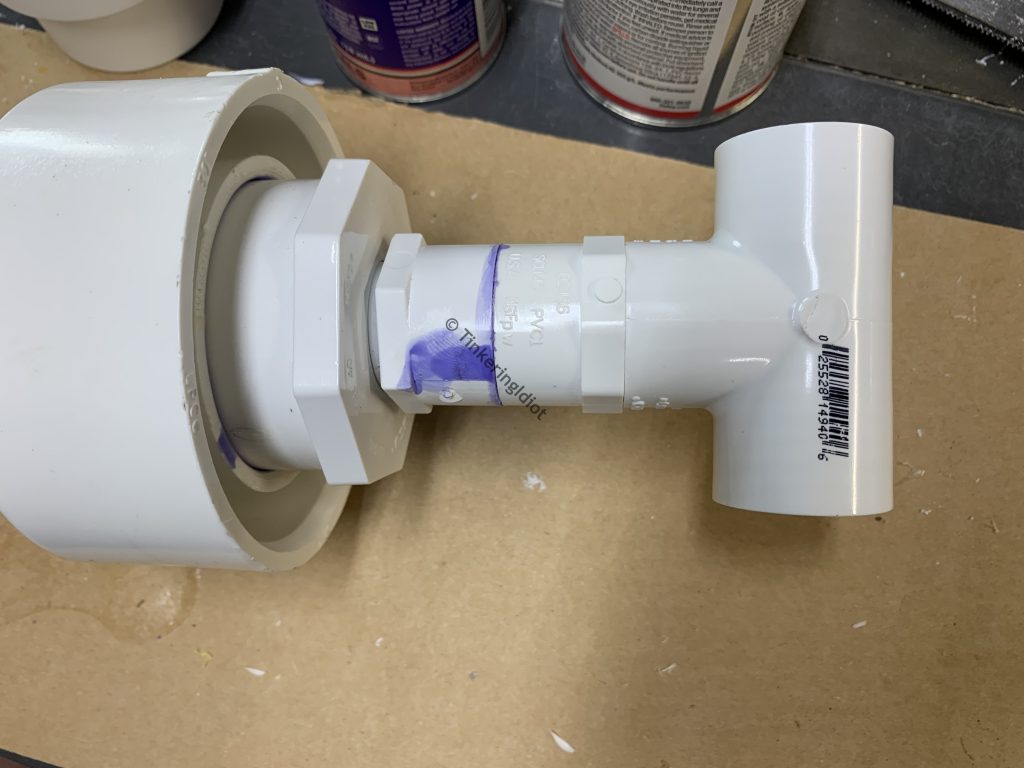
Next, I glue a 1 1/4″ of 3/4″ PVC pipe in to a 3/4″ threaded male slip fitting.
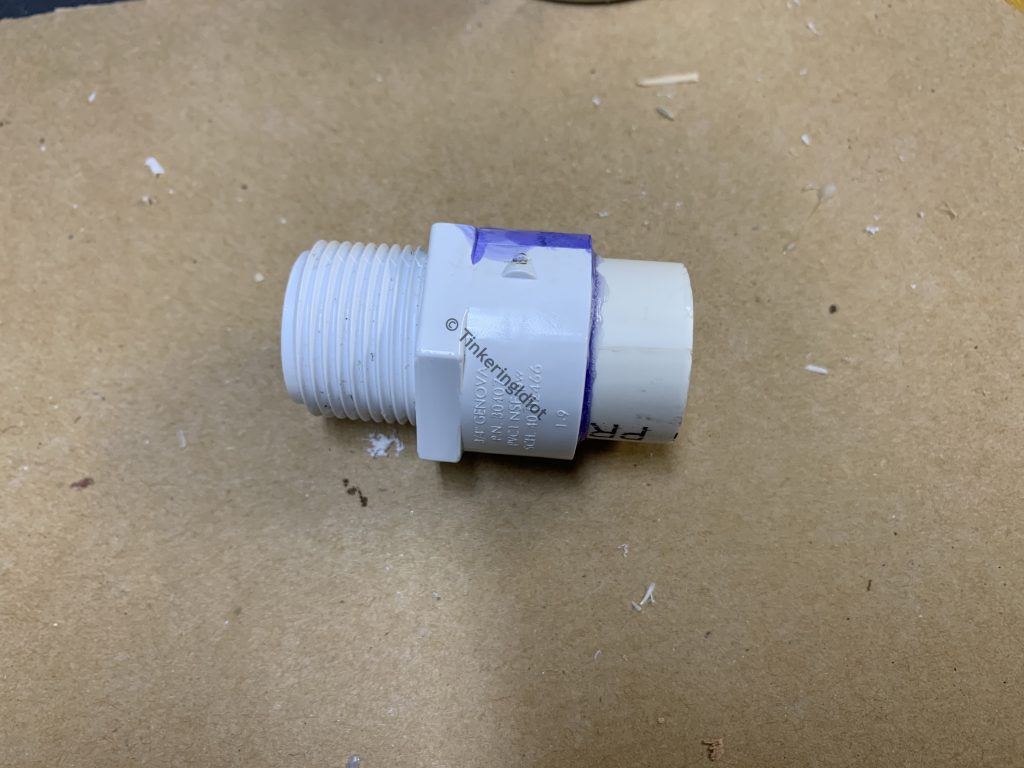
With a little Teflon tape, this screws nicely in to the 2″ to 3/4″ threaded reducer.
Next, I glue another 3/4″ threaded male slip fitting on the end.
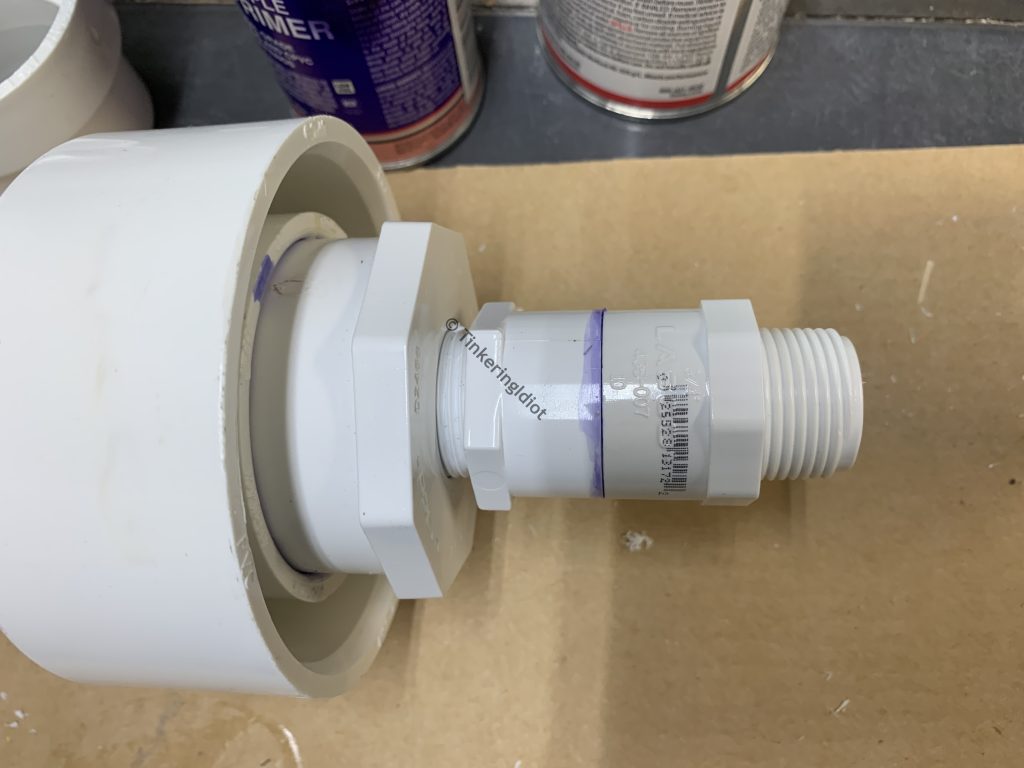
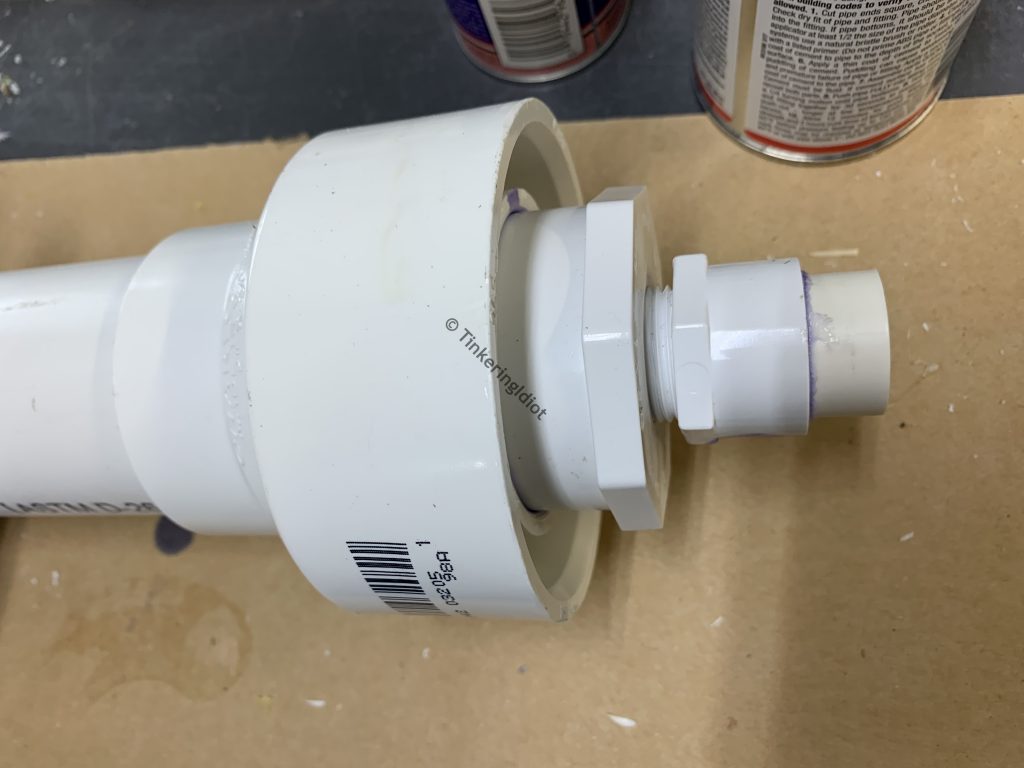
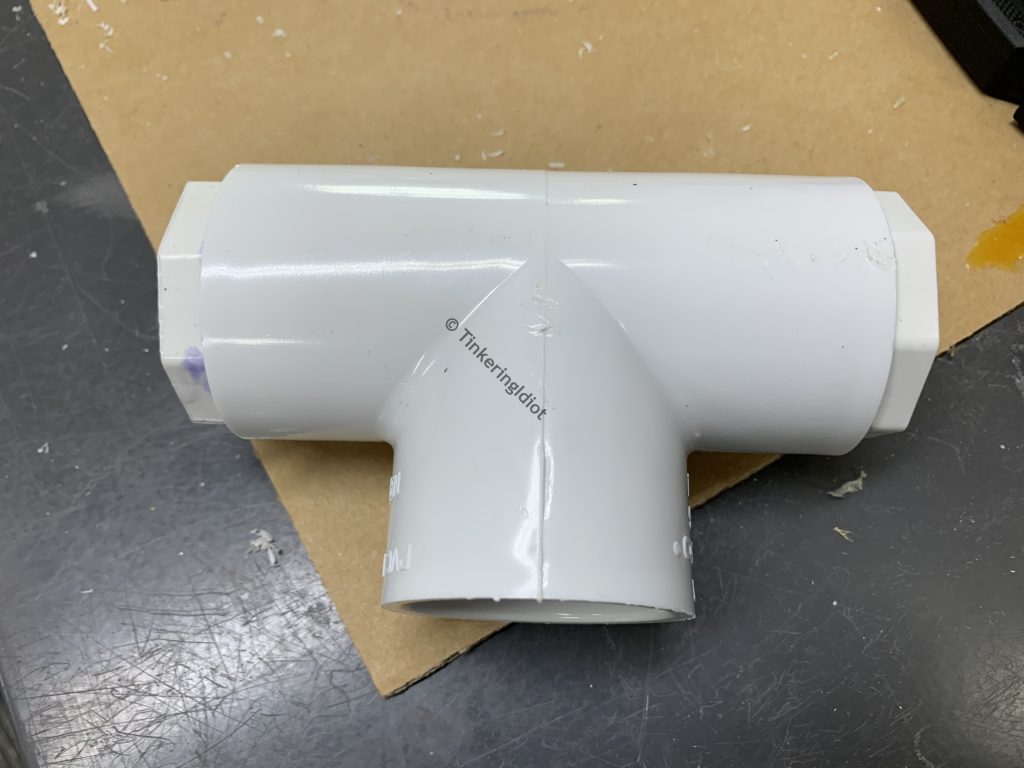
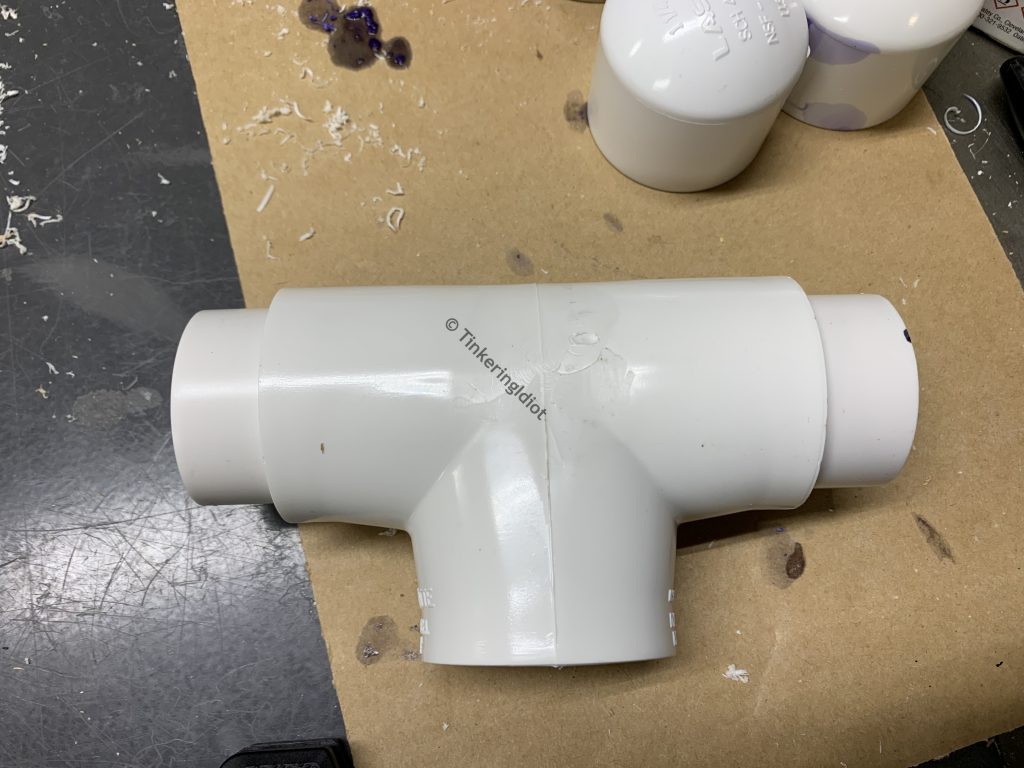
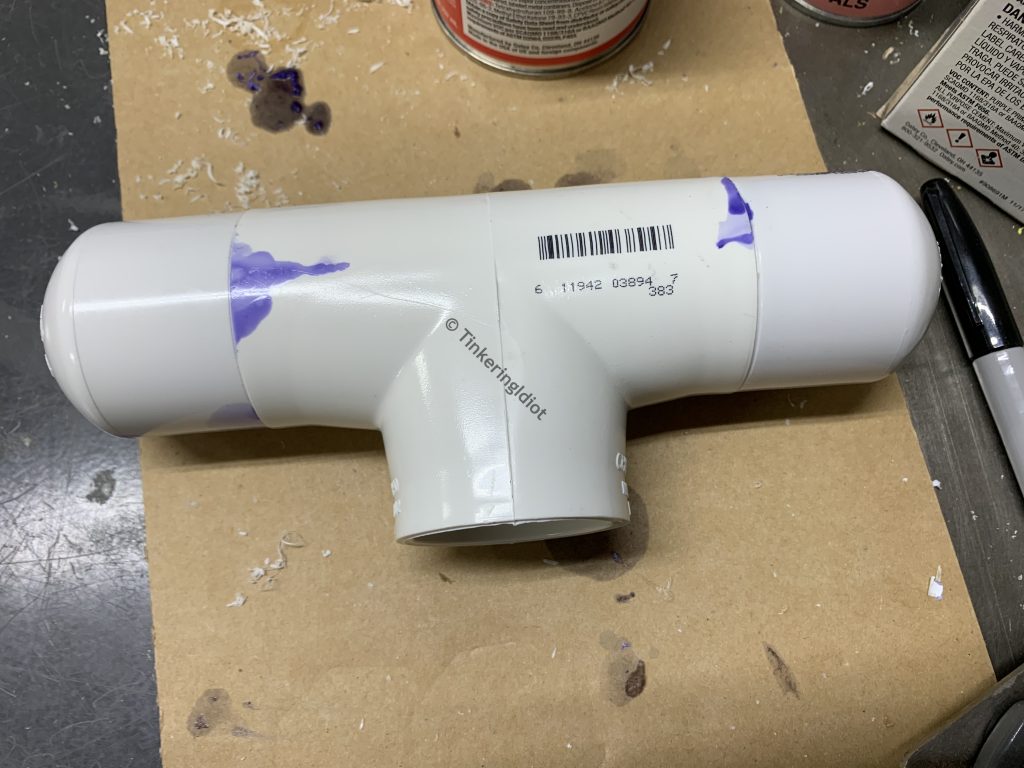
I add some more Teflon tape, and screw on a 3/4″ threaded tee. I could have skipped the second threaded male fitting and glued on a 3/4″ threaded slip tee instead, but those were out of stock when I went shopping.
Taking a stand
Next, it’s time for the stand. This starts with 8″ of 3″ PVC and a 3″ toilet flange.
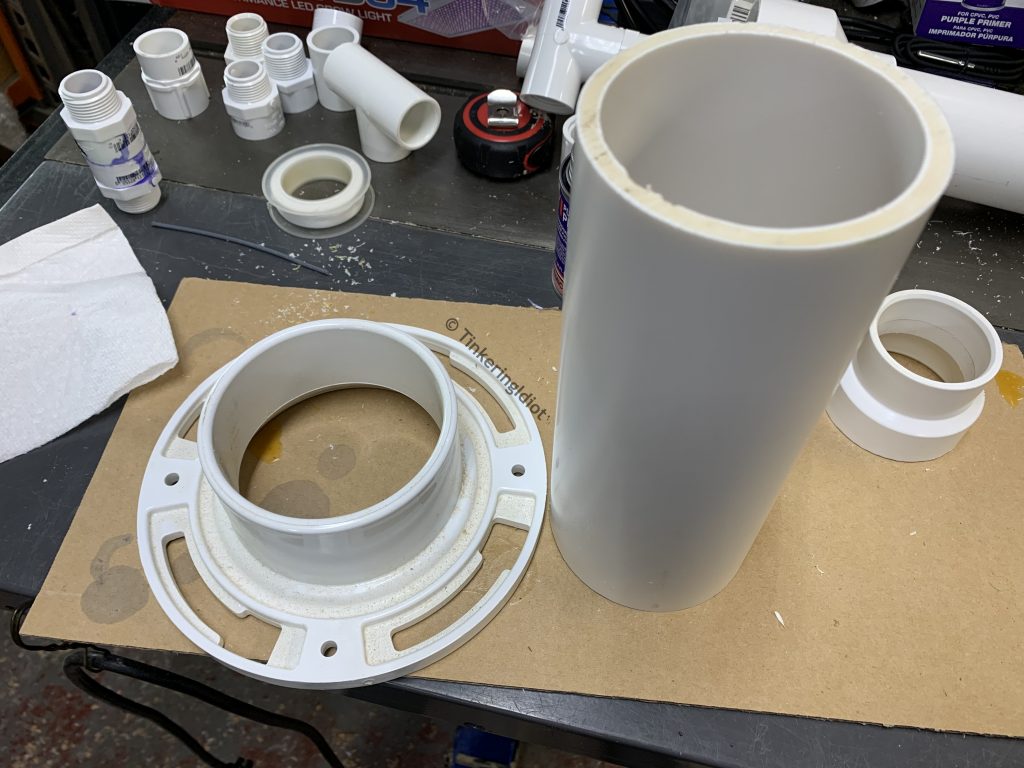
I glued these together, and that forms the base of the stand. Now, I just need to cut some holes in the stand for the check valves. Measuring for this is tricky, because everything is pretty tight inside, and a good portion of this step was done with the old Mk1 Laser Eyeball. I slide the stand on to the pump to get an idea how everything sits.
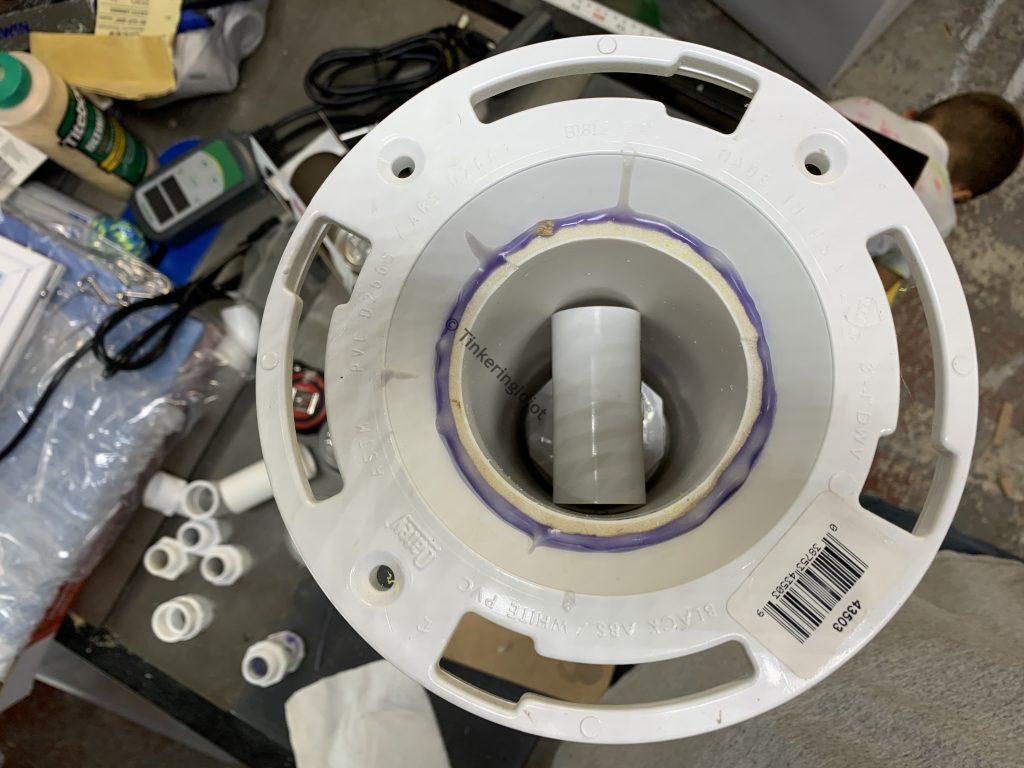
Then I make my most educated guesstimate where the holes need to be.
After pulling the stand back off, I cut the holes using a 1 3/4″ hole saw, both to give enough room for the outside diameter of the check valves, and to give myself a little wiggle room if my guesstimates were off. Cutting PVC with a hole saw can be tricky – the saw really wants to grab that plastic and fling it across the room. Go slowly.
Thankfully, my wild guesses were more or less accurate.
I drill some small pilots, and attach the stand to the pump with some 3/4″ round-head screws. I use a non-permanent connection here in case I ever need to take the stand off again to access the plumbing.
Taking the plunge
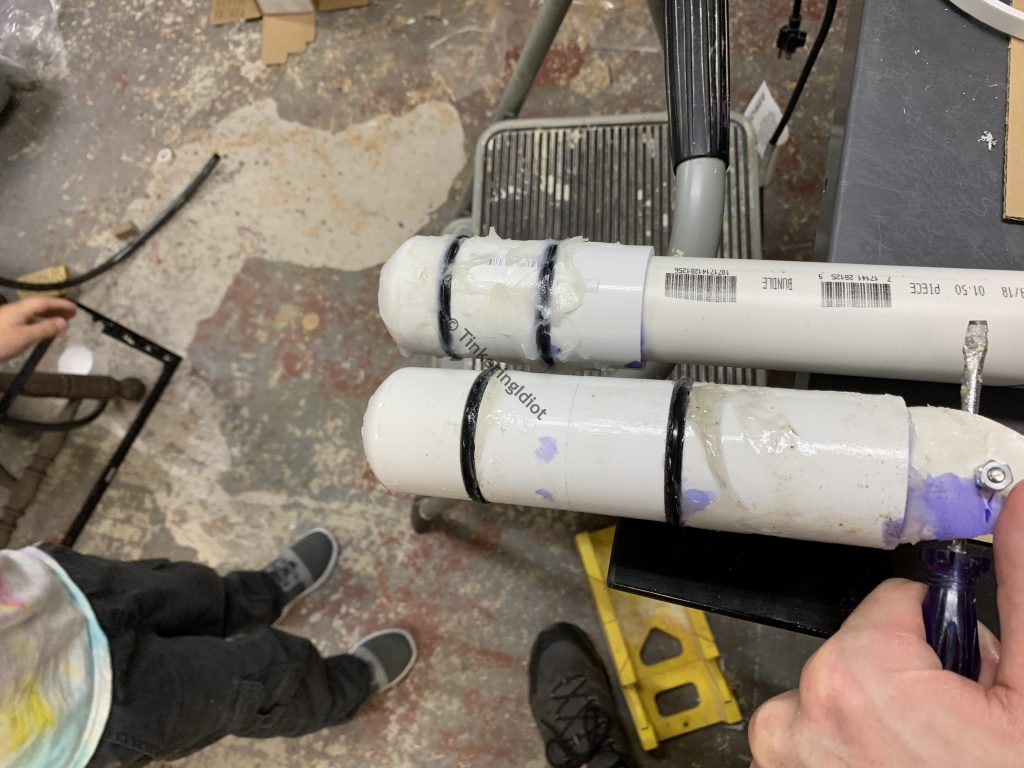
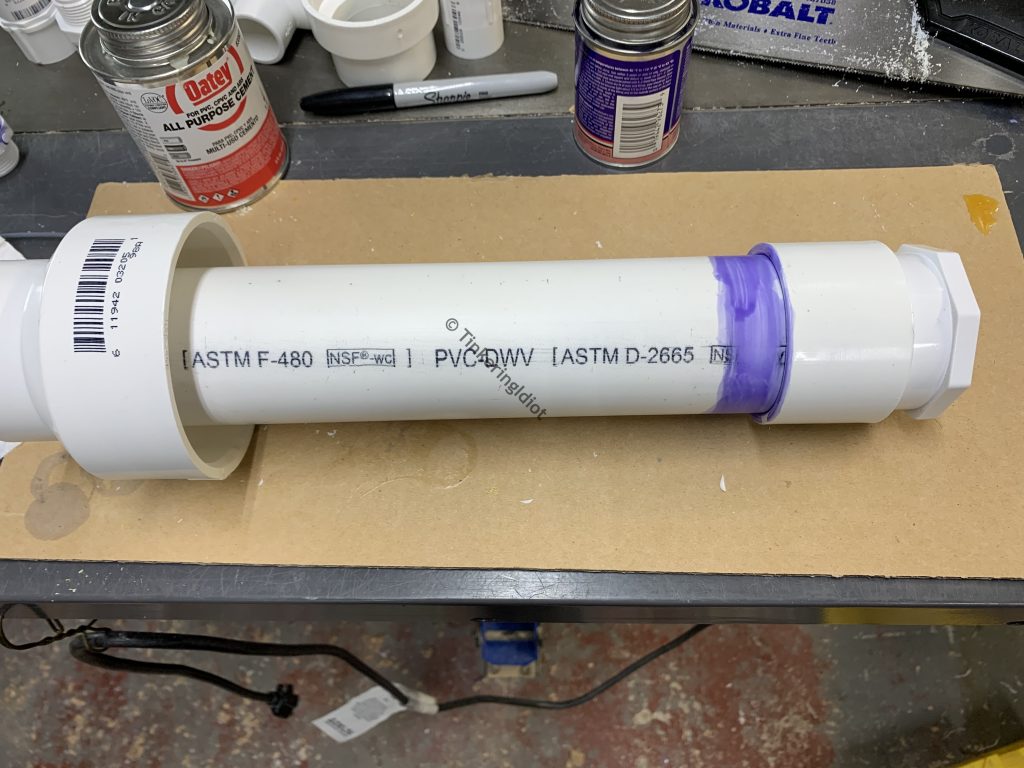
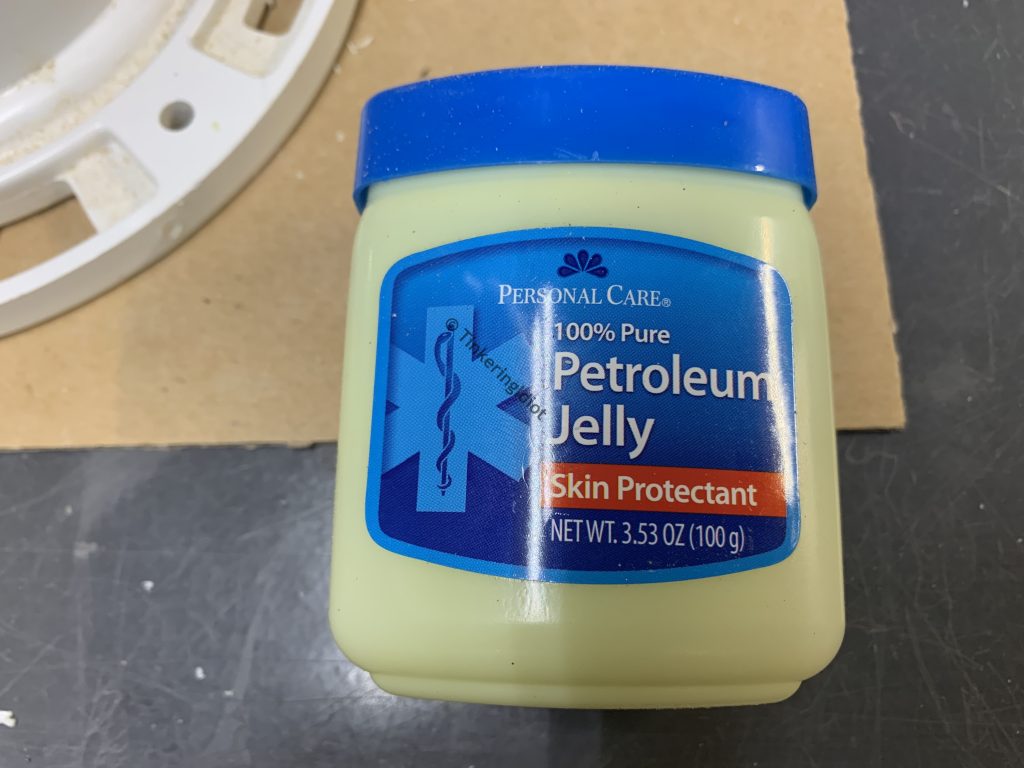
Next, it’s time to install the piston. I start with a liberal application of the dollar store’s finest petroleum jelly. You can see this in the piston size comparison picture above.
Then, with a little coaxing, the piston glides right in. The milled 2″ to 1 1/2″ reducer goes over the top, and will eventually be held on with some 1/2″ screws. Again, a non-permanent connection in case I need to pull the piston out again for whatever reason.
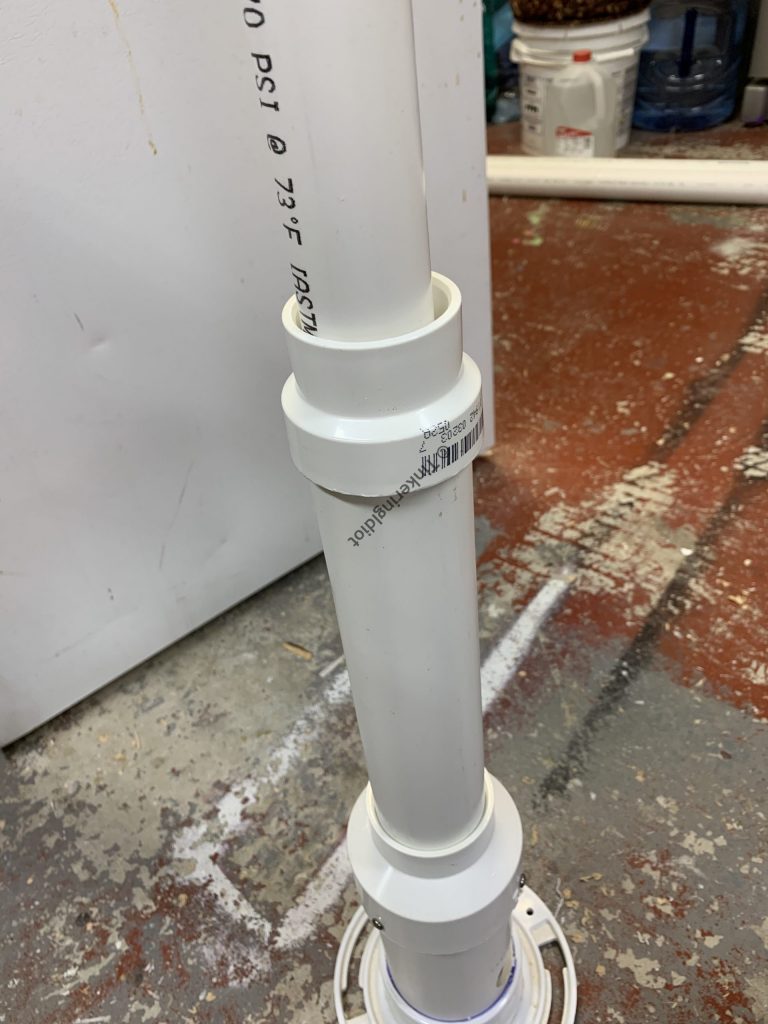
Now it’s finally time to mark and cut the piston to length. I just eyeball it, but I leave a little extra room for the handle to fit on.
Getting a handle on things
All that’s left is to put a handle on the piston, so the kids can actually pump it. And, of course, waste a few materials in the process.
For the first iteration of the handle, I glue a couple of 1 1/4″ plugs in to a 1 1/4″ slip tee.
For some reason, I thought this would be at all functional, and somehow not painful to use.
After coming to my senses, and making a trip to the hardware store specifically to spend $1.34 on a single tee, I decided to glue in a 1 1/2″ section of 1 1/4″ pipe in to each end of the tee.
I glued a 1 1/4″ end cap on each, pressing them down to fit flush against the tee.
The handle gets glued on to the piston, and the pump is all but complete!

Finishing touches
Using Teflon tape, I screw the check valves in to the plumbing holes at the bottom of the pump, one as input and one as output – it’s really not a pump without these.
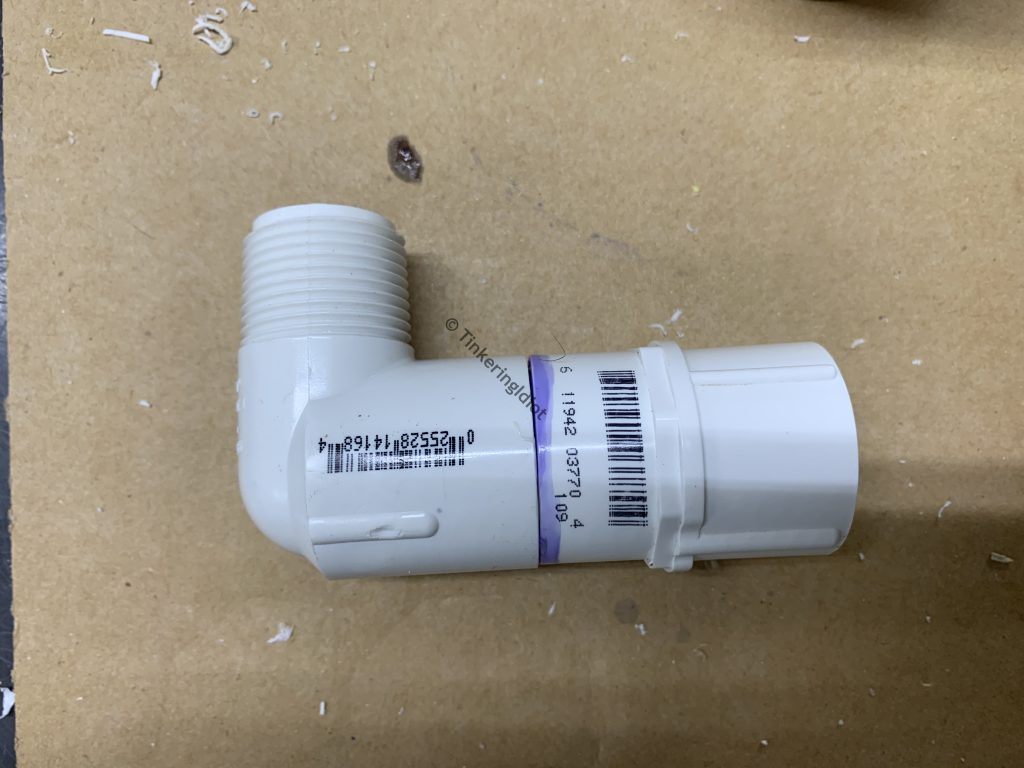
Also, I made a small threaded L-fitting using a 3/4″ threaded female slip adapter and a 90-degree threaded male slip adapter. This goes on the output, and while not strictly necessary, it does make it easier for little fingers to get the balloon on.
And that’s it! I’ve now got a kid-sized manual pump for inflating balloons, and my lungs are finally safe.