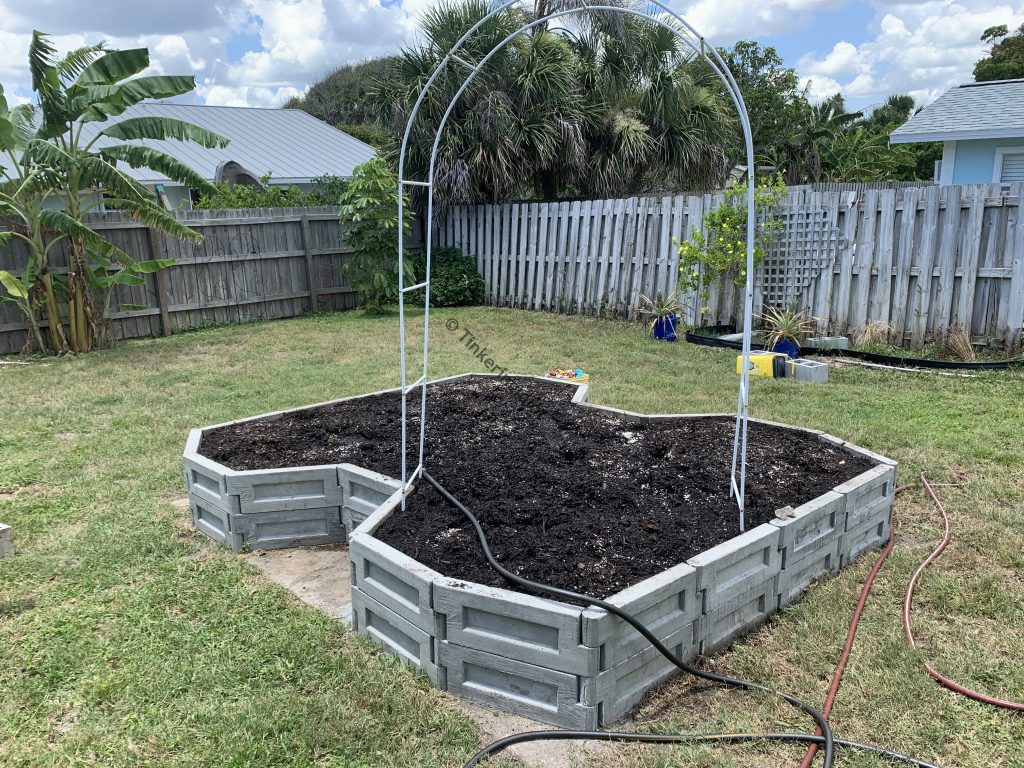
Gardening in coastal Florida is great for a few different reasons. First, it’s extremely gratifying growing your food from seed, watching your work turn directly into dinner. Second, it’s very, very easy. Things just….grow in Florida, and it’s rare to see a patch of open dirt, in a garden or otherwise.
But, things just….grow in Florida. This includes places where you don’t always want things to grow, like, say, the wooden walls of a raised bed garden. In fact, wooden things tend not to have a very long life span outdoors at all. Everything is temporary, and in this environment, “temporary” is often measured in tens of months, tops. This is less than optimal for large gardens.
Concrete, however, has a nice long lifespan, even here. Some years ago, I stumbled across a series of videos from Man About Tools, a kindred DIY hobbyist. In the videos, he walks through casting interlocking concrete blocks for garden purposes. He does an excellent job explaining everything, and in short order I decided that I had to have these things in my own yard.
There’s just one problem, however: I love irregular shapes, especially in garden projects. The plans, as given, create excellent blocks for rectangular beds, but I need something a bit more…flexible. So I’ve made a few modifications for my own purposes.
Credit where it’s due
A large portion of this build comes from Man About Tools’ plans (specifically, the 24″ panel). He’s done an amazing job putting the plans together, and absolutely deserves the very small amount of money he’s asking for a digital copy. Out of respect for his effort, I’m not going to detail that part of the build. If you’re looking to replicate what I’ve done, please buy his plans and use them – that’s what I did, and trust me, it’s worth it.
Starting at the end
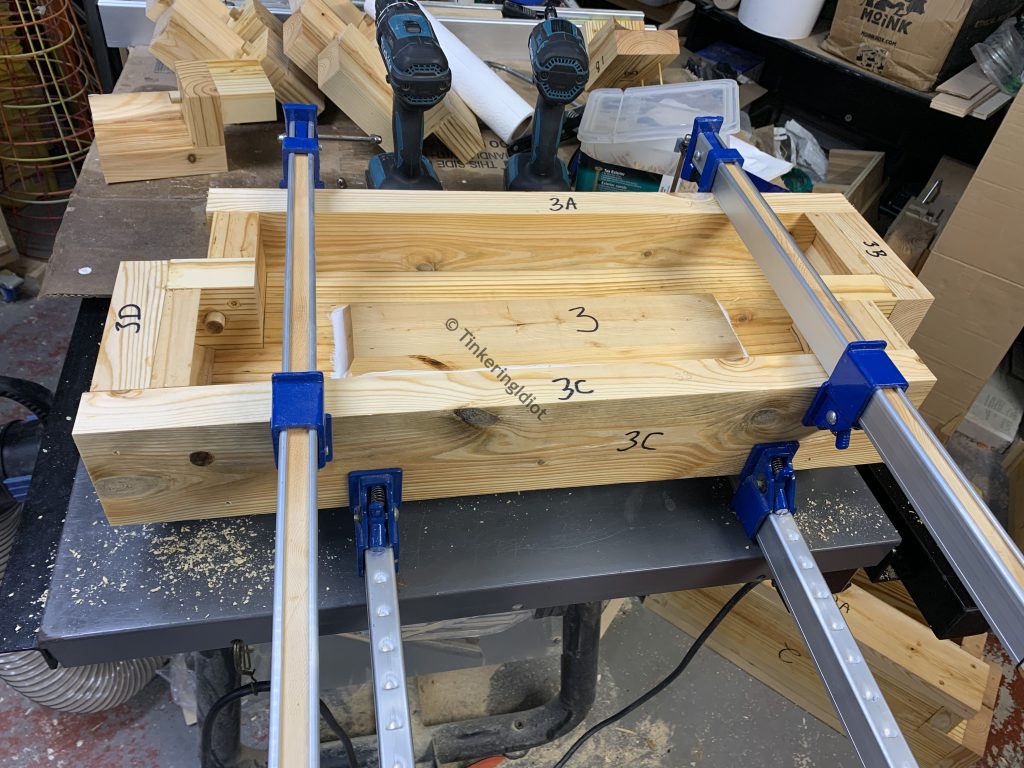
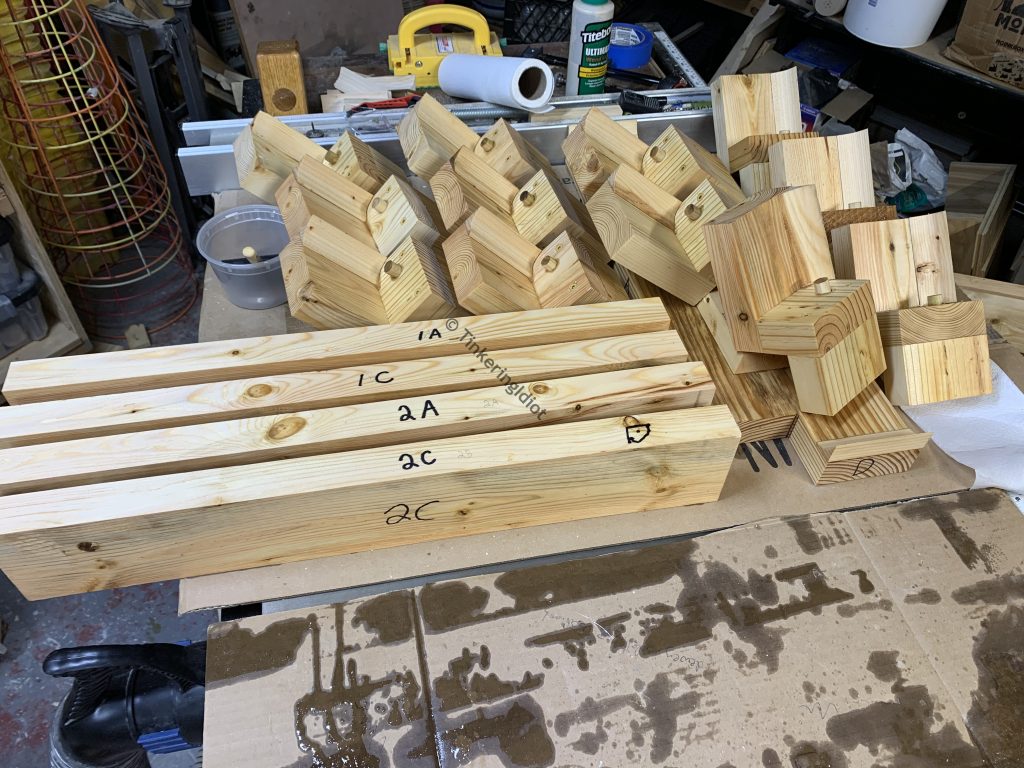
So I’ve followed the plans and gotten to the point where I’ve got the base, side, and end components nearly complete. I’ve labeled all the pieces as the plans mention, and while you wouldn’t think that’s an important step, it completely is. These pieces can change substantially after being filled with concrete a few times, but making sure the pieces all go back together properly keeps the blocks coming out consistent.
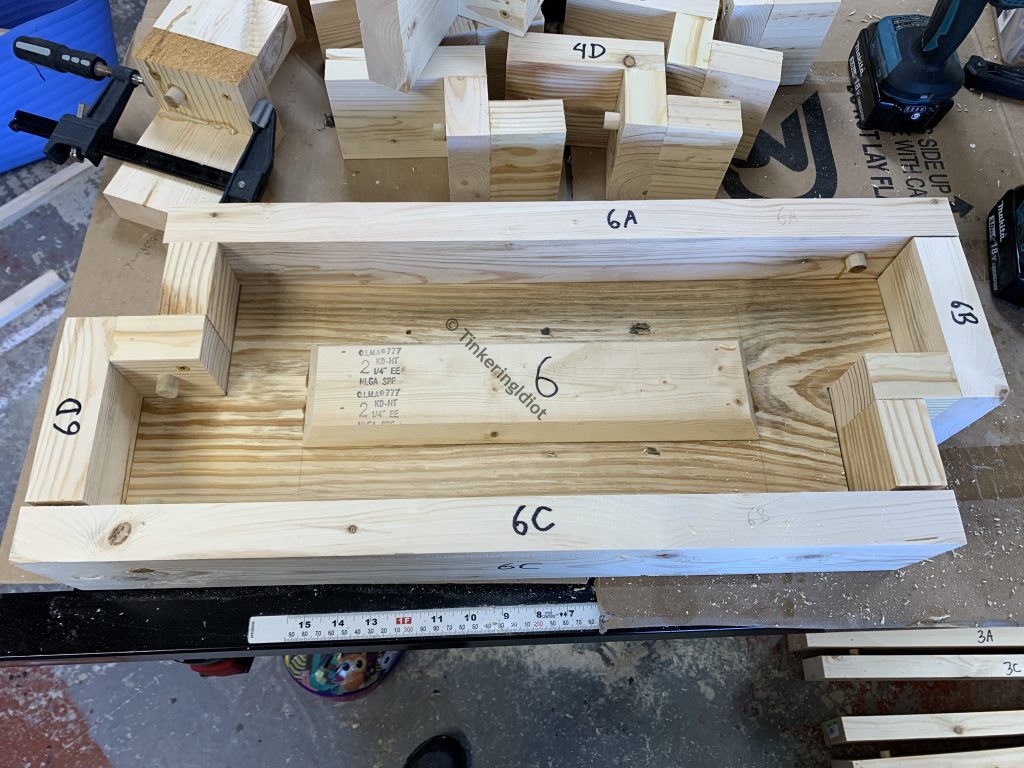
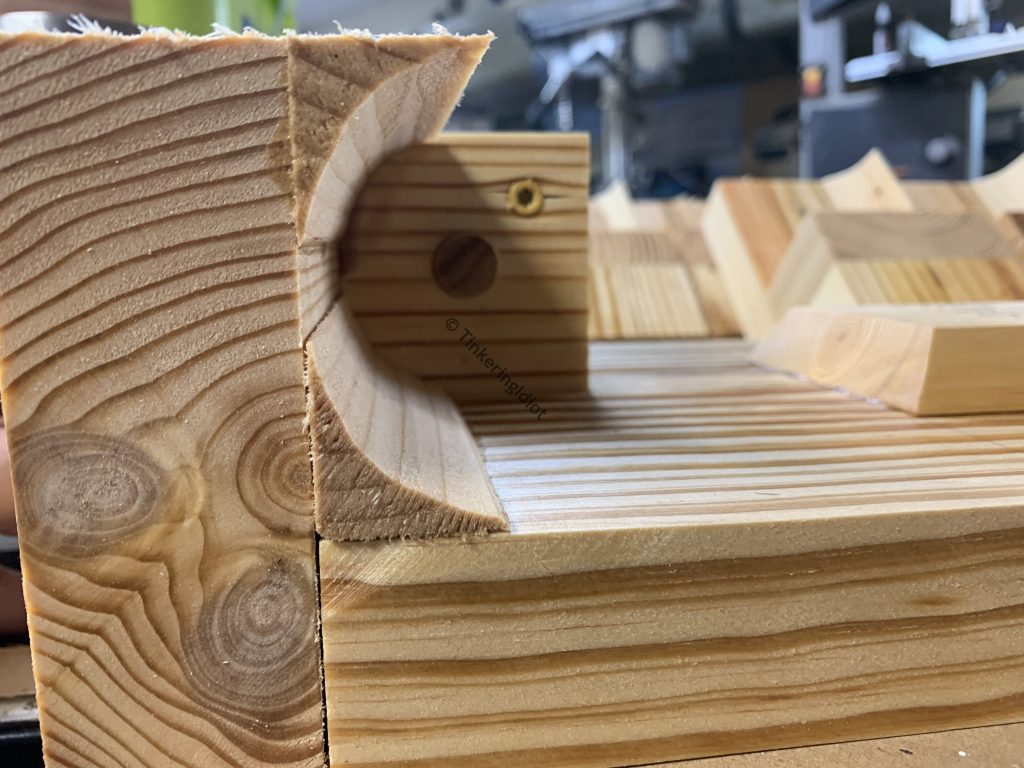
This form will deliver what the plans promise – a nice square edge to all the garden boxes. To allow for irregular shapes, I need those ends to be round, so the blocks can interlock at any angle.
Being well-rounded
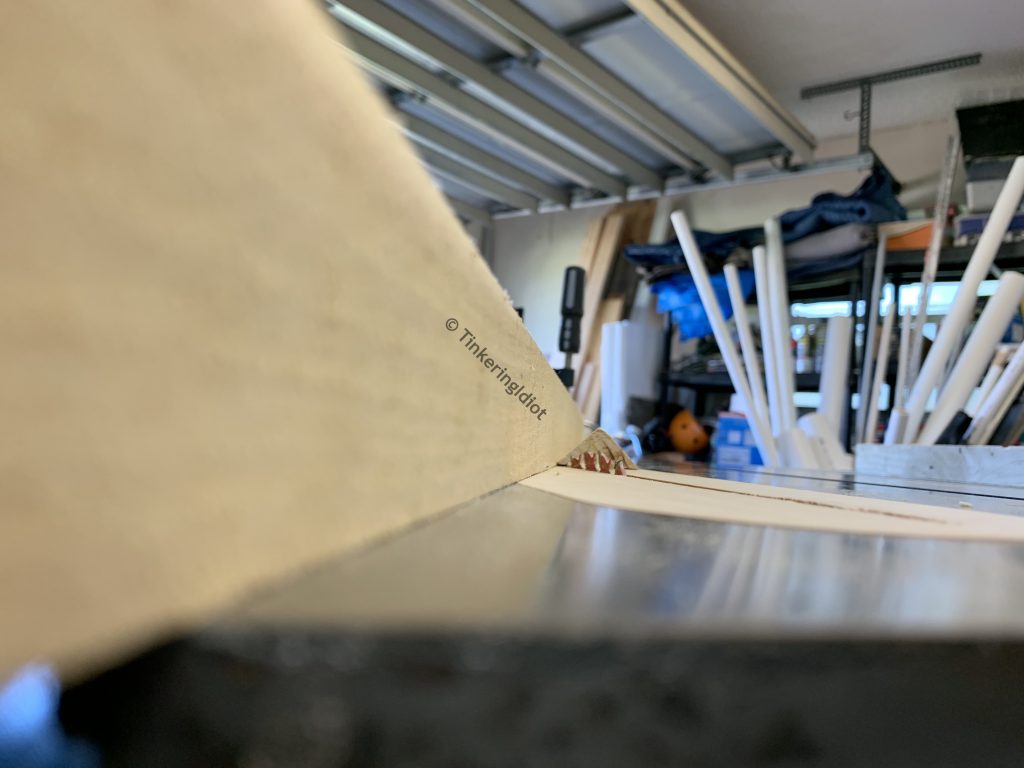
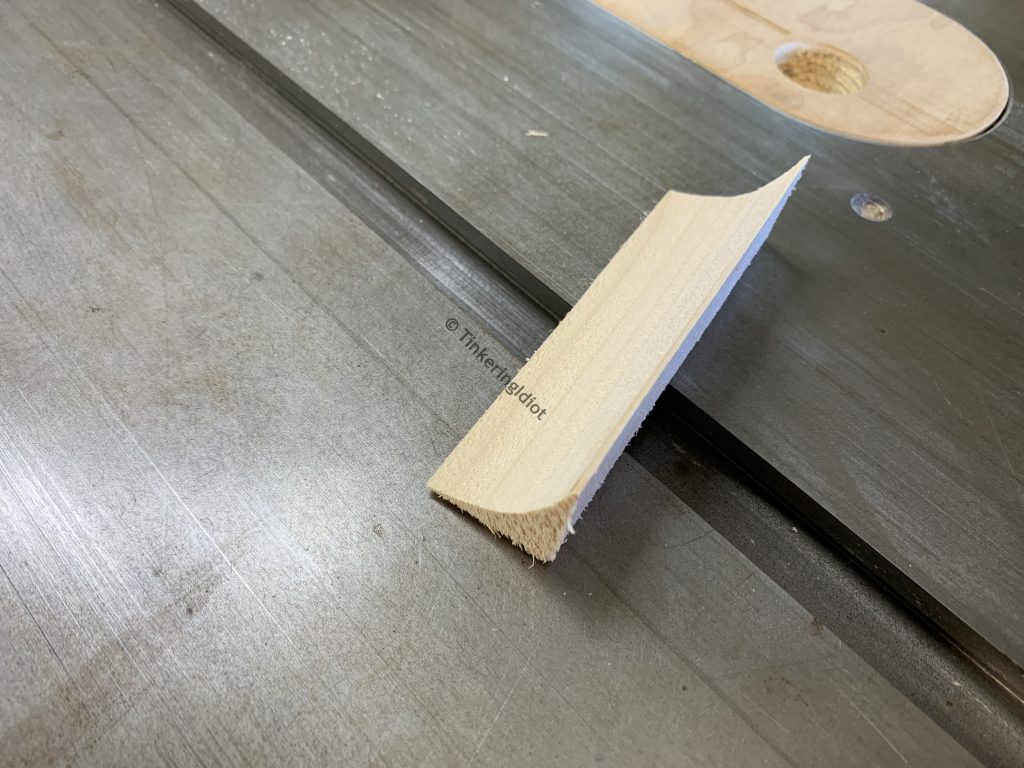
To get that rounded edge, I need some pieces of wood that fit the rounded profile that I can attach to the forms. I only know one way to easily cut a concave profile in wood, and it involves one of the more….interesting ways to use a table saw: the cove cut.
The principle of the cove cut is simple enough. If you pass a piece of wood over the top of the running blade, taking very very small bites with each pass, it will eventually hog out a concave profile in the shape of the blade with respect to the angle passed over. Setting this cut up can take awhile, but the feedback on it is instant – if you hear a bang and wake up in the hospital, you did something wrong.
I’m using long 1″x1″ strips that I’ve cut at 45 degrees to roughly match the triangle cross sections I marked out above. Then it’s a matter of finding the correct angle to pass over the blade to get the profile I want.
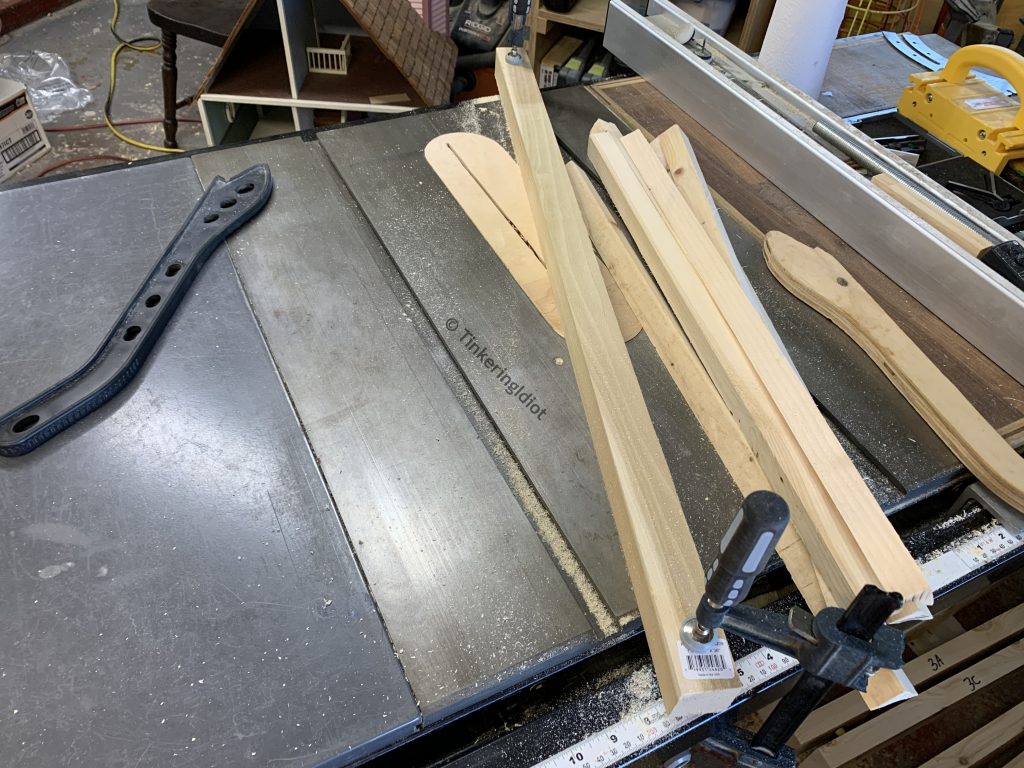
Next I pass each strip over the blade, raising it a very small amount between passes. Overall, this cut takes me 10 or 12 passes, at least. Maybe that’s paranoid of me, but I’ve still got approximately 10 fingers so I’m OK with it.
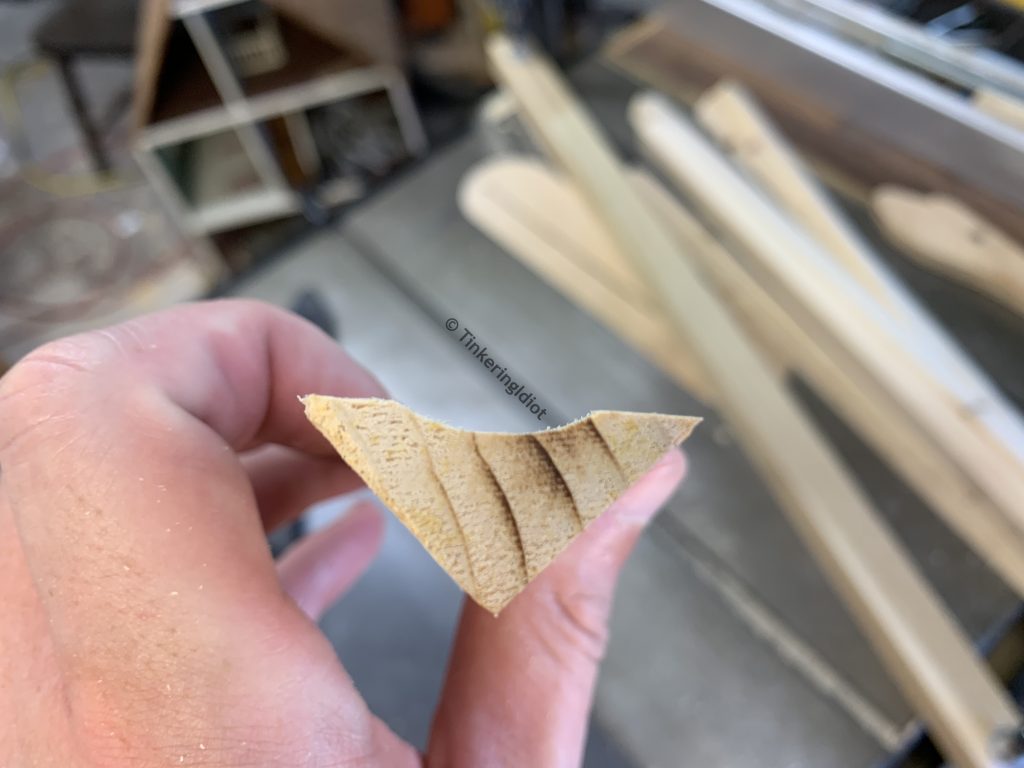
Next I cut them to length so they’ll fit nicely across the ends of the form.
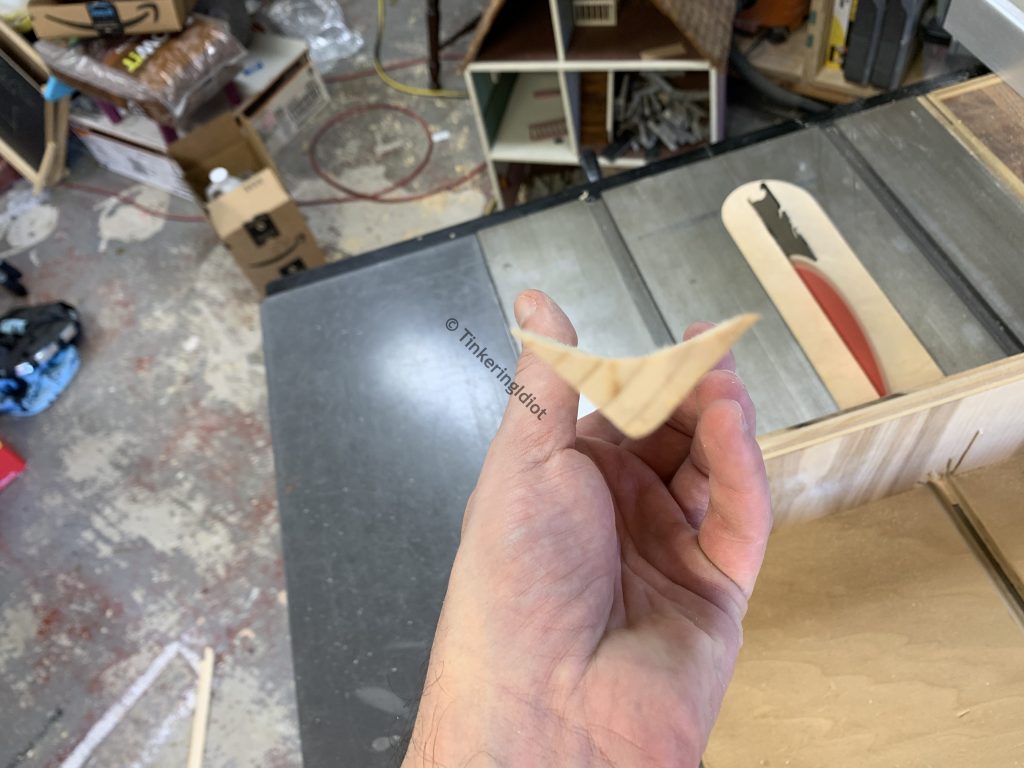
Then it’s time to glue them in place. They’re too small and fragile for much in the way of fasteners, so I’m using wood glue. Specifically, Titebond 3, for its water-resistant nature.
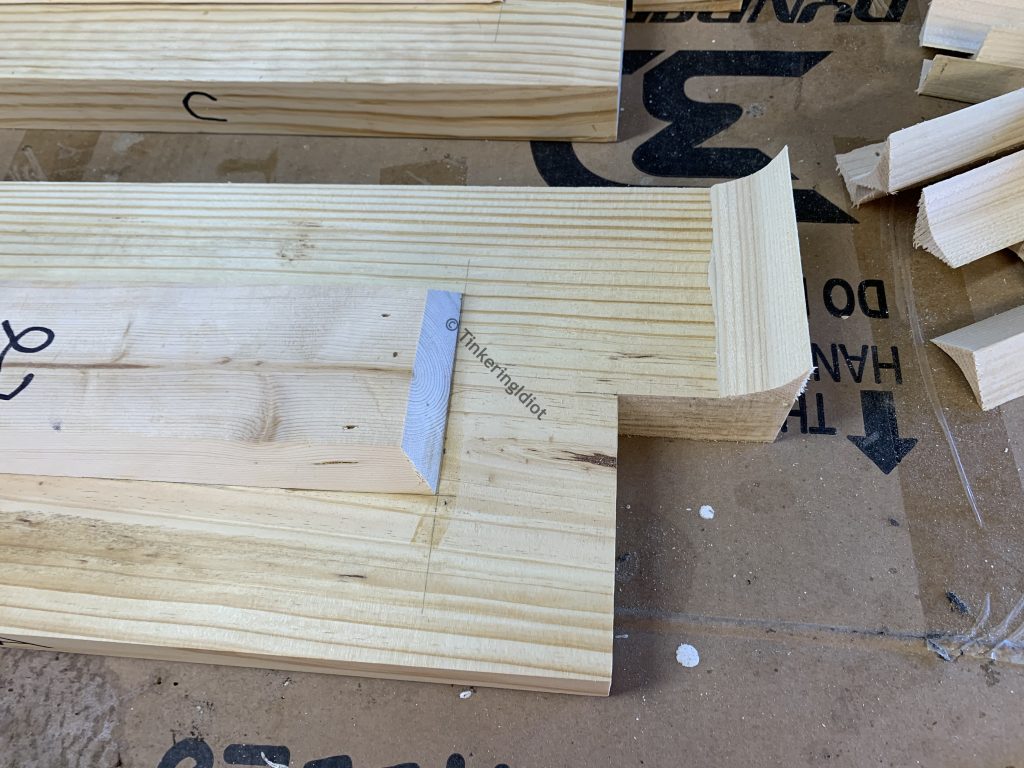
One of these goes on each end of the base, and on the inside of each end piece, to give that nice round profile that I want.
Finishing up
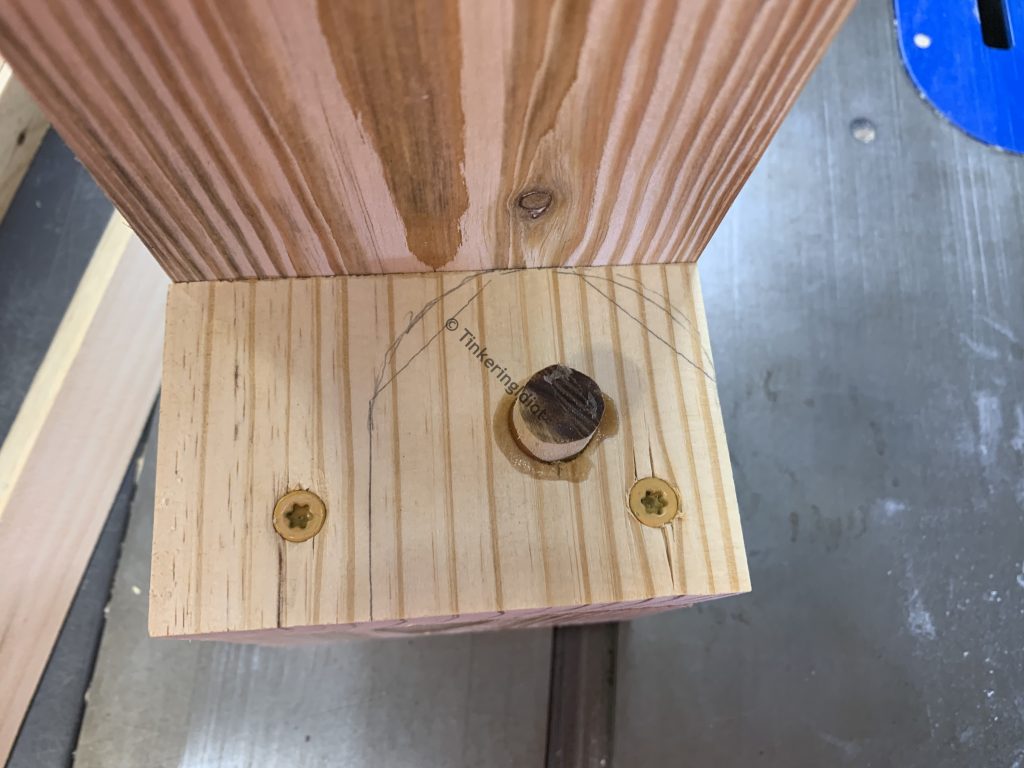
Profile complete, it’s time to assemble the forms. This final step is pretty important, because this is where I’m setting the screws that hold the whole form together, and thus, the ones that determine the shape of the final block. So, to make extra sure I’m setting the assembly screws where they need to be for a consistent block, I clamp the pieces in place before running the screws. During de-molding and reassembly, these screws will help pull the form pieces back to where they need to be for the next block.
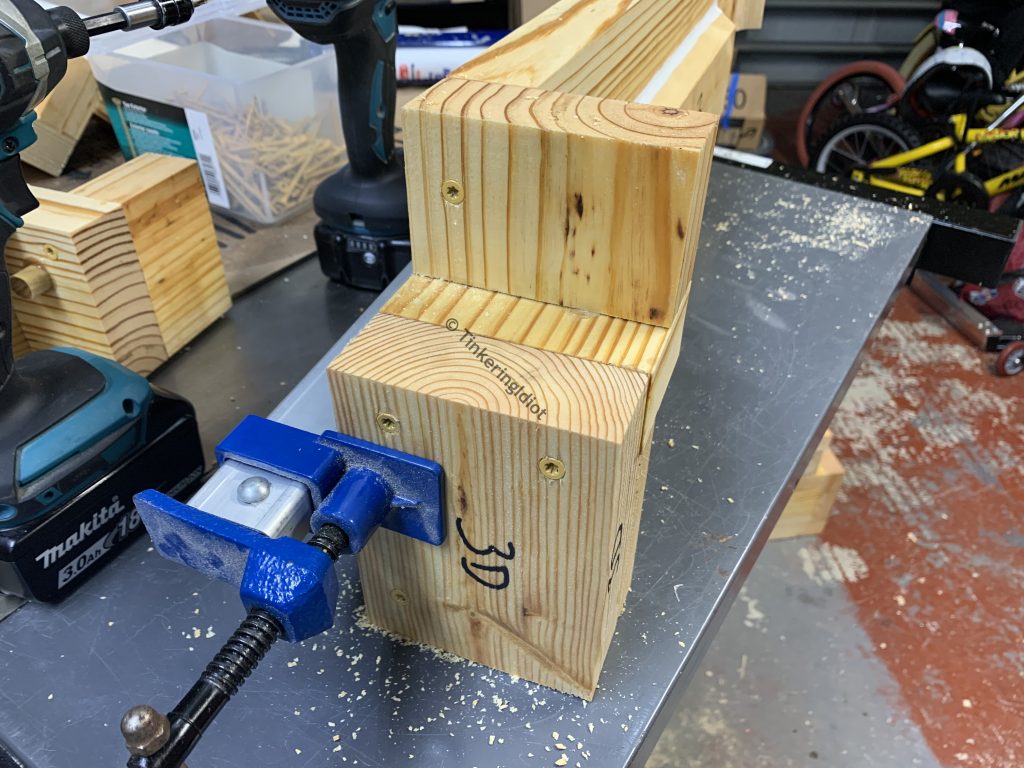
Also, the first time I made a set of these molds (this is my second run), I didn’t seal them very well. That turned out to be a big problem after 4 or 5 castings, because the water from the concrete soaked in and warped the wooden form, eventually destroying them. This time, I give everything a good drowning in mineral oil as a first defense against the water.
Filling out
As Man About Tools points out in one of his videos, fiber reinforced concrete works very well for these blocks. I found that one 80 lb bag filled three forms perfectly, so two bags for the 6 forms I’ve got.
To maximize the life span of these forms, I spray them down liberally with a 50/50 mixture of mineral oil and vegetable oil. Full disclosure, I dug that ratio up on some old forum post, but it works pretty well. With the sides and ends removed, the block just pops right off the form without a fight. And it seems to be protecting them as intended – after 8 castings, they haven’t appreciably changed shape, and the blocks still come out consistent and square.
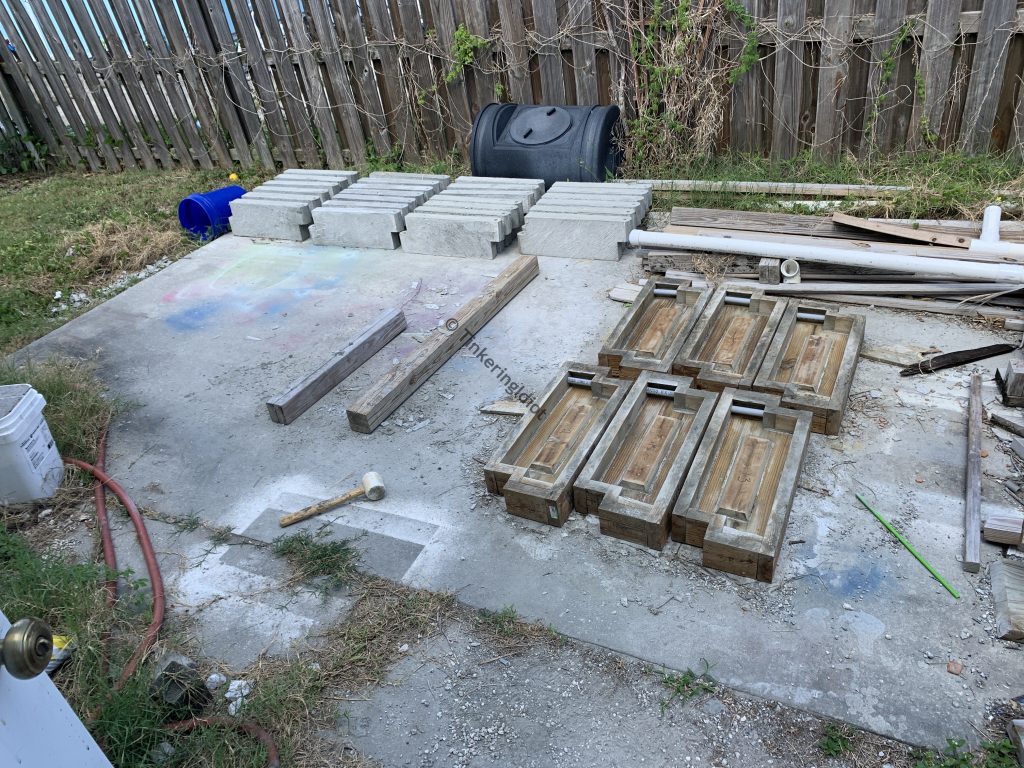
And that’s that! I’m using these blocks for garden borders and raised beds so far, and they’re working really well for irregular gardens!