Hydroponic gardening is a wonderful hobby. It results in food, which is obviously a major plus, but it does so in a way that is technical, intricate, and highly detailed. All the DIY hands-on fun of backyard farming, with the obsessive minutiae that drives us computer nerds wild? Yes, please.
It is also, thankfully, largely friendly to automation. As much as I’d love to spend enormous amounts of time just watching my garden grow, unfortunately that’s not really possible in today’s helter-skelter world. Hydroponics requires quite a bit of maintenance, what with the regular watering schedules, nutrient monitoring, and reservoir refreshing. Plants get needy without their comforting soil around, and I cannot always dedicate the time required. I do, however, have some experience with automating things.
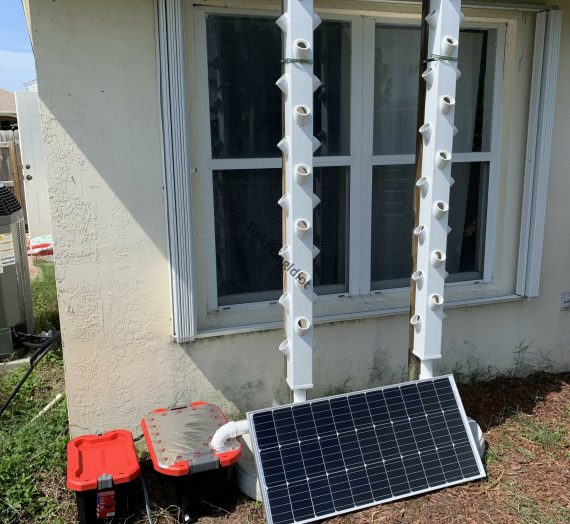
One thing automation requires, though, is electricity. It’s tough to get the whirlygigs whirling, and the choochers chooching without it. Being that all my hydroponic gardens are set up in the back yard, and also that I’ve got exactly zero earthly desire to leave an extension cord chock full of angry electrons flapping around in the Florida rain, I’ve devised a small, outdoor-friendly solar power generator.
Forward
Building solar power generators, even small ones, isn’t a trivial thing. Once you get the hang of it, it’s not so bad, but it takes a big of planning and a little math to build the right system for your needs. In this post, I’m walking through both the planning and build, and spelling out the math as simply as I can, so it’s going to be a bit wordy.
Fair warning: if you’re thinking you might try one of these systems for yourself, please be careful. Modern solar panels and batteries are powerful, and there’s enough juice involved to really ruin your day if you touch the wrong two things together. The first rule of tinkering is to not get killed doing it – please follow that rule.
Bearing the Load
The first concern when building a solar power generator is, of course, how much power I need to generate. There’s a bit of math involved, but it’s pretty simple.
It all starts with knowing what I want to run on it. This is for my dutch buckets, so I’m going to power two of these pumps, each rated at 25W @ 110V, for a total of 50W.
The pumps don’t run all the time. I like to run my buckets for 15 minutes, four times per day. In a day, they’ll run for a total of an hour, so the pumps will need 50W * 1 hour = 50 watt-hours (Wh) per day.
I also like to aerate my reservoir with dutch buckets, which means I need an air pump. I’m using this Tetra, which draws 2.9W @ 110V. It’ll run all day long, so it needs 2.9W * 24 hours = 69.6 Wh.
Adding the air pump to the water pumps brings the total power need to 119.6 Wh per day. This isn’t a perfect world, and many components in a solar generator waste power as they operate, so I’ll add 25% call this a nice round 150Wh.
Current Events
It’ll also be easier later in this process to have an understanding of the relevant amperage draw for these components, as that’s how I’ll size the battery that keeps my plants alive on cloudy days. The relevant equation for calculating amp draw is:
Watts = Amps * Volts
Or, more to the point:
Amps = Watts / Volts
So each pump draws 50W / 110V = 0.45A, for a total of 0.90A. That means they’ll need 0.90A * 1 hour = 0.90 amp-hours (Ah) per day.
The air pump draws 2.9W / 110V = 0.03A. Per day, it’ll need 0.03A * 24 hours = 0.72 Ah.
Adding all the pumps together makes the total amp draw 1.62 Ah per day. Again, I’ll round up to a nice even 2.0 Ah to account for inefficient components. I’d rather generate too much power than too little.
Catching Some Rays
Now that I’ve got some understanding of my power needs, I can start looking at solar panels. The first step in this process is to figure out how much sunlight I can expect on a given day. Here in the Sunshine State, it’s safe the say that’s somewhere in the neighborhood of “a lot”, but our friends at the National Renewable Energy Lab have figured it out in a bit more detail. They publish Global Horizontal Irradiance (GHI) maps for the US which tell how many hours in the average day the sun is at an optimal angle to generate solar power. I’m safely within the 5.00-5.25 range, so I can expect a year-round average of 5 hours of optimal sunlight each day.
That being the case, a 100W Renogy panel is looking pretty good (which is to say, massive overkill, but it’s not engineered until it’s over-engineered). It’s worth pointing out that ratings on solar panels are measured in a lab under perfect conditions, so while this panel says 100W, I’ll probably get at most 80W on a bright sunny day. 80W * 5 hours = 400 Wh of power per day, several times the 150 Wh the load demands.
Amperage is even larger overkill. The panel’s optimum operating current is 5.72A. Actual, usable production will be lower (because, again, real life is not optimal), but even so 5.72A * 5 hours = 28.6 Ah per day, far more than the 2.0 Ah the load requires.
Consolidating Power
The major weakness with solar power generation is that sometimes the sun just doesn’t shine on some portions of this little rock we call home. Plants, greedy critters that they are, demand water and food even when the sun isn’t shining brightly, so I’ll have to add a battery to store power.
Choosing the right battery size is highly subjective – it all comes down to how much power you want to store. For this system, I’m shooting for a 3 day buffer, since if a storm lasts for longer than that in Florida, it’s probably got a name and I’ve got much bigger things to worry about than the garden.
Take note that the below only applies to lead-acid batteries. Other rechargeable battery types, notably lithium, have different needs and characteristics. Be sure to read up on the battery type you intend to use!
Battery capacity is typically measured in amp-hours, which I happily calculated earlier. I know my system needs 2.0 Ah per day, so I should need 2.0 Ah * 3 days = 6.0 Ah, right? Wrong! Batteries are fickle creatures. They store and release power, but if you deplete them entirely, or even just too far, they generally quit working. They also tend to degrade over time. As a general rule, I double the capacity that I think I’ll need, which keeps me from discharging them too far, even as they age.
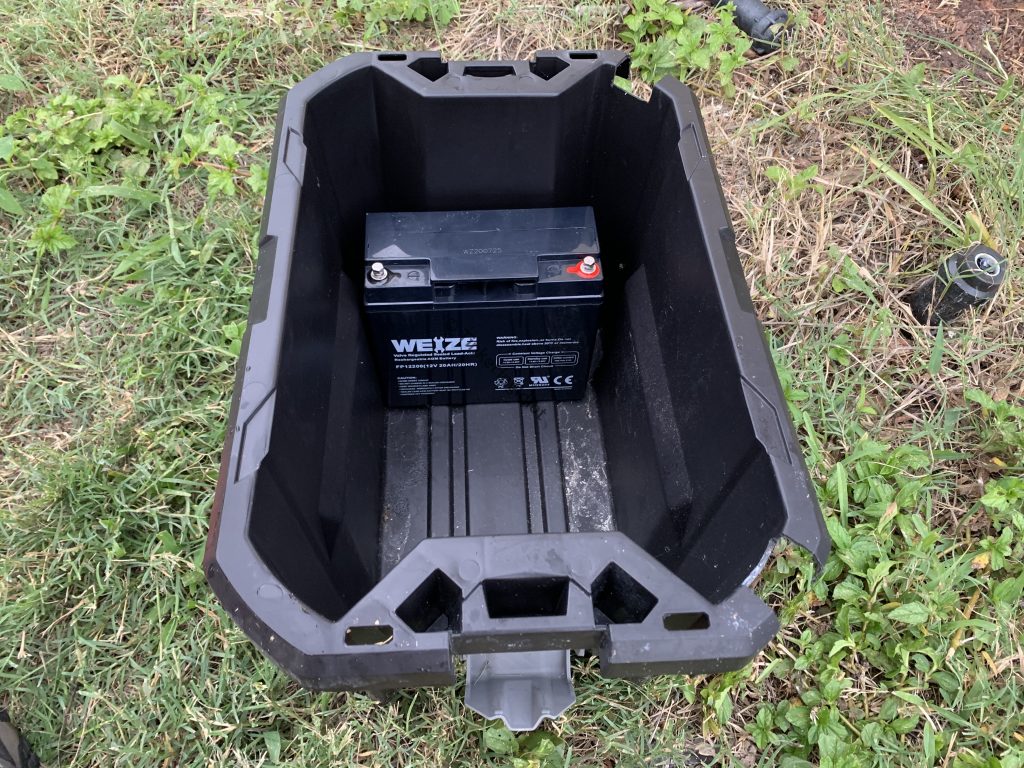
So 6.0 Ah * 2 = 12.0 Ah, and that’s probably good enough. However 20 Ah is more than 12 Ah, and I found this Weize 20Ah lead-acid battery. In the spirit of overkill, that’s what I’m going with.
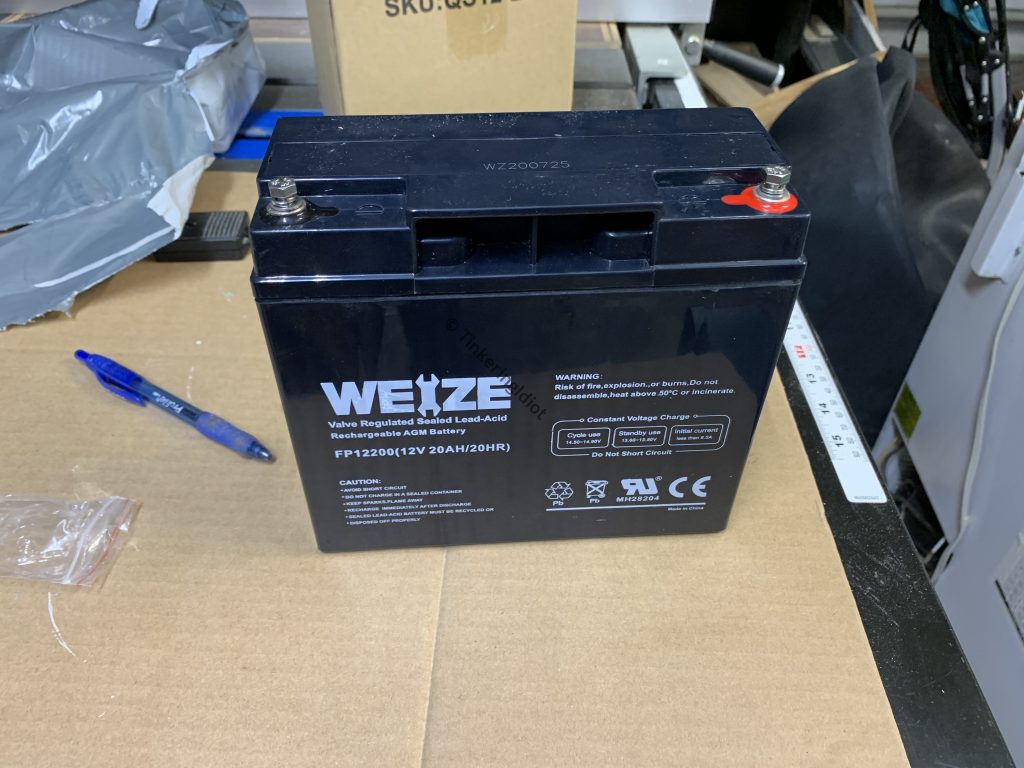
The only outstanding question is whether the panel I selected above has enough capacity to charge it. The “20HR” on the front of the battery refers to its charging rate. Ideally, this battery needs 20 hours (hence “20HR”) to charge fully, so it needs 20Ah / 20 hours = 1 Ah to charge. The panel’s 5.72A output is more than enough.
Taking Control
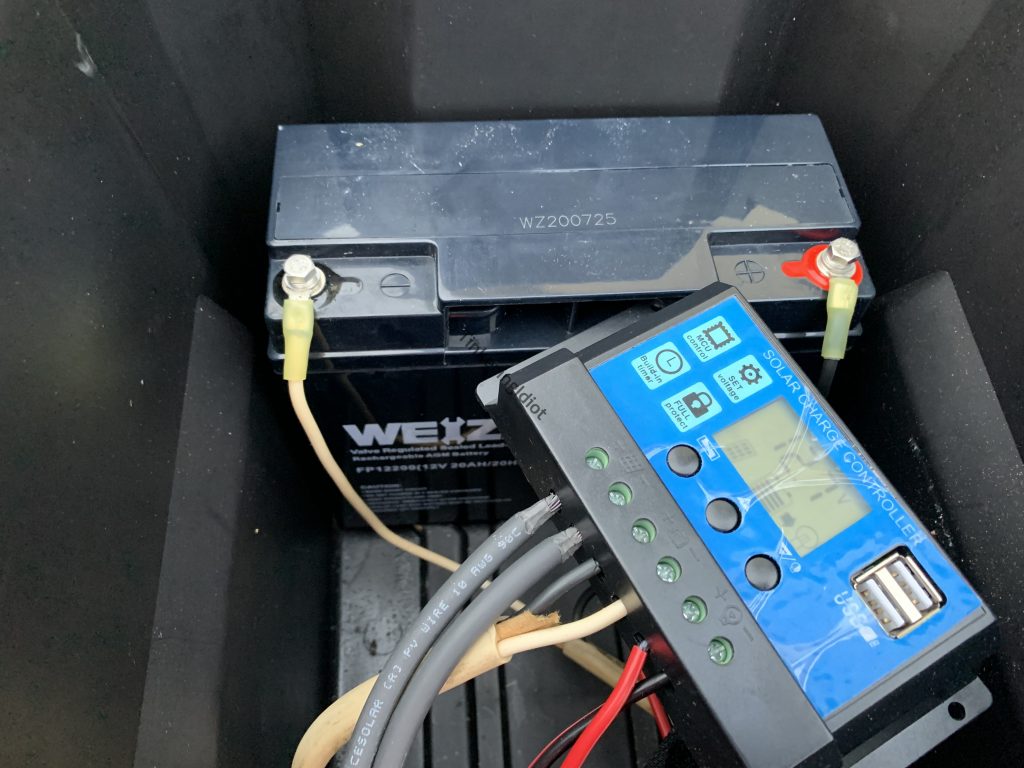
One more basic item more or less completes the parts list: a solar charge controller. This manages how the solar panel, battery, and load interact with each other, switching the load between solar and battery power when necessary, and keeping the battery topped off. I typically use one of these 20A models, which have proven to be simple to use and very reliable. Be sure to configure it for your battery, I haven’t found the default settings to be very useful.
On to the Build!
Thankfully, once the planning is complete, the build is actually quite simple.
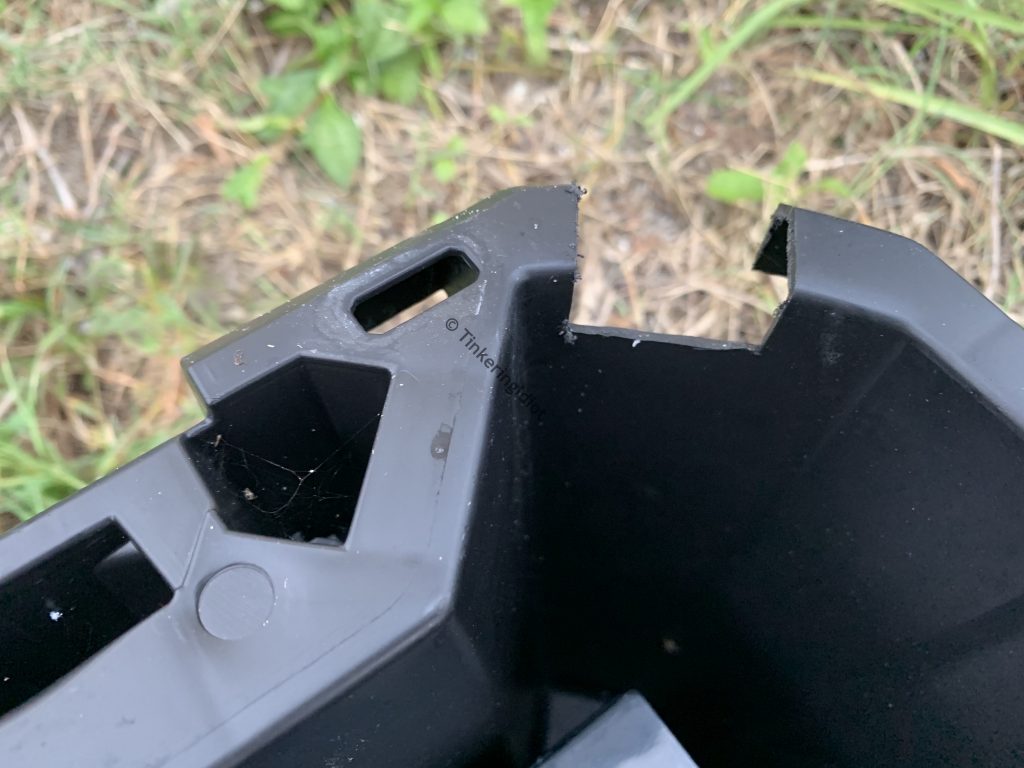
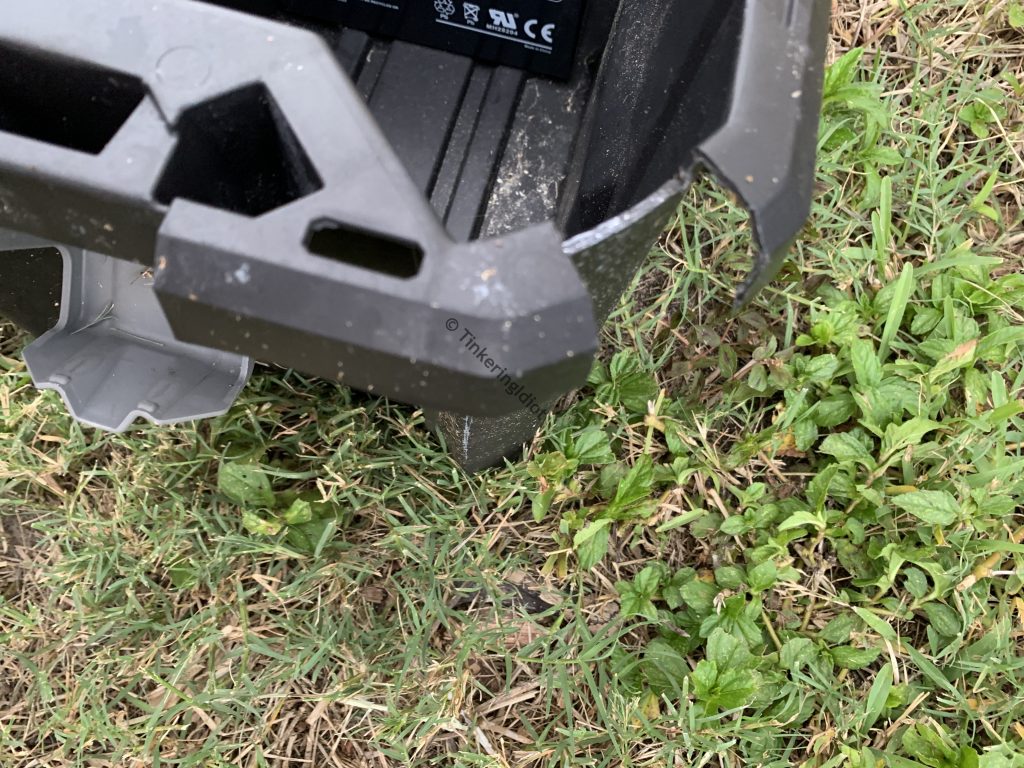
I house the system components (minus the panel, of course) in a 5-gallon plastic tote. I like these because they come with solid lids with a good overhang, which keeps everything inside nice and dry. They also seem to stand up to the sun’s UV for several years before needing replaced, which is convenient.
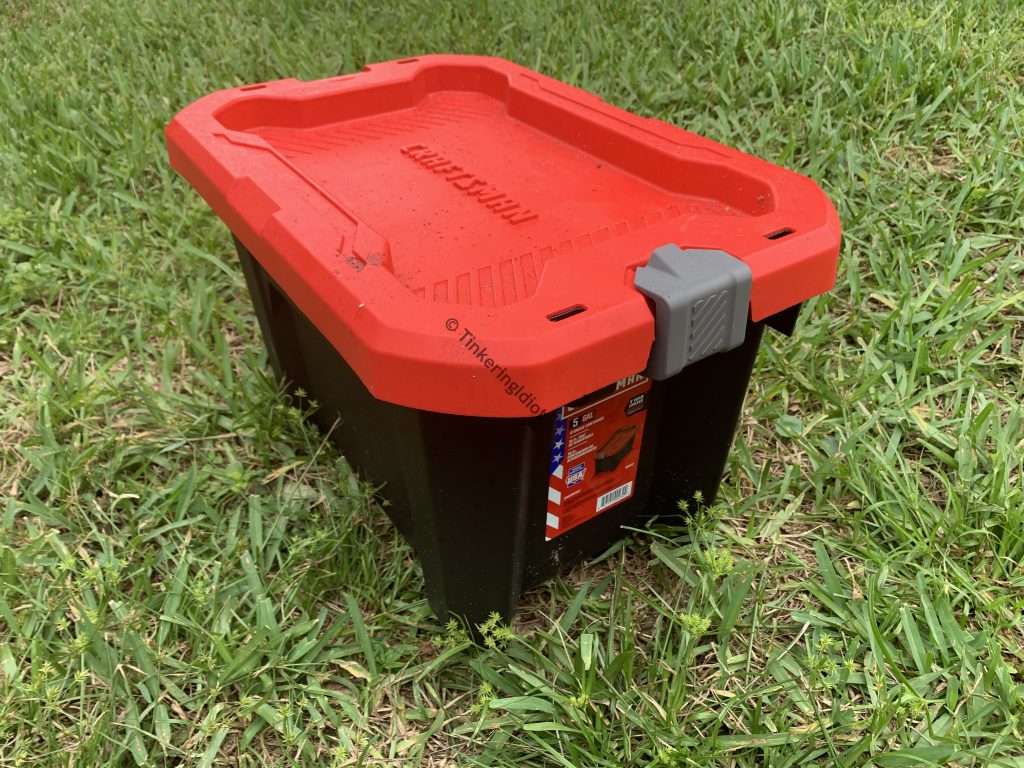
I need to run the feed lines from the solar panel into the tote, and power and air lines for the pumps out of it. To facilitate this, I cut access ports around the rim (but not through the lid – that would let water in!). Each is cut to make enough room for the necessary cabling, but not so far as to be uncovered by the lip of the lid. Doing this, the interior stays dry even through our truly fantastic rain storms.
In goes the battery. This one fits about perfectly.
The instructions for the solar charge controller make very clear that the battery should be connected first. I use a short length of 12/2 Romex with the ground wire removed to accomplish this. Because this battery has screw terminals, I crimp on a couple of ring connectors to ensure nothing comes loose over time. Then I’m free to connect the panel and the load.
The load presents a bit of a problem. See, with a single panel and 12V battery, I’ve created a 12V system, but I need to power 110V pumps. To manage this, I connect a 300W power inverter as the load, which will convert the 12V DC power coming from the panel and battery into 110V AC to run the pumps.
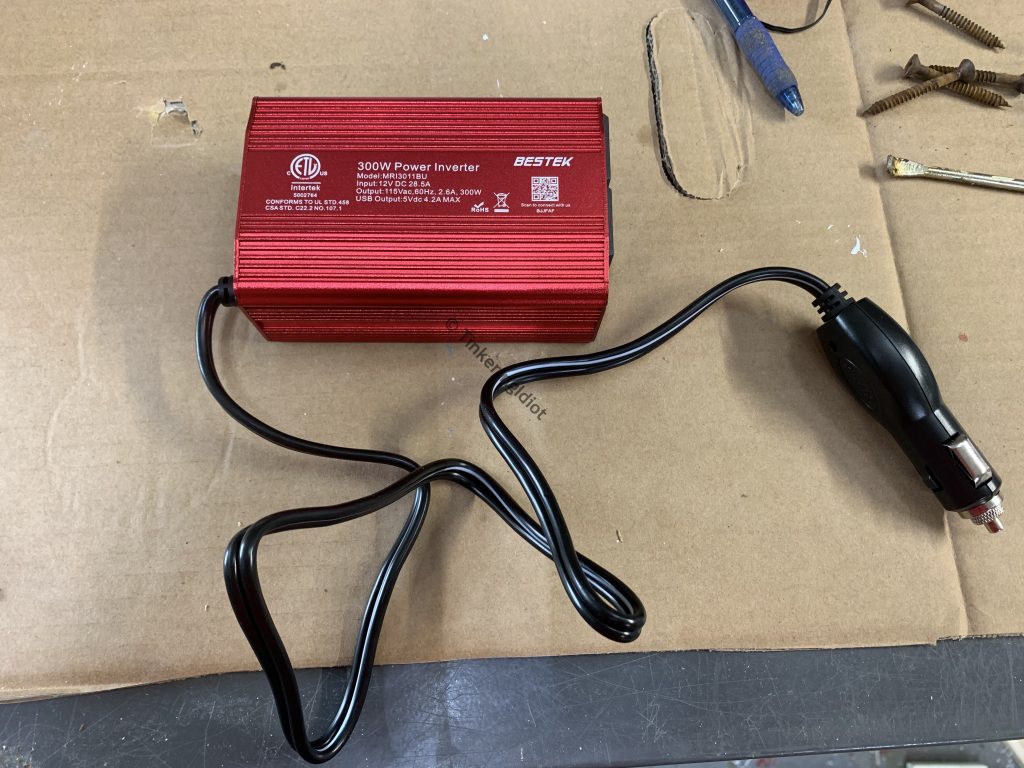
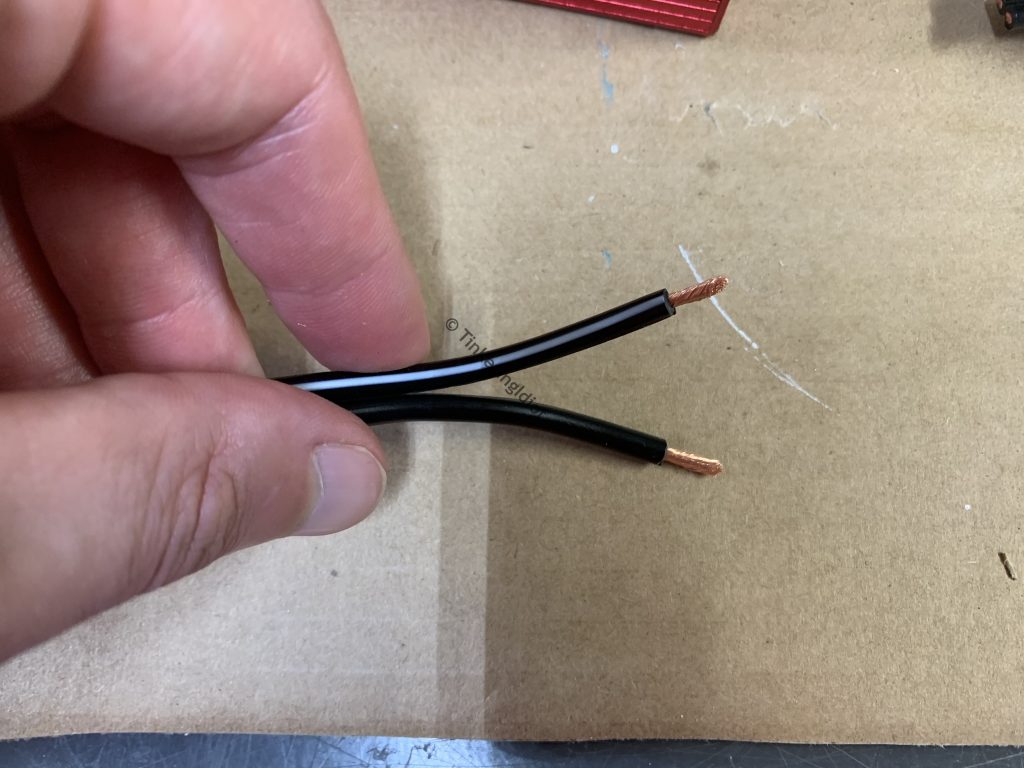
This inverter comes with a car power port adapter, so I disassemble that end to verify which is positive and negative.
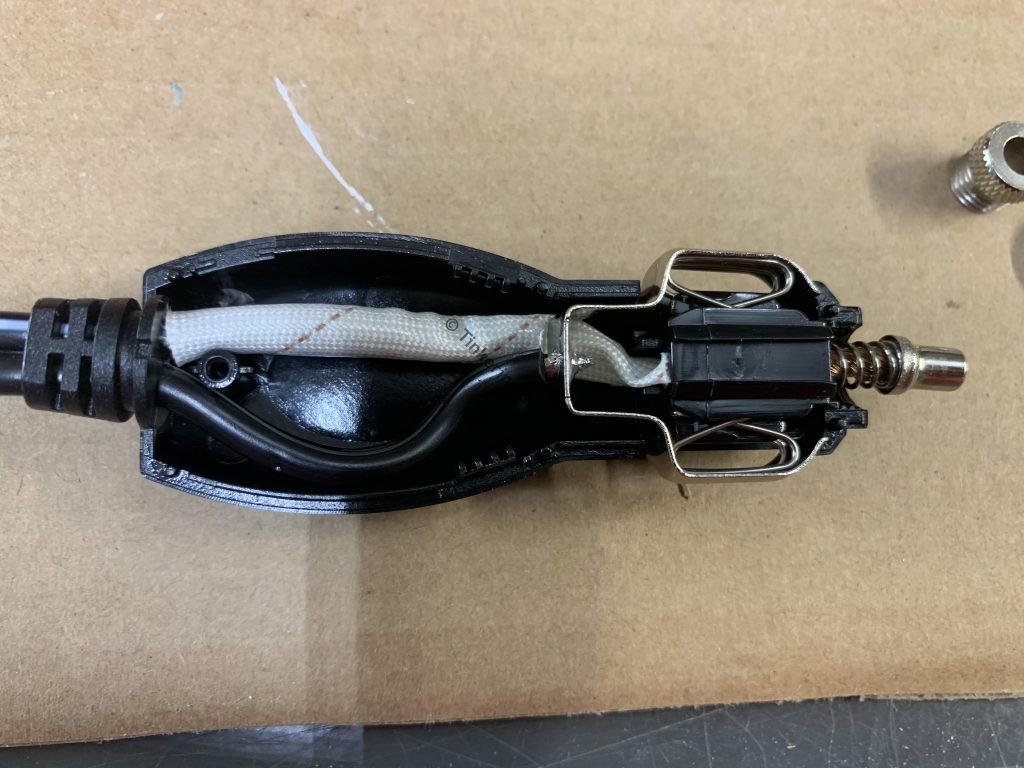
A quick snip and strip later, and it’s ready to be connected to the solar charge controller.
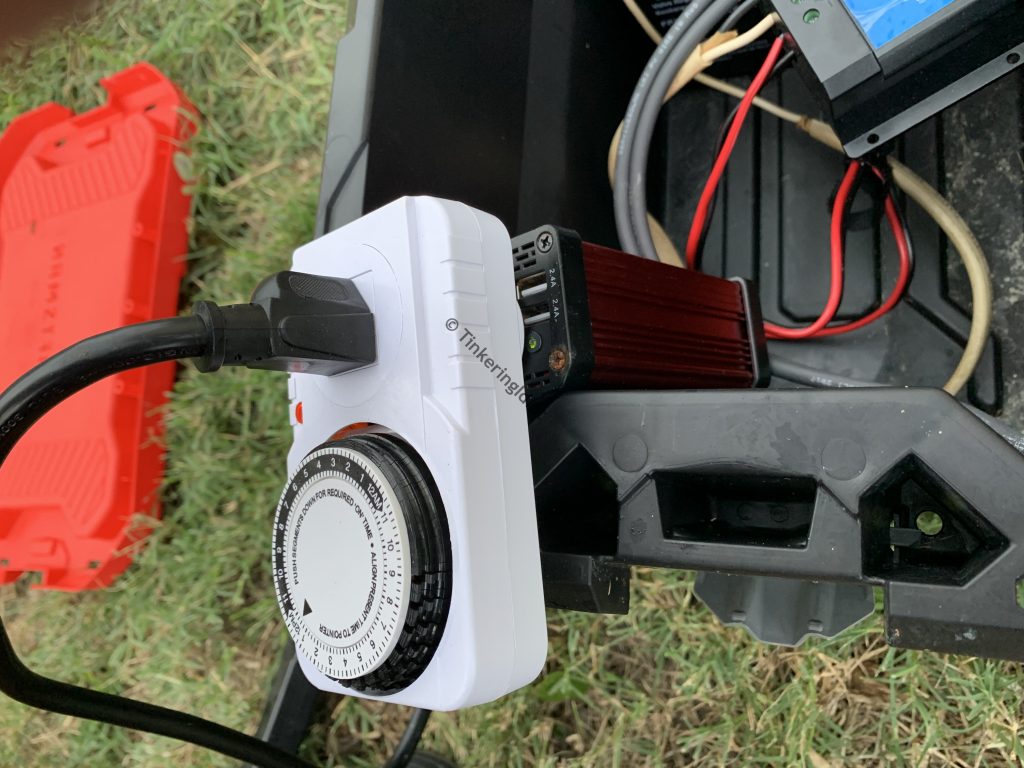
Once connected, it’s just a matter of plugging the right things in to the inverter to get the pumps running. In this system, I’m using a mechanical timer and power strip to run the water pumps on a schedule – I’ve since found that a timer for each pump works better, so they can be offset from one another (the inverter is prone to overload otherwise). The air pump is just plugged in, as it’s on all the time.
Backing Up
Full disclosure: one of the reasons I’ve overbuilt this system so heavily is that it’s not just for garden power. These little generators have proven to be extremely handy during extended power outages, and even out camping, for keeping phones, tablets, lamps, and laptops charged.
Getting Efficient
The addition of the power inverter, especially a small inexpensive one like this, means the system as a whole is vastly less efficient than it could be. Stay tuned for a future post where I’ll detail what I’ve done to make one of these systems operate entirely at 12V.